Teriyaki Trout and Quick Japanese Pickles

When I’m nostalgic for Japan, there is one recipe I pull out.

Though, oddly, I didn’t find it in Japan nor use it when I was there.

Instead, this recipe for Teriyaki Trout was one I inherited from my family, who has been cooking it for years.

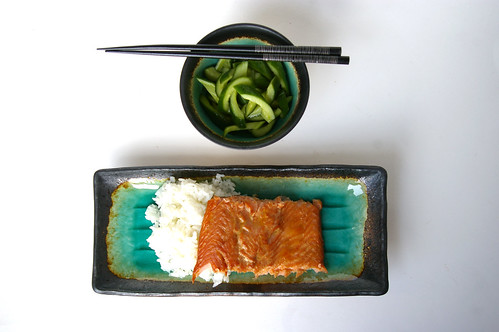
Teriyaki trout with quick pickles IV

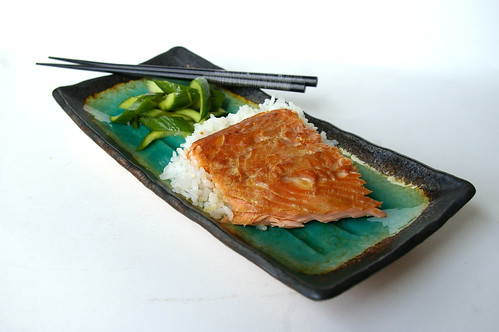
Although only really a nod to a traditional teriyaki, it is my fallback recipe when I’m longing for the Land of the Rising Sun. There, I often made an authentic teriyaki salmon that I would serve with steamed rice and a selection of tsukemono (pickles).

But this tastes just as good and the ingredients are readily available, unlike the two types of soy and mirin that usually went into my marinade when I was overseas. (These can, of course, be found at Asian grocery stores, but this recipe is built on ingredients most people have readily available in their cupboards: soy, sugar and sherry.)

This is not the thick gloppy sauce you find on supermarket shelves. This is a thin marinade that infuses the fish with that salty-sweet teriyaki flavour.

A few cloves of smashed garlic perfume the marinade without overpowering the flavours. (And, bonus, they are easy to fish out when it’s time for the trout to go in the oven.)

In the beginning, my parents made this with salmon, as the original recipe calls for, but when the price of that got too dear, they started using steelhead trout. Now that’s what I grab as well.

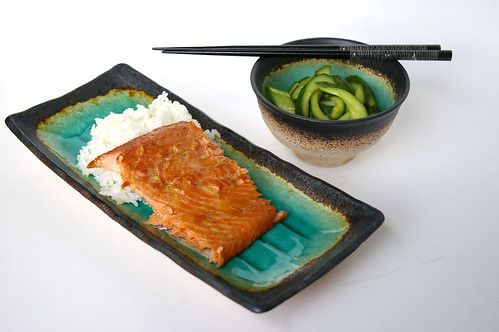
Teriyaki trout with quick pickles II

My version is a photocopy of the original, with no notation of where it came from. Even the amount of fish called for is absent from the recipe.

But I’ve found the marinade is enough for about two pounds of fish. I prefer to do whole sides rather than individual fillets or steaks, though please use what you want.

Since it’s usually only me dining, I often make the full batch of marinade and divide it between two pieces of fish, throwing one into the freezer for dinner at a later date. I’ll pull it out in the morning and let it sit in the fridge. As it thaws, it continues to infuse the teriyaki flavour into the fish and by the time I get home from work, it’s ready to cook, which, some nights, is exactly the kind of meal I like to have around.

When I’m a little homesick for the rice paddies and stunted hills of the small town in Japan where I lived, I make this dish, serving it with rice and some steamed green vegetables. Sometimes, when I’m really feeling nostalgic, I also make quick pickles -thin slices of de-seeded cucumbers left to sit in a bath of rice vinegar, sugar and salt.

The tangy flavour is a nice balance to the rich fish.

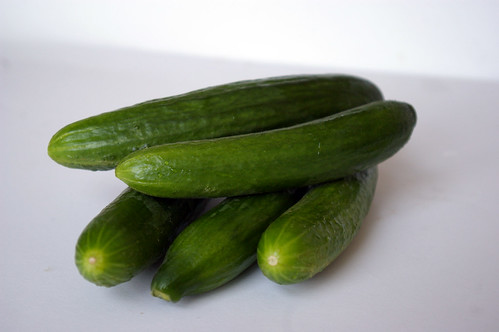
Cucumbers

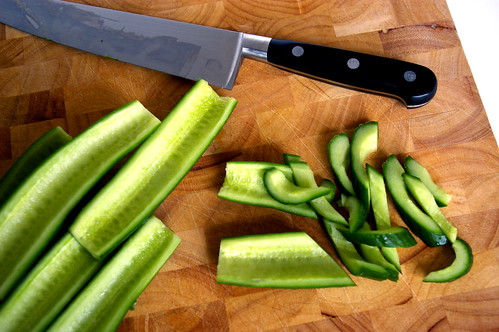
Sliced Cucumbers

Teriyaki trout with quick pickles

Teriyaki Trout

  • 2 pounds (1 kg) steelhead trout, side or steaks
  • 1 cup (250 mL) soy sauce
  • 1/4 cup (50 mL) sherry (drinking, not cooking)
  • 2 tablespoons (25 mL) sugar
  • 3 cloves garlic, crushed
  • 2 tablespoons (25 mL) grated ginger or ginger paste

Combine the soy, sherry, sugar, garlic and ginger in a bag or flat dish. Add the trout. Let marinate for at least 30 minutes or up to overnight.

Preheat oven to 450°F (230°C). Place fish in a casserole dish (if using steaks, grease the dish slightly so they can be easily removed) and bake until fish is cooked and flakes easily, about 12 to 20 minutes depending on the thickness of the fish.

Quick Japanese Pickles

The amount of salt and sugar can be easily adjusted for taste. I use Maldon flaked sea salt, which has a milder flavour. Sea salt can be easily substituted, but start with just 1 tsp (5 mL) and add more only if needed. The rice vinegar should be unseasoned.

  • 1 English cucumber (or 3-4 small cucumbers)
  • 1/2 cup (125 mL) rice vinegar
  • 1 tablespoon (15 mL) sugar
  • 1½ teaspoons (7 mL) flaked sea salt
  • 2 tablespoons (25 mL) water

Slice cucumbers in half and use a small spoon to scrape out seeds. Slice on a diagonal into ½-cm half-moons. Stir together vinegar, sugar, salt and water and mix until salt and sugar have dissolved. Add cucumber slices, tossing them with brine. Let rest in the fridge for at least an hour, tossing occasionally.

This originally ran in the Calgary Herald. For more recipes and food stories, head to the Calgary Herald’s Food page.

Continue Reading

Guinness Brownies

I first heard about Guinness Brownies through another blog, but forgot to bookmark it and couldn’t remember where I had seen it. I had sent the link to a friend who’s a fan of beer-based baking, but then thought it would be nice to just make them for her instead. A quick Google search brought up myriad other blog posts, including the one I had seen originally, as well as some other variations. After cruising through a bunch, I realized most of them were riffs on one standard recipe — one I liked much more than the recipe I had first come across.

Guinness Brownies II

Now, normally, I like to leave recipes alone for the first attempt, figuring I need to give it a chance to wow me before I make changes. But most of the versions I found called for white chocolate, which I loathe. And I knew it would cook out and be undetectable in the final brownie, but I still wasn’t keen on buying white chocolate just for this recipe. One other blogger had subbed in milk chocolate chips, which seemed like a good idea to me. I think the object here is chocolate-y sweetness and milk chocolate can certainly achieve that, with the bonus of being an ingredient I can use in other things.

Random rant: why do they sell baking chocolate squares in packages of 6 ounces? Most of the recipes I’ve come across call for 8 ounces, which means buying two packages and then letting the remaining four ounces sitting around in the cupboard (where, yes, I am likely to forget I have them and then go buy more. I really need a more organized baking cupboard).

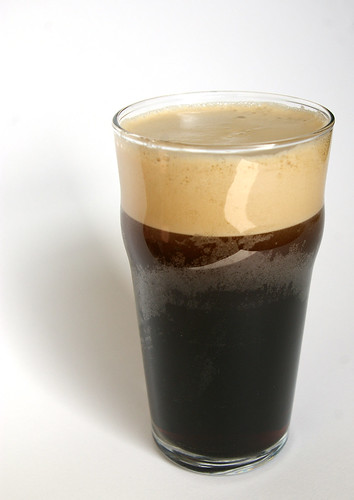
Cracking a beer at 11 a.m. felt a bit funny, though it’s not my first time. (Those Guinness Cupcakes are also an excellent recipe, if you’re looking for something else to do with the dark Irish beer.) And I was a bit nervous about cooking it down. I’m not a huge beer fan and was afraid reducing it and intensifying the flavour would make it stand out far too much in the final brownies. Plus, it did seem a bit weird to cook beer.

But what do I know?

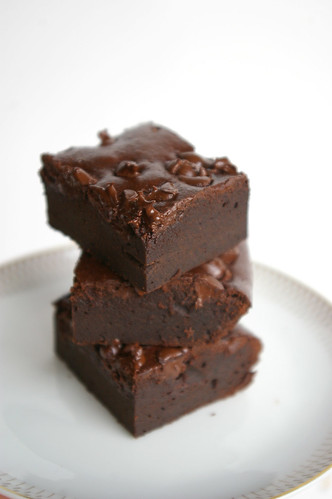
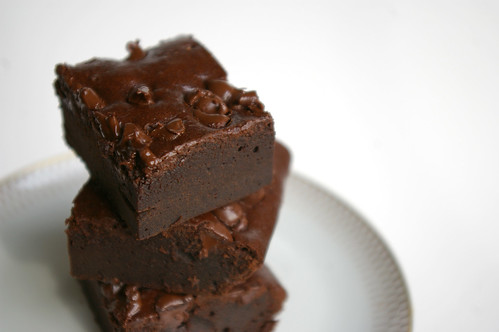
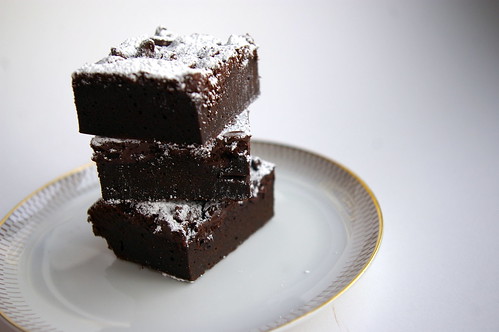
Not much apparently because these were fantastic. They were rich and dense, flavourful but not overly beer-y. A definite keeper.

Guinness

Guinness Brownie Batter

All Baked Up

Guinness Brownies I

Guinness Brownies III

Guinness Brownies

This is a hybrid recipe from a couple of sources, but I have to give Bitchin’ Camero a shout out because that is a seriously awesome blog name and Blondie’s Cakes for the smart idea of reducing the Guinness for additional flavour.

  • 1 cup all-purpose flour
  • 3/4 cup unsweetened cocoa powder
  • 1/4 teaspoon salt
  • 6 tablespoons unsalted room temperature butter, cut into cubes
  • 8 ounces dark bittersweet chocolate, chopped (I used 6 ounces of bittersweet and 2 of 70 per cent dark chocolate)
  • 3/4 cup milk chocolate chips
  • 4 large eggs, at room temperature
  • 1 cup granulated sugar
  • 2 bottles Guinness beer, reduced to 1 1/4 cups
  • 3/4 teaspoon vanilla
  • 1 cup semi-sweet chocolate chips
  • icing sugar for dusting (optional)

Preheat the oven to 375 degrees F. Line a 9 x 13-inch baking pan with parchment paper.

In a medium bowl, whisk together flour, cocoa powder, and salt until evenly combined. Set aside.

In a double boiler set over low heat, melt butter, bittersweet chocolate and milk chocolate chips. Remove from heat.

In a large mixing bowl, beat together eggs and sugar on high speed until light and fluffy. Pour in melted chocolate mixture and beat until combined.

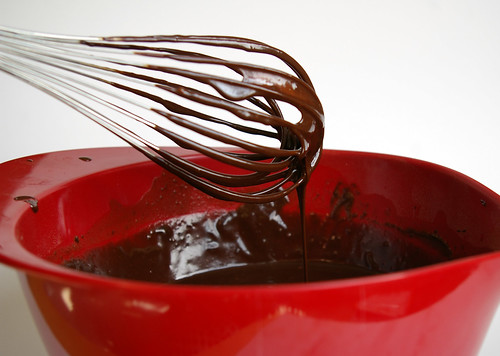
Add flour-cocoa mixture and beat until just combined. Whisk in cooled Guinness and vanilla. (It will take a few minutes for the beer to incorporate. I used more of a folding technique with the whisk for the first minute or two to keep everything from slopping everywhere.)

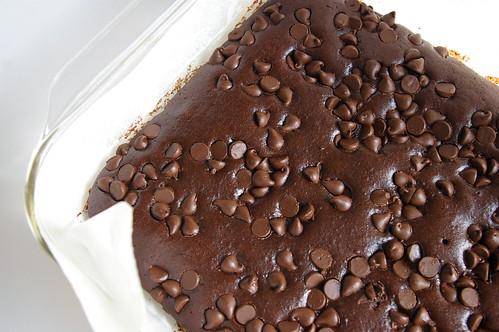
Pour into prepared pan. Scatter over semi-sweet chips.

Bake 25 to 30 minutes, until a toothpick inserted in the centre comes out clean. Note: mine only took 24 minutes; start checking at the 20-minute mark.

Let brownies cool. Dust with icing sugar if using and serve.

Continue Reading