It started with an innocent tweet asking for suggestions on what to do with some leftover mashed potatoes. (A phenomenon I don’t think I’ve ever encountered. I’d just eat them straight-up with a little butter, but I digress.) I threw out the idea of fish cakes and a few others also had ideas.
And somehow from there Cheryl started talking about pyrhohy and the next thing I knew I had managed to scam an invite over for a lesson on how to make them at home. (Call them what you want, but I’m going to go with pyrohy here because that’s what Cheryl calls them and since she was kind — and patient — enough to teach me how to make them, I’m going to defer to her expertise.)
Anyway, I’ve long loved pyrohy though my only experience was the frozen kind from the grocery store. My first experience with homemade pyrohy was when my friend Colette had a group of us over for a Ukrainian dinner, serving up homemade cheese-and-potato dumplings and cabbage rolls made by her mom in Saskatchewan. They were fantastic and we all ate a lot that night. (There was kielbasa too and I provided a lemon tart, so we were all pretty stuffed at the end.)
Then an even larger group of us went to a fall supper at St. Stephen Protomartyr Ukrainian Cultural Centre where we supported the Knights of Columbus in their fundraiser by enjoying more homemade pyrohy, cabbage rolls, little meatballs in a dill and mushroom sauce and fried chicken. And then there was dessert . . . .
All this to say, it’s been a pretty pyrohy-filled fall. And that’s not a complaint.
So, a few Sundays ago, I drove over to Cheryl’s, met her two adorable kids and then got set up in the kitchen, along with Andree who had also been invited over for the lesson. There, in Cheryl’s beautifully lit kitchen (oh the photos I could take if I had that set up!), we became an odd little assembly line of workers. Cheryl showed us what to do and we tried to replicate it, occasionally with some success. And then we went home with two baking sheets full of pyrhohy ready to freeze or eat immediately.
So I did.
And they were delicious. (Due, I’m sure, in no small part to the onion I diced and gently fried in a generous dollop of butter.)
And, um, there are no photos of what they look like cooked because it was dark by then and the next time I ate them it was also dark and, well, now they’re all gone. Guess I’m going to have to make some more.
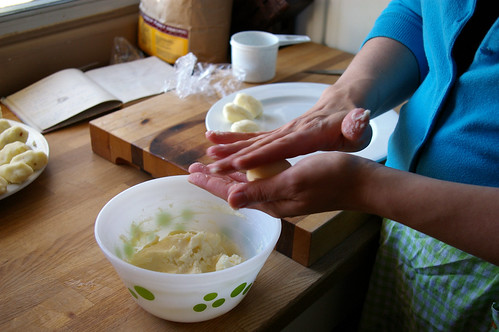
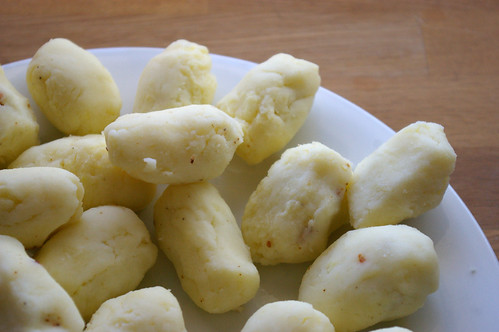
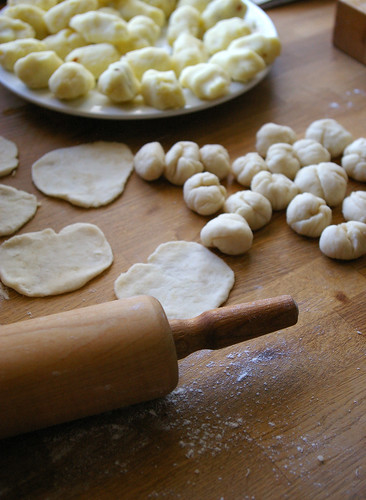
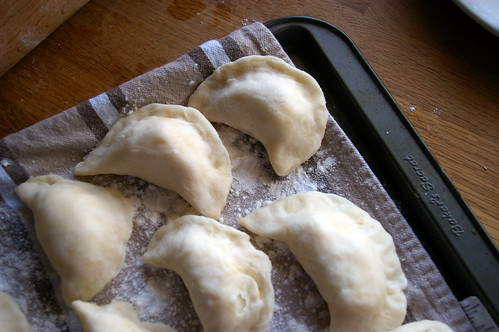
Pictures are after the recipe because they are a bit of a play-by-play of how to make pyrohy, so that made more sense.
Thank you again to Cheryl for the lesson!
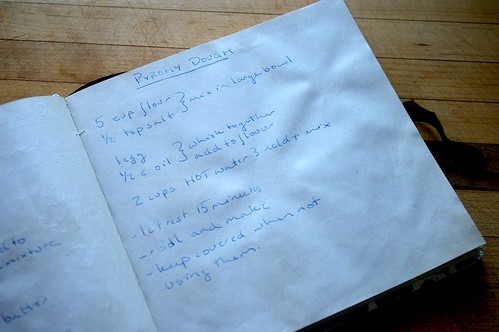
Cheryl’s Pyrohy Dough
- 5 cups flour
- 1/2 teaspoon salt
- 1 egg
- 1/2 cup oil
- 2 cups hot water
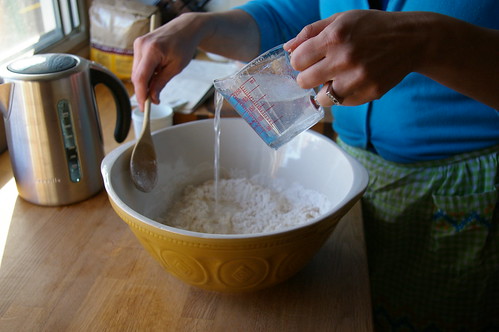
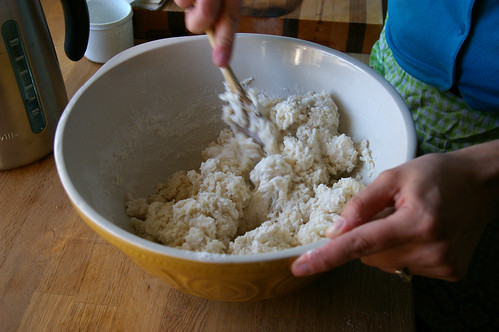
Mix together the flour and salt in a large boil. Whisk together the egg and oil, then add to the flour, mixing to combine. Add the hot water and mix again to form shaggy dough. Let rest for 15 minutes before using.
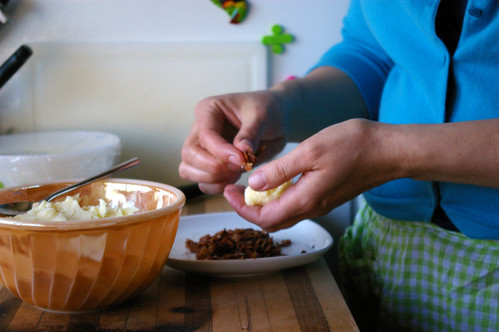
While letting the dough rest, begin forming the filling into small balls. This will make it much easier when it comes to filling the pyrohy.
To make the pyrohy, take a portion of dough and roll it into a log (like you did as a kid while using playdough), then cut into portions and roll those into balls. Using a rolling pin, lightly roll out the dough balls into ovals.
Place the filling in the centre of the dough oval and pull it over so the two halves meet each other. Gently pinch the dough sides together, trying to ensure no air is trapped inside. You can use your finger, curved slightly, to shape the pyrohy into their distinctive half-moons.
(I’m going to be honest here, I don’t think I’m explaining it well, but the pictures should help. Or you can check out Cheryl’s own post on making pyrohy here.)
We made straight-up mashed potato, mashed potato with bacon (put the bacon inside the mashed potato to keep it from perforating the pyrohy dough and causing a giant mess when you boil them) and sauerkraut. But, really, what you put inside is limited only (and forgive me for being this cheesy) by your imagination. Ricotta and a bit of fruit? Yes, that would be good. Mushrooms mixed in with potato? Of course. And so on.

