Julia Child’s White Bread

It was a bit hilarious, in retrospect, to be all, “Hey everyone! I’m blogging again!” and then disappear for six weeks.

There have been a few adventures in the time in between that I will be posting here, but the truth of the matter is that this has been an odd time with lots of rampant emotions, perplexing reactions and reflections. I will also get to that at some point. I’m just not quite ready.

And, frankly, I haven’t really been cooking much.

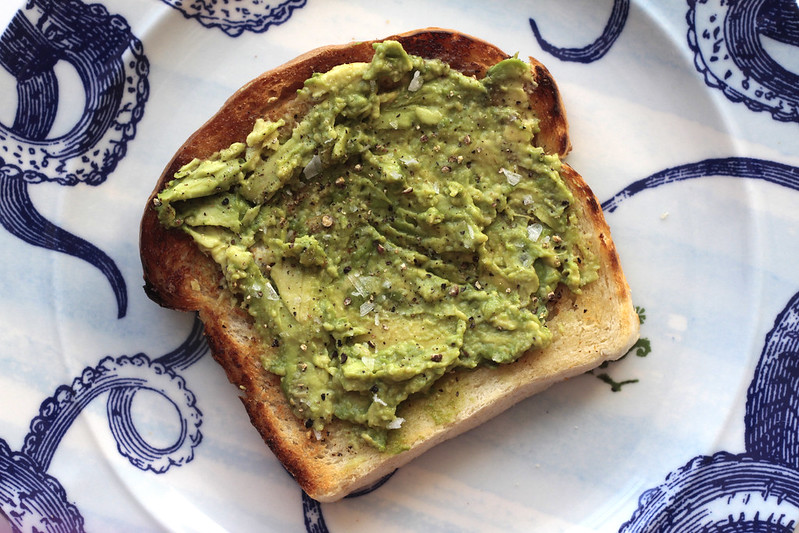
I’ve been eating a lot of sandwiches, though, and copious amounts of toast. Toast with mashed avocado, flaked sea salt and freshly ground pepper; toast with peanut butter, sambel olek, lime and roughly chopped cilantro — it’s kind of like peanut sauce on toast and it is absolutely addictive; toast with thin slices of tomato and a sprinkle of Crazy Jane’s Mixed-up Salt, which has salt and spices all mixed together and is a family favourite that I believe we can only buy in the US now. (It’s also fantastic on avocado.)
Avocado Toast

Sandwiches made from salami and razor-thin slices of cucumber stacked high; havarti and turkey and lettuce with a slathering of grainy mustard; cheddar and homemade basil pesto.

So, yeah, #carblife.

At some point in the last several days, it occurred to me that maybe I should just make my own damn bread. For one, so I could avoid going to the grocery store where I was likely to do some completely unnecessary impulse shopping. (On my list of things to do, near the top, is a kitchen cupboard purge because, good lord, I have way too much food in here.) For two, I needed something to do and getting my hands dirty — so to speak — seemed like it could be therapeutic. It was either that or deep clean the bathroom and one of those had the fringe benefit of resulting in an apartment smelling like fresh baked bread that I could slice while still slightly warm and swipe over with butter before eating it over the sink. The bathroom could wait.

Julie had recently posted a recipe for Hy’s cheese toast that I had mentally bookmarked and in it she linked to her own post from a few years ago on Julia Child’s White Bread, which sounded just about perfect for what I needed.

I love fancy sourdoughs and rustic loaves of no-knead bread but sometimes I just want a good, old loaf of white bread. The bread of my childhood when I would be sent to the neighbourhood bakery to pick up six loaves — thinly sliced — to get our family of six through the week.

Bread, as baking projects go, is barely any work. Exactly the kind of project I also needed.

Mix, knead, take a two hour break, punch, fold, take another break, bake, cool, eat.

Since I’m utterly useless at kneading and since I have a KitchenAid mixer, I didn’t even have to worry about trying to manipulate a shaggy dough into a smooth ball. Though I do love the tactile nature of kneading, so even after the machine had its way with the dough, forming it into a smooth lump, I still took it over to my counter to get my hands into it and knead a few turns.

It is also one of those things that is so damn satisfying. Checking on the dough and seeing how beautifully it has risen always makes me feel so accomplished and pulling it from the oven all lightly golden makes me proud. Plus, there are other delights along the way, like the way it makes the apartment smells and the satisfaction of punching down the dough after that first rise, hearing the hiss of air escaping.

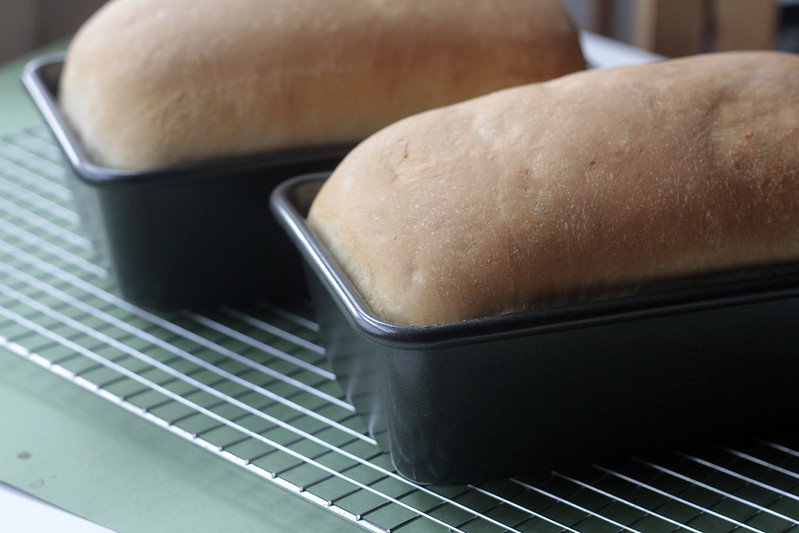
This recipe, unsurprisingly, given Julia Child certainly knew her way around a kitchen, is easy and the bread comes out like a champ. I felt almost guilty feeling proud for how well they came out because there was almost no effort.

Almost guilty.

And then I ate that first slice, still slightly warm, and any guilt disappeared in the joy of eating freshly baked bread.  

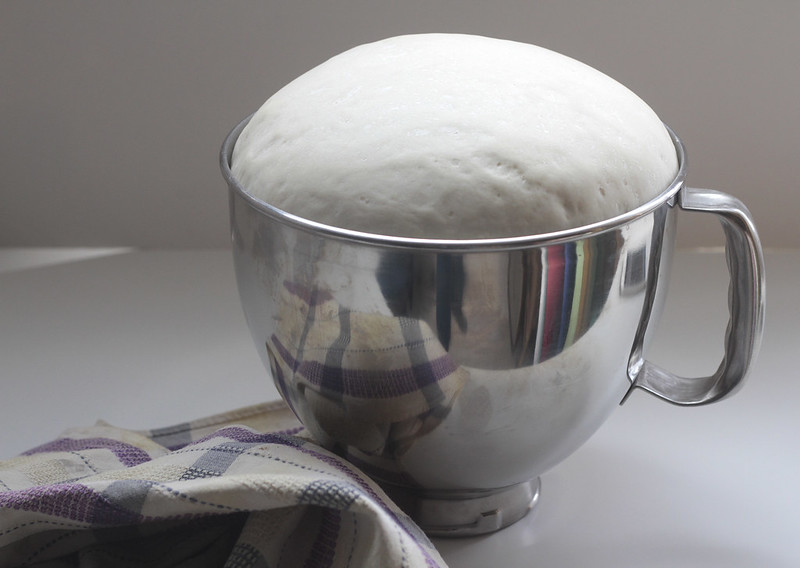
Risen dough

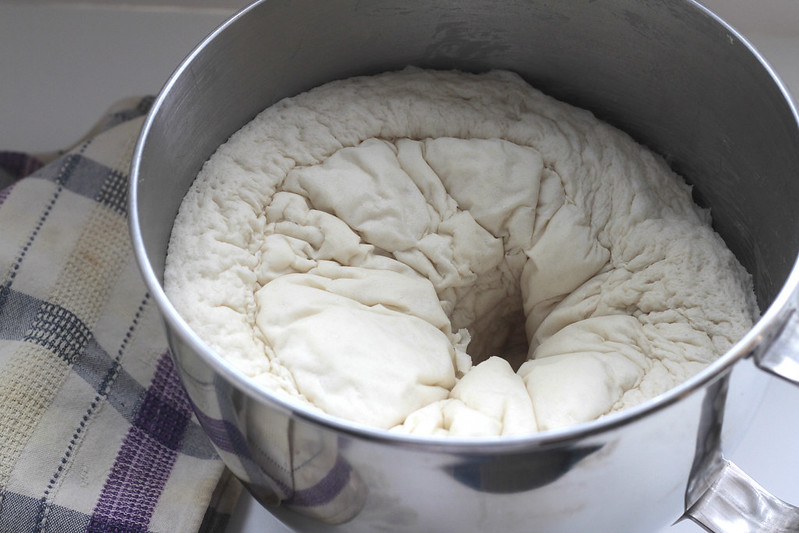
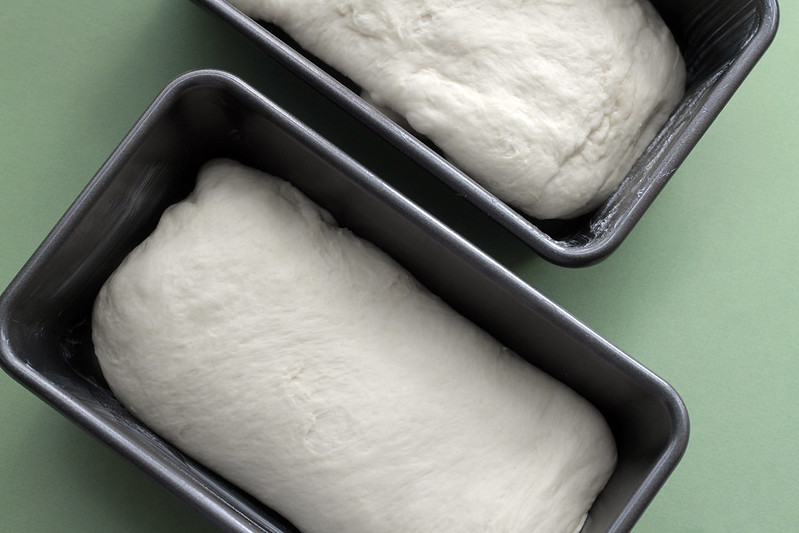
Punched doughLoaves about to rise

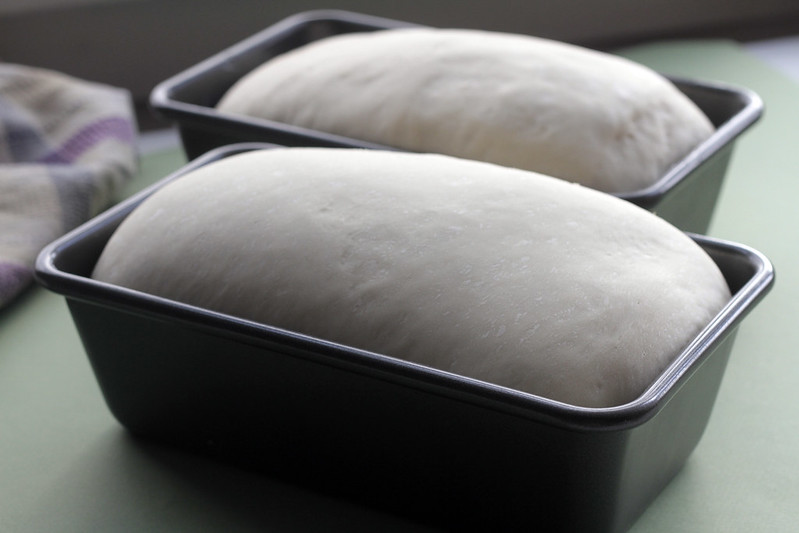
Risen loaves

Baked bread


Julia Child’s White Bread

  • 2 1/2 cups warm water, divided
  • 1 tablespoon active dry yeast
  • 1 tablespoon sugar
  • 6 to 6 1/2 cups all-purpose flour
  • 2 teaspoons salt
  • 1/4 cup butter, softened

Pour 1/2 cup of the water into the bowl of a standmixer affixed with a dough hook (or, if kneading by hand, a large mixing bowl) and stir in the yeast and sugar. Let sit for 5 minutes, until creamy. (If the yeast doesn’t do anything, toss it and start again after buying new yeast.)

Add the rest of the water and 3 cups of the flour. With the mixer on low, mix until well blended. Add the remaining flour and the salt and let the mixer continue to go on low until it’s combined. With the mixer still going, add in the butter, a couple of blobs at a time until completely blended. Turn the mixer up to medium speed and let it knead the dough until it is smooth and elastic, about 8 minutes or so, checking occasionally to ensure it’s not crawling up the hook.

If desired, knead for a few turns on a clean counter, form back into a ball and return to the bowl.

Cover the bowl with a clean towel and let rise until it’s doubled in size, about 1 to 1 1/2 hours.

Butter two 4-inch x 8-inch loaf pans. Punch the dough down and divide in two. Pat each piece into a rectangle a little bit bigger than a regular piece of paper — about 9 inches by 12 inches. Fold it in thirds, using the shorter side of the dough, like a letter. Place in the prepared pans, seam side down and kind of tucking under the ends. Cover again and let them rise until they’re, well, shaped like loaves of bread, about an hour.

Preheat the oven to 375F and set the rack in the centre of the oven. When the loaves have risen, bake for about 30 to 35 minutes, until they are a nice golden brown.

Remove from their pans and let cool on a rack.

Try to resist waiting to slice, or your bread will squish. I managed 45 minutes and it was still warm enough to melt butter, but not so warm that the loaf couldn’t resist slicing.

Makes 2 loaves.

Continue Reading

No-knead bread

Little side note: Patent and the Pantry now has a page on Facebook. Come say hello and join in the discussion. Find it here.)

And now, on with the baking!

No one would ever call me trendy.

I’m not on top of the latest fashions, my music tastes are more eclectic than current and I’d label my style retro rather than cutting edge.

So, when food trends begin taking over the Internet, appearing on blogs and in newspaper articles alike, I don’t exactly jump on board. Macarons? Those look a bit tricky, I say. Whoopie Pies? Not sure what the allure is there. No-knead bread? Looks complicated.

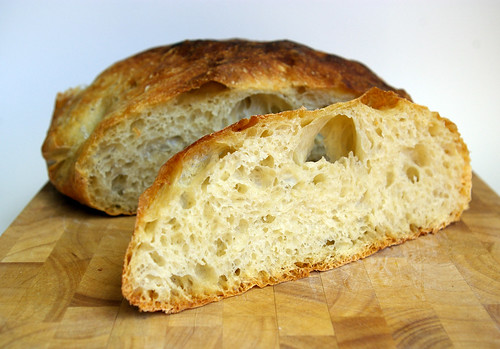
No-knead bread was everywhere about four years ago, shortly after the New York Times’ Mark Bittman wrote a piece about Jim Lahey and his revolutionary recipe for a crusty loaf of bread that required very little effort, only advance planning. Soon bloggers were extolling the virtues of this bread and posts abounded with photos of the round boule with its dark gold crust and large-holed interior.

Bread slice I

My parents jumped on the bandwagon and in the intervening years have abandoned their bread maker in favour of no-knead bread, making a loaf seemingly every other day.

So, on a recent visit with them, I was finally able to taste what all the fuss was about.

It’s no surprise everyone’s been raving.

Bread II

This bread has a crisp crust, but the interior — riddled with the large air bubbles that come from the long fermentation — is all soft chew. It tastes like bread should.

And it makes amazing toast.

But even with all those points, I still resisted for another year before finally deciding it was time to see if I could do it, too.

(I will readily admit here that part of that hesitation stemmed from the inevitable danger that comes from a carboholic realizing she can have access to fresh, homemade bread at will.)

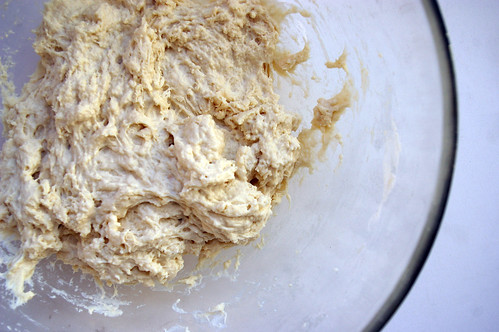
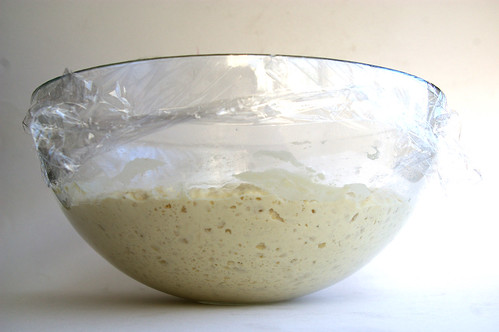
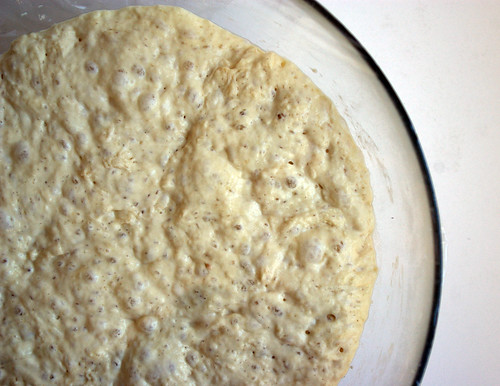
In my glass bowl, I mixed the flour, salt, instant yeast and cool water. I stirred it into a sticky, shaggy mess, covered it with plastic wrap and left it alone for 18 hours. The next day (the most reasonable way to make this bread, I figure, is to let it rise overnight), the dough had tripled in size and was dotted with hundreds of tiny bubbles.

It smelled of yeast and good things to come.

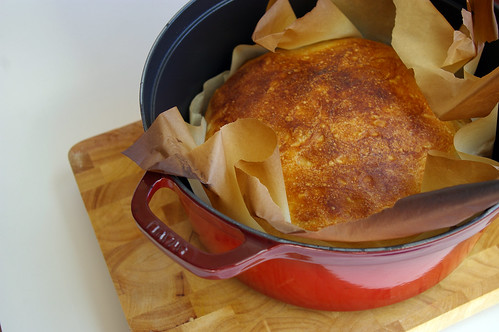
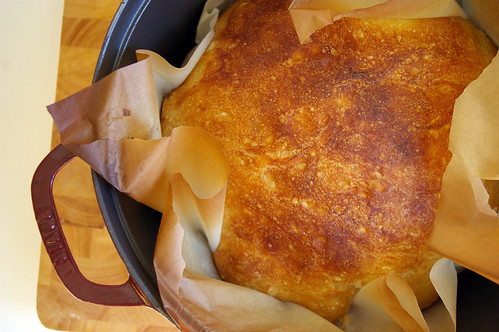
The only time I deviated from the recipe was when Lahey called for a second rise on a clean kitchen towel using wheat bran or additional flour to keep it from sticking, which is then used to dump the dough into a preheated cast iron or enamel pot. Instead, I let it rise again on a piece of parchment. When it came time to get the dough into the cooking vessel, it was just a matter of picking up the four corners of the paper and plopping it in the pot, greatly lessening any chances of getting burned.

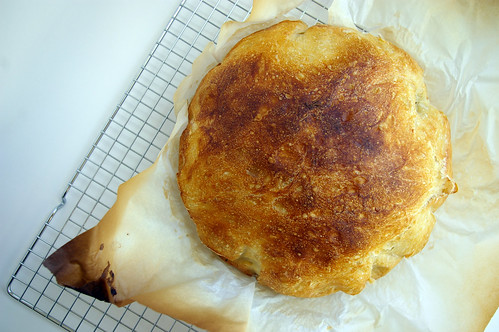
When it came out of the oven, and I lifted it out of the pot using two wooden spoons, I was excited. It looked and smelled like a perfect round loaf.

And that first slice was perfection, topped only with a thin smear of real butter.

Besides the undeniable beauty of eating a slice of bread still slightly warm from the oven (although Lahey calls for it to rest for at least an hour before cutting into it, it is often hard to resist waiting the entire 60 minutes), there is something so satisfying about baking a loaf of bread on your own.

So — I may be behind the times in finally trying it, but this bread is no passing fad.

(This is a Danish Dough Whisk — a tool that is great for mixing dough.)
Danish Dough Whisk

One gram over

Sticky dough

Risen

Risen from the top

Bread

Bread III

Bread slice II

The recipe is Lahey’s own, but I have adapted it to use parchment paper for the second rise. I also found the cooking time too long, so when I bake this bread I cut it down by about 10 minutes.

(The cooking times here are as Lahey suggests.)

Basic No-Knead Bread

Adapted slightly from Jim Lahey’s My Bread (W. W. Norton & Company, 2009, $37.50)

  • 3 cups (750 mL) bread flour
  • 1¼ tsp (6 mL) table salt
  • ¼ tsp (1 mL) instant yeast
  • 1 ¹/³ cups (325 mL) cool water, at 55°F to 65°F (12°C to 18°C)

In a medium bowl, stir together the flour, salt and yeast. Add the water and, using a wooden spoon or your hand, mix until you have a wet, sticky dough, about 30 seconds. Make sure it’s really sticky to the touch; if it’s not, mix in another tablespoon or two of water.

(Note: I’ve had to use more water almost every time. I suspect it’s because Calgary is so dry.)

Cover the bowl with a plate, tea towel or plastic wrap and let sit at room temperature (about 72°F/22°C), out of direct sunlight, until the surface is dotted with bubbles and the dough is more than double in size.

This will take a minimum of 12 hours and (Lahey’s preference) up to 18 hours. This slow rise -fermentation -is the key to flavour.

When the first fermentation is complete, generously dust a work surface (a wooden or plastic cutting board is fine) with flour. Use a bowl scraper or rubber spatula to scrape the dough on the board in one piece.

When you begin to pull the dough away from the bowl it will cling in long, thin strands (this is the developed gluten), and it will be quite loose and sticky, but do not add more flour.

Use lightly floured hands, a bowl scraper or spatula to lift the edges of the dough toward the centre. Nudge and tuck in the edges of the dough to make it round.

Place on a piece of parchment paper, seam side down. Cover with a clean towel and place in a warm, draft-free spot to rise for 1 to 2 hours. The dough is ready when it is almost doubled in size.

Half an hour before the end of the second rise, preheat the oven to 475°F (240°C), with a rack in the lower-third position and place a covered 4½ to 5½ quart (4¼ to 5 L) heavy pot in the centre of the rack.

Using pot holders, carefully remove the preheated pot from the oven and uncover it. Gather up the dough by holding the four corners of the parchment paper and place the entire thing, paper and all, into the pot.

Cover the pot and bake for 30 minutes.

Remove the lid and continue baking until the bread is a deep chestnut colour, but not burned, 15 to 30 minutes more.

Use a heatproof spatula or pot holders to carefully lift the bread out of the pot and place it on a rack to cool thoroughly. Don’t slice or tear into it until it has cooled, which usually takes at least an hour.

Makes one large loaf.

This article first appeared in the Calgary Herald’s Real Life section. For more delicious recipes, visit CalgaryHerald.com/life.

Continue Reading

In pursuit of focaccia perfection

There is a restaurant in Victoria that I am almost incapable of avoiding during any visit to that lovely little city. Pagliacci’s was the scene of more than a few fun nights out with friends while we procrastinated on assignments from UVic and has subsequently become a place that speaks to me of good memories along with good food. I am positively addicted to their dish called the Prawn Broker (spinach pasta, prawns and cashews in a coconut-curry sauce) and will admit with no hesitation that I always order the full size — which is far too big for one sitting — so that I can enjoy just a little bit more later. (Side note: Every few weeks I search the Internet in the apparently feeble hope that the recipe will magically appear. Future blogging may include attempts to recreate the thing myself. Success is not guaranteed.)

But, while the Prawn Broker is my main dish of choice, I could very easily live on the baskets of focaccia set on the table shortly after ordering. Chewy, thickly crusted, salty. I have no idea what magic lies in that recipe which leads to such bready perfection. I can only presume part of the reason is a thick dousing of olive oil. But there are no apparent herbs or crystals of salt to hint at what else goes into this recipe.

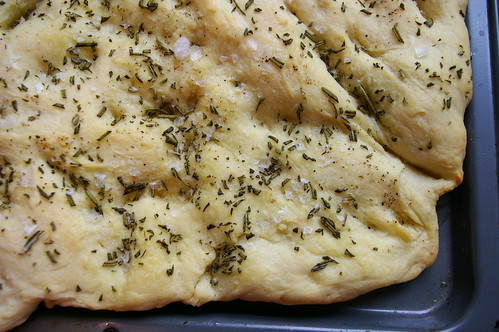
My pursuit of focaccia perfection began about a year ago when I bought (finally!) a handheld mixer. (Friends were unsurprisingly baffled when I made cookies without a mixer, using my own arm strength to cream butter and sugar together.) To my delight, it came with two dough hooks, which opened up the world of bread baking. Okay, so, it’s a pretty limited world at this point, but nevertheless. Since then, I’ve tried to make focaccia a few times, but found it lacking. Where i wanted dense and chewy, these attempts were light and, at one point, crumbly (don’t try to make bread with all-purpose flour, apparently). The top was delicious, owing mostly to a liberal sprinkling of flaky Maldon salt, chopped rosemary and a few generous glugs of olive oil that filled in the divots I had dimpled across the surface of the pale dough. But it wasn’t the best ever.

Baking bread, I fear, is one of those arts that is being lost in my generation. The reason I never made bread before was that, frankly, kneading baffles me. I never seem to get the dough to come together and never seem to have the patience to keep going. Growing up, my mum often made homemade bread and I would “help” but eventually she would take over the kneading. (This is why the dough hooks were such a welcome addition to my mixer.) But also lost is the knowledge on how to affect the outcome of recipes.

I was sharing the focaccia dilemma with my friend Shelley one afternoon when she asked me a few questions about the recipe and I mentioned that it called for the dough to rise three times. Well, she said, that explained why it was so light. Fewer chances to rise = denser dough. Of course, now that she has said that, it makes perfect sense. But since I didn’t know much about baking bread, it didn’t occur to me to play around with the recipe. Of course, now that i *do* know, I’m making it a mission to make the best focaccia possible.

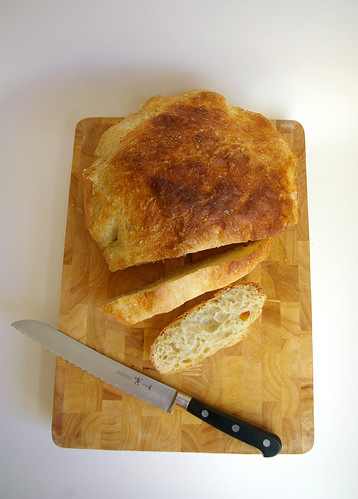
This time I tried a different recipe, but modified it slightly by not letting it rise a second time in the hope it would produce a chewier end result. It definitely did. But it’s still not as good as the bread from Pagliacci’s and I felt the focaccia overall could have used some more flavour. The top was pretty good, though, owing I’m sure to the generous amount of salt, olive oil and chopped rosemary.

And so, the pursuit continues.

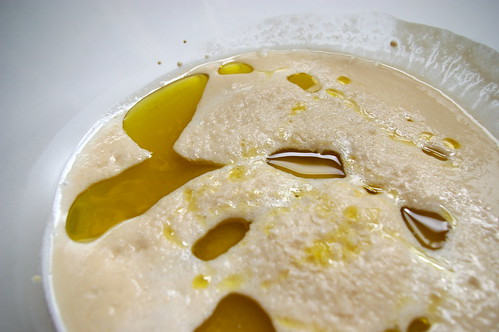
Yeast, water, sugar and olive oil

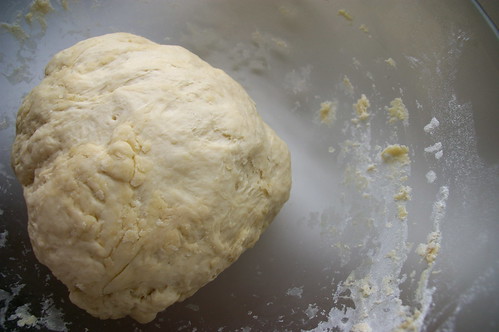
Just mixed dough

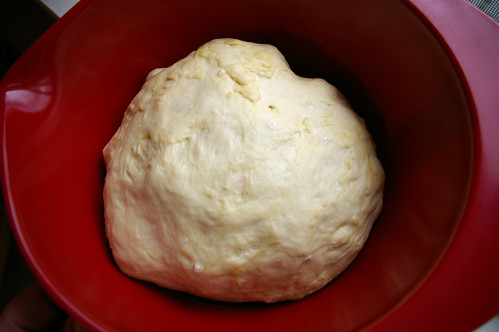
Rising dough

Ready for the oven

Fresh from the oven

Here is the latest attempt. It comes from the fabulous Rebar Modern Food Cookbook, which, as previously mentioned, I bought only for a salad dressing recipe. In this case, however, I didn’t let it rise a second time and I didn’t bother with the garlic, as I find it very hard to keep it from burning. There are few tastes worse than burnt garlic. This is the recipe as printed.

Rosemary Garlic Foccacia

  • 1 3/4 cups warm water
  • 1 tbsp. traditional baking yeast
  • 1/2 tsp. sugar
  • 2 tsp. salt
  • 1/4 cup olive oil
  • 4 cups unbleached flour

Topping

  • 4-6 garlic cloves, minced
  • 4 tbsp. olive oil
  • 2 tsp. coarse salt
  • 2 tbsp. chopped rosemary
  • cracked black pepper

In a large mixing bowl, combine the warm water, yeast and sugar. Let the mixture sit until it foams. Stir in salt and olive oil, then start adding flour, one cup at a time, beating well with a wooden spoon. (Yeah, I used my mixer here.) When you can no longer stir, turn the dough out on a floured surface and knead in the remaining flour. Knead the dough until smooth and elastic, sprinkling just enough flour on the counter to prevent sticking.

Form the dough into a ball and place a large, lightly oiled bowl. Cover with a clean, damp cloth and set the bowl in a warm, draft-free spot. Let rise until doubled in bulk (1 – 1 1/2 hours). Punch the dough down and let it rise again until doubled.

Pre-heat the oven to 350F. Place the dough on a well-oiled 12″x16″ baking sheet with 1/2″ sides. Gently stretch the dough to roughly fit the dimensions of the pan. Drizzle the surface with olive oil and spread the minced garlic over the entire area. Sprinkle chopped rosemary evenly on top, followed by coarse salt. Finish with cracked pepper. Using your fingertips, gently poke indentations over the entire surface. It should appear dimpled and rustic-looking. Let rise again for about 15 minutes, or just until it puffs up slightly.

Place the loaf in the center rack of the oven. Bake for 20 minutes, rotating the pan halfway through. The garlic should be lightly golden. Be careful not to over bake. Serve warm.

Continue Reading