Chocolate Lime Cheesecake

The problem with getting behind in blogging is you start to forget why you made something in the first place.

OK, that might not be a problem others have. This may be particular to me.

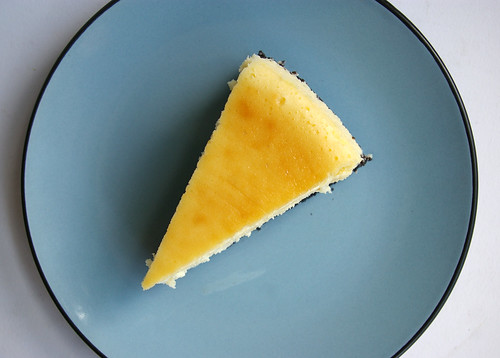
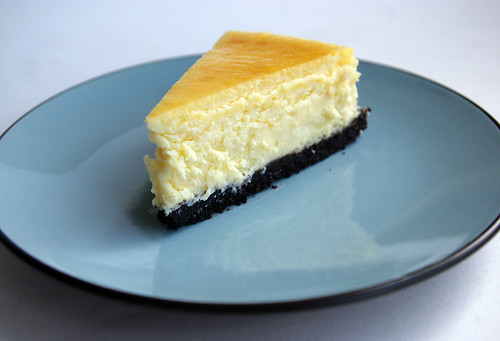
Chocolate Lime Cheesecake Slice I

I think I came up with the idea of making a Chocolate Lime Cheesecake while flipping through cookbooks one night and remembering this had been on my to-do list for eons. I’m almost sure I had pulled Nigella Lawson’s Nigella Bites from my (overstuffed) shelf looking for one of her salad recipes when I re-stumbled across this one. And it occurred to me, since it was a long weekend and I was going to be working on the stat holiday, that I should bake this up and bring it in to the rest of the Calgary Herald crew working on the holiday Monday just like I used to when I was over in the city section. (Back then, I worked Sundays every week and I often baked and brought in goodies for what became known as Civilized Sundays, which would see us sitting around at 10 a.m. eating cake and listening to the police scanner. And reading our horoscopes.)

Then, and I do remember this correctly, I told the people who I knew would be also working that I was going to bake a cheesecake, which actually made me do it.

And, man, am I glad I did.

Nigella, my friends, she knows her stuff.

You know I love lime. It’s no surprise I also like chocolate. These two together are a very nice, very unexpected treat.

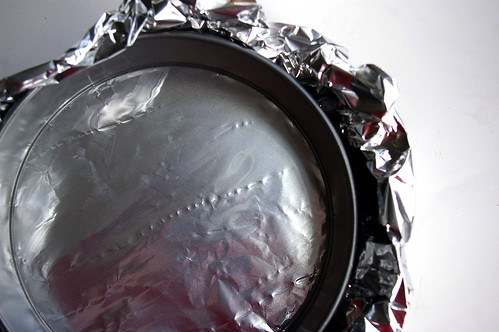
It may seem a bit fussy, but I followed all the instructions, including baking it in a water bath, which is a relatively common suggestion for baking cheesecake (a gentler way that theoretically keeps the top from cracking but always seemed like an unnecessary additional step). And I think it is indeed worth it. And the trick of snapping the aluminum foil into the springform pan (which sounds more confusing than it actually is) really does protect the crust and cake from any water.

Aluminum foil-wrapped pan

However, I must also add that I bought extra-wide aluminum foil thanks to the suggestion of my friend, Colette, who knew such a thing existed. Thanks Col! That way there was no panic about making sure the various pieces were secure enough. I would recommend this as a great way of alleviating any concern over seepage.

Seepage. What an odd thing to be mentioning on a food blog.

And, goodness, this is a very scattered post, isn’t it?

To summarize: this cheesecake is tasty. I enjoyed it. So did my friends. Make it. Don’t wait as long as I did to do so.

End.

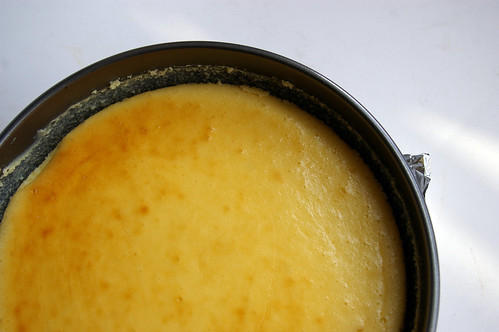
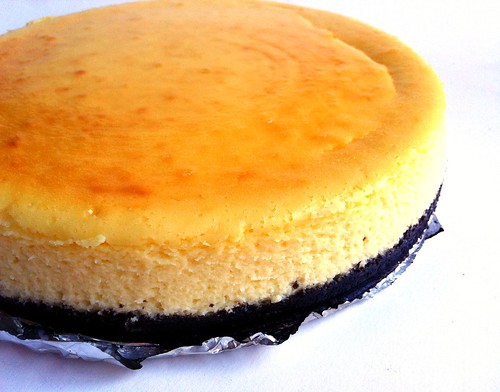
Chocolate Lime Cheesecake I

Chocolate Lime Cheesecake II

Chocolate Lime Cheesecake Slice I

Chocolate Lime Cheesecake Slice I

Chocolate Lime Cheesecake

Straight from Nigella Lawson’s Nigella Bites.

  • 7 ounces chocolate wafer cookies
  • 1/3 cup unsalted butter, melted
  • 1 1/2 pound cream cheese (recommended: Philadelphia)
  • 1 cup sugar
  • 4 whole eggs
  • 2 egg yolks
  • 4 limes, juiced or 3/4 cup

Special equipment: springform pan

Preheat oven to 350 F.

Place a large overlapping piece of aluminum foil over the bottom of the springform pan, and then insert pan ring over it. Fold the foil extra foil up and around the pan and place the whole thing on a second piece of foil, also folding it and pressing it securely around the pan, having a water tight covering.

In a food processor, process cookies until they are crumb-like, add melted butter and continue to process. Pour crumb mixture into springform pan and press with your fingers to line the pan. Place the pan in the refrigerator to set while you prepare the cheesecake.

Place a kettle of water on for water bath. In a food processor beat the cream cheese until smooth, add the sugar, eggs, egg yolks, and lime juice.

Take crumbed pan from the refrigerator and place it in a roasting pan. Pour the cheesecake mixture into the crumb pan, and then carefully pour the hot kettle of water into the roasting pan so the water reaches 1/2 way up the pan so the water does not splash into cheese cake.

Place roasting pan in oven for 1 hour, checking after 50 minutes. It should feel set, but still wobbly in the center. Take the roasting pan out of the oven, carefully remove the springform pan from the roasting pan and place it on a rack. Peel off the outer layer of foil, and tear away the side bits of the first layer of foil and leave the pan to cool. Once the cake comes to room temperature, place it in the refrigerator for 20 minutes before serving. Transfer to the plate you’re going to serve it on, a plate without a lip, or a cake stand. Unclip the springform pan and remove the outer part. Carefully lift the cheesecake removing the metal bottom. The aluminum foil can stay on the cake. Serve chilled.

Continue Reading

Microwave Lime Cheesecake

Under normal circumstances, microwave cheesecake would be an ideal summer dessert for the sole reason that it doesn’t require you to turn on your oven.

However, this summer has been anything but normal.

So, instead, I’m going to tell you that these little cheesecakes are ridiculously easy, super tasty and highly transportable and those are three very fine reasons to consider trying it out. And, hey, if the forecasters are right and we’re going to sail through the rest of August on a heat wave, then feel free to use not wanting to turn on your oven as an excuse, too.

The more rationale, the better, I say.

Not that cheesecake should require any rationale.

These ones certainly don’t.

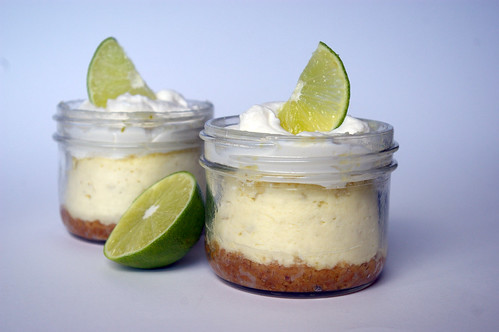
Microwave Lime Cheesecake I

Now, I’m not going to lie. If you’re looking for a silky smooth cheesecake with nary a crack marring the surface, lovingly cooked in a water bath and chilled overnight in the fridge, this isn’t the recipe for you.

If you’re looking for something you can whip up in seven minutes — including cooking time — that sits in the fridge for an hour and then can be devoured, giving you the same tart lime cheesecake taste as the regular kind with almost the same amount of smoothness, then this is the recipe for you.

It was for me.

The hardest part was waiting for it to chill enough.

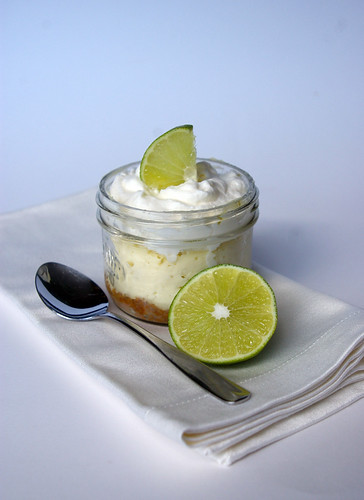
And the best part was because I used mason jars, I could just slap on a lid and take it with me, which would be ideal for picnicking or making an office lunch a little more luxurious.

I used two one-cup (250 mL) mason jars to make the cheesecakes and had a little bit of batter left over. In hindsight, I can tell you I filled the jars a bit too full.

At some point, I may want to sit down and reexamine the subject of portion control. At the time, though, it seemed like a good idea. After all, the recipe said it makes two to four cheesecakes, so two seemed more than reasonable.

Please take my suggestion and make at least three, for a few reasons: 1: These jars are pretty giant and the cheesecake is, naturally, a bit rich and may be better in a slightly smaller dose. 2: Three or four cheesecakes means you can share more easily with more people. That or you can spread them out over several sittings.

3: You won’t be watching anxiously through the microwave door as the cheesecake mixture souffles up and over the jars’ edges, threatening to spill all over the rotating tray.

As it was, all that fretting was for nothing. They didn’t spill, but I think it would have been better without the panic.

Out of the microwave, they settled nicely into a slightly concave top.

I filled that with whipped cream — purely for esthetic reasons, of course. But later I thought some fresh fruit would have been nice.

I liked the slightly tart taste of limes countering the richness of cheesecake, but suspect this recipe can be easily adjusted to suit other flavours, such as lemon (by switching the zest and juice to that fruit) or a straight-up vanilla cheesecake by omitting the citrus and adding a teaspoon or so of vanilla extract. That would be particularly delicious topped with summer berries or a fruit compote.

After all, it only takes about seven minutes to try a new variation. The tricky part will be waiting the hour to see how it tastes.

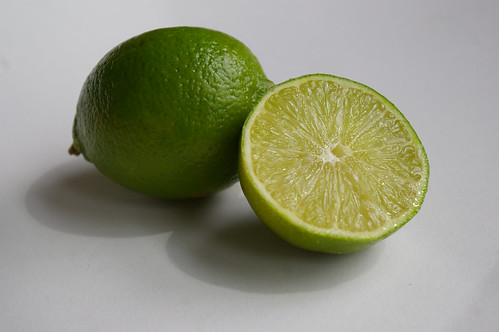
Limes

Microwave Lime Cheesecake II

Microwave Lime Cheesecake

Adapted from TheKitchn.com

  • 3 tbsp (50 mL) butter, melted
  • 1/2 cup (125 mL) graham cracker crumbs
  • 1 tbsp (15 mL) sugar
  • 8 oz (250 g) cream cheese, softened
  • 1/3 cup (75 mL) sugar
  • zest of one lime
  • 2 tbsp (25 mL) fresh lime juice
  • 1 egg

Combine the graham cracker crumbs with melted butter and 1 tbsp (15 mL) sugar. Divide between two to four 1-cup (250 mL) jars or ramekins and press into the bottom.

Mix the rest of the ingredients until smooth. Divide evenly into jars or ramekins with crumbed bottoms.

Place in microwave for 2 minutes. The top of the cheesecake should appear dry when cooked. If it doesn’t look quite done, microwave at 30-second intervals until the tops appear dry. (For my extremely full jars, I needed 2 minutes and 30 seconds.) If you don’t have a rotating microwave tray, cook for 1 minute then turn the jars or ramekins and microwave for another minute.

Chill in refrigerator for 1 hour. Garnish with whipped cream or fresh berries and serve.

This story first appeared in the Real Life section in the Calgary Herald. For more delicious recipes, visit CalgaryHerald.com/life.

Continue Reading