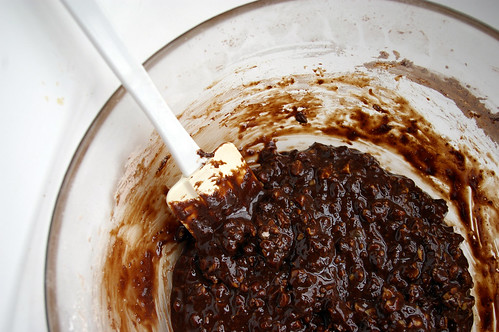
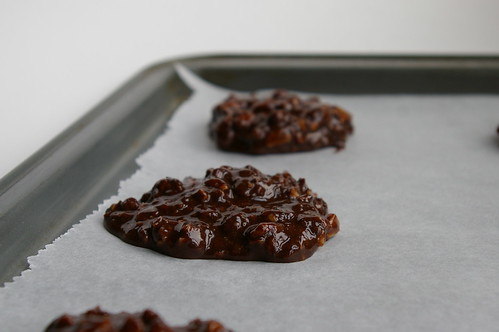
Kitchen Sink Cookies

Most of the time when I make cookies, I’ll eat one or two and then completely lose interest, taking the rest into work for my colleagues to enjoy. (Of which, I am sure, they have no complaints.)

Last year, over at my day job, I reviewed a cookbook called The Flying Brownie (The Harvard Common Press) by Shirley Fan that was all about sending edible care packages to people in the mail. I decided to try her recipe for so-called Kitchen Sink Cookies, which are similar to the more famous Compost Cookies from Momofuku in that, essentially, they’re about throwing in lots of different bits and bobs that may be lurking around the kitchen and in the baking cupboard. We all have those mostly empty bags of chocolate chips, nuts or dried fruit, perhaps a few random squares of chocolate for that recipe that didn’t require all of them in a box. I have amalgamated all my odds and ends — butterscotch chips, Skor bits, different types of chocolate chips — into a container, which is organized, at least, but doesn’t actually go very far when it comes to using them up. So, I was intrigued at the idea of making a cookie whose purpose was to do just that. (And, while I love Compost Cookies, I think we can agree they’re a lot more involved than what some of us want to tackle on a weekend afternoon when a cookie craving strikes.)

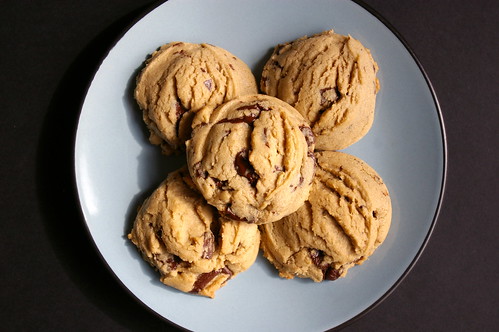
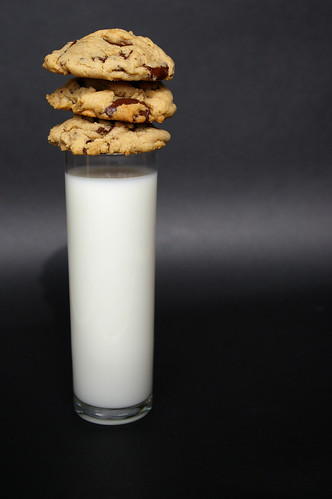
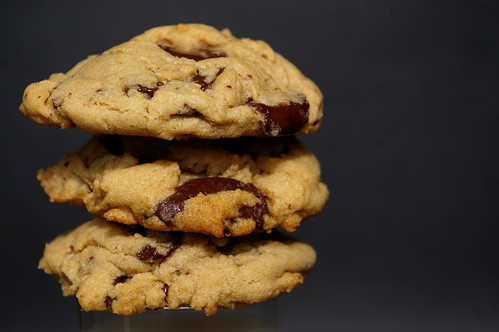
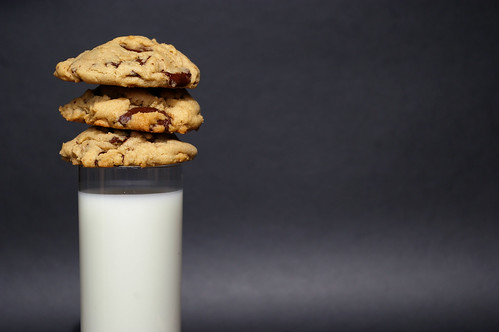
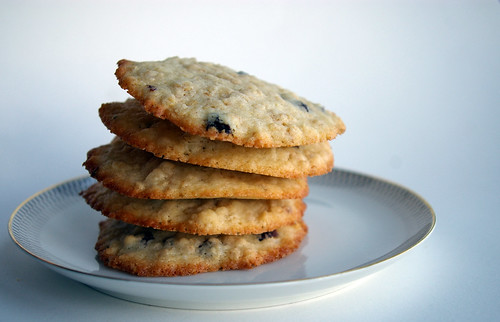
And, man, they did not disappoint. Rich, chewy, and salty-sweet, I could not resist their siren call.

As I said for my review of The Flying Brownie:

Since making them, however, I have eaten no fewer than a half-dozen cookies (over a 24-hour period) before bringing them to the office just to get them out of the house. They were snapped up immediately (as most baked goods in the newsroom are, for what it’s worth), but the reaction from colleagues was different: resounding compliments and requests for the recipe followed.

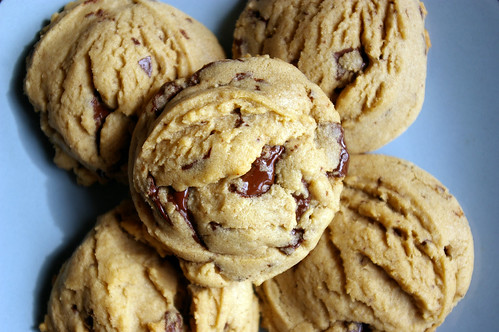
The cookies came out chewy and soft, with specks of chocolate and a slight crunch from the potato chips. Perfection.

I made more just a few nights later.

What I didn’t admit then is that I even held back a few because I knew I’d want a few more and didn’t want to give them all away.

I had a cookie craving the other day and they immediately came to mind.

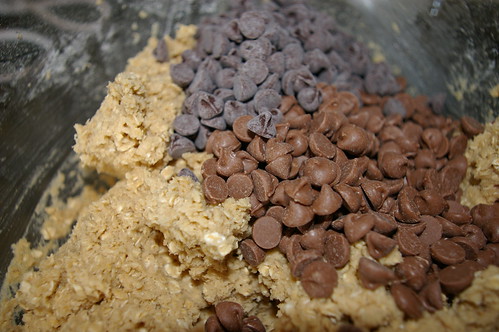
The first time around I used up what was left in a bag of dark chocolate chips and some semi-sweet mini ones, as well as crushed ripple chips and some rolled oats.

Those who know me know well how much I love salty-sweet combinations, so the ripple chips (which I like for the texture as well) were a given. The fact that I had to buy some specifically to add them to the cookies maybe goes against this cookie recipe’s concept, but I’m OK with that.

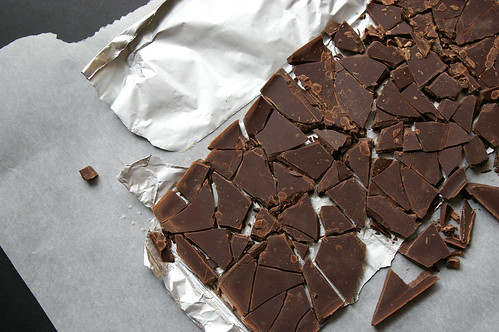
Among the things buried in my baking cupboard, which I cleaned out and organized over the Labour Day weekend, was a bag of Valrhona Caramelia chocolates I bought several months ago from Duchess in Edmonton when I was up visiting friends. They are these little disks of chocolate that taste like a cross between milk chocolate and caramel. It’s tempting to eat them straight up, and I did do that with a few of them, no lie, and then I put them away so I didn’t eat the entire bag and then, of course, promptly forgot they were there until a much more recent trip to Edmonton (and the requisite visit to Duchess) when I remembered I still had them. Roughly chopped, I knew they’d be a great addition.

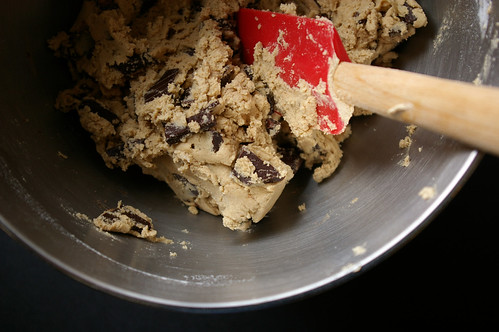
I decided to also throw in some semi-sweet chocolate chips, a handful of butterscotch chips, some roughly chopped pecans and those ripple chips.

Since making them that first time, I have adapted the recipe slightly. Since I decided I wanted the chocolate chips to be an option instead of a requirement, this adaption allows for a little more flexibility with the add-ins. However, I do recommend using a combination of sweet (like chocolate chips) and salty or crunchy or things with texture (coconut, nuts, potato chips, pretzels etc.). I use softened butter instead of melting it because I always have butter softening for one baking project or another and I am lazy enough that I don’t want to dirty a pot or pan just to melt it. I’m also so lazy that I don’t generally bother mixing the flour, baking soda and salt together in a separate bowl. I figure if I add the flour, then scatter the salt and baking soda evenly over it, it will all get mixed in well enough. Fan calls for golden sugar, but I’ve changed it to brown since that’s what most of us have around (and I think it totally contributes to that luscious, rich, caramel flavour).

Lastly, I found that while Fan’s recipe said it would make about 48 cookies, I got about half that. Not sure if that was bad math because I’m not convinced my cookies are much larger than what she calls for. I can say with some assurance there’s no way I ate that much dough. Though, yes, I ate dough. And it was damn good.

Kitchen Sink Cookies

Mildly adapted from Shirley Fan’s The Flying Brownie.

  • 3/4 cup (180 mL) unsalted butter, softened
  • 1 cup (250 mL) packed brown sugar
  • 1/4 cup (60 mL) granulated sugar
  • 1 large egg, at room temperature
  • 1 large egg yolk, at room temperature
  • 1 tsp (5 mL) pure vanilla extract
  • 2 cups (500 mL) all-purpose flour
  • 1/2 tsp (2 mL) baking soda
  • 1/2 tsp (2 mL) salt
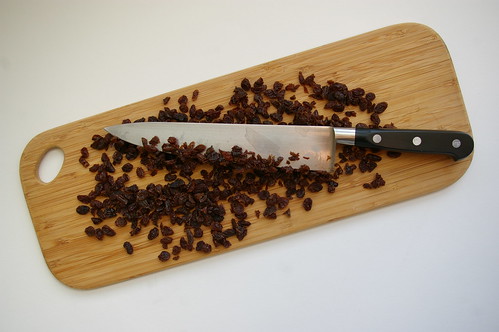
  • 1 1/2 cups (375 mL) add-ins (such as chocolate chips, chopped chocolate, old-fashioned rolled oats, crushed potato chips, pretzels, raisins, nuts or unsweetened shredded coconut)

Preheat the oven to 350F (180C). Line two baking sheets with parchment paper or silicone baking liners; set aside.

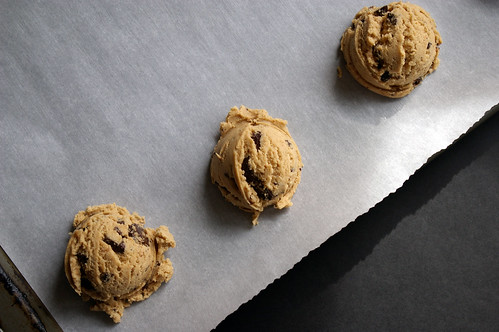
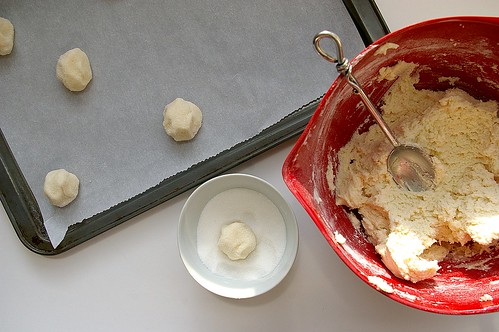
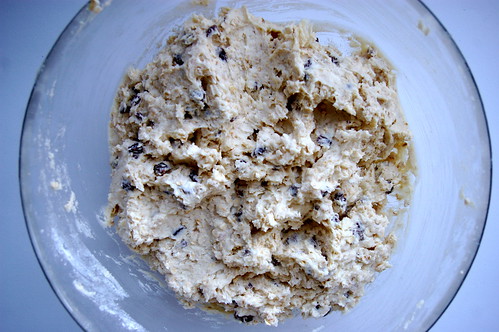
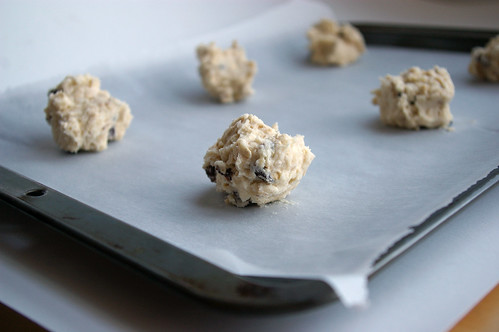
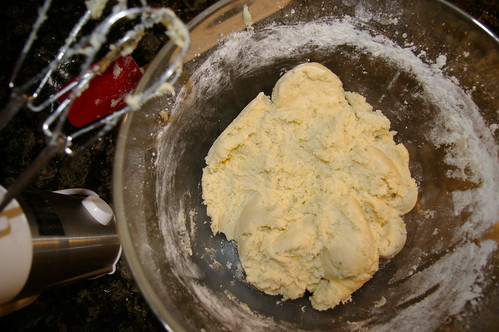
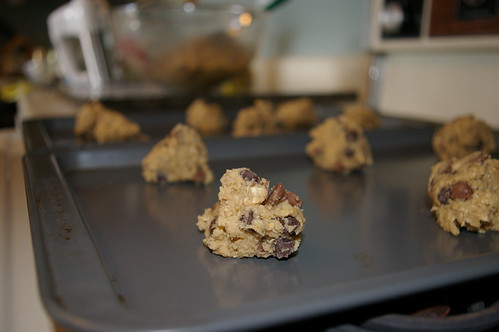
In the bowl of an electric mixer, beat the butter and both sugars on medium speed until light and fluffy. Add the egg, egg yolk and vanilla and mix until well combined, scraping down the sides of the bowl if necessary. Add the flour, baking soda and salt and mix on low speed until blended. Fold in the add-ins. (If time permits, refrigerating the dough for at least 12 hours before baking will improve the flavour of these cookies.) Using your hands or a cookie dough scoop, form 1-inch (2.5-cm) balls with the dough. Place the dough balls on the prepared baking sheets, about two inches (5 cm) apart. Bake until the edges are lightly browned, 9 to 10 minutes. They will look slightly underdone in the centre.

Cool the cookies on the pans for five minutes before transferring to a rack to cool completely. Repeat with the remaining dough. Pack in zippertop plastic bags, pressing out any air, or in airtight containers, separating the layers with waxed or parchment paper.

Makes about 24 cookies.


Continue Reading

Lemon Polenta Cookies

To glaze or not to glaze? That was, in the end, the question.

And, with apologies to Shakespeare, it was a far tastier one.

Lemon Polenta Cookies II

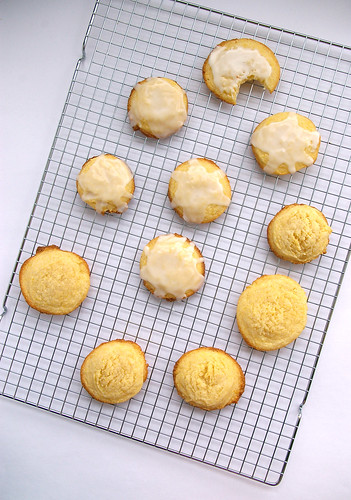
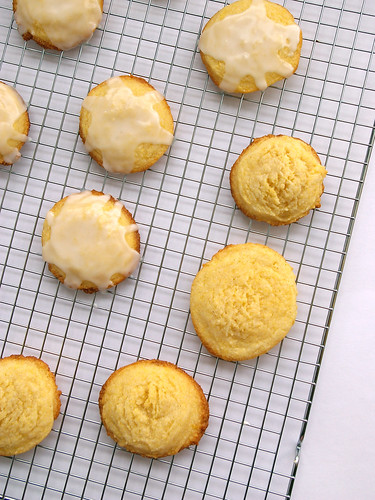
It started with some Lemon Polenta Cookies and an overachieving lemon that gave off copious amounts of juice – far more than necessary for the recipe. It developed when I remembered once seeing a recipe for a different lemon cookie featuring a glazed top — all smooth and pale white, just hinting at the lemon flavour. And it culminated with me mixing up just a bit of a glaze, enough to use up the last of the juice – waste not, want not, after all – and drizzle some of it over a handful of cookies to see which were tastier.

I was first attracted to this recipe after discovering, to my dismay, that I have three packages of finely ground cornmeal in my cupboard – the product of forgetting I have some, buying more and then forgetting again. I had been through a cornbread phase, followed by an actual made-from-scratch polenta phase. And then those bags were forgotten about until a fit of not-quite-spring cleaning.

(Truly, if there is a zombie apocalypse, please come to my apartment. My overly stocked cupboards should keep us fed for the first few months.)

The idea of adding cornmeal to a cookie was intriguing. The result didn’t disappoint.

The addition of cornmeal gives them a slight heartiness, a nuttiness and a nice texture, even though they’re still soft and chewy in the centre.

The zest and lemon juice add lots of bright flavour and the whole recipe comes together quickly.

Unadorned, they were lovely. But there was all that leftover, freshly squeezed and strained juice just asking to be made into a glaze.

So, a glaze I made, drizzling it thickly over the cookies and letting it coat the nubbly surface.

Friends were divided on which they preferred.

As one said, when there is a chance to glaze, the answer is always to glaze.

Another disagreed, noting the plain version of the cookie had a crunchier top, which was preferable.

I ate both – possibly a few times – and still remain completely divided.

Surely, the only solution is to try yourself and see which you prefer.

Lemon Polenta Cookies I

Lemon Polenta Cookies

  • ½ cup (125 mL) finely ground cornmeal
  • 1 ½ cups (375 mL) all-purpose flour
  • ½ t (2 mL) salt
  • ¾ cup (175 mL) butter, softened
  • 1 cup (250 mL) sugar
  • zest of 1 lemon
  • 2 tbsp (30 mL) lemon juice
  • 1 egg

Preheat oven to 350.

In a bowl, whisk together the cornmeal, flour and salt. Set aside.

Using a mixer, beat together the butter and sugar until light and fluffy. Add the lemon zest and juice, mixing until incorporated. Beat in the egg.

Add the cornmeal mixture and mix on low speed until just incorporated, about 1 minute or less.

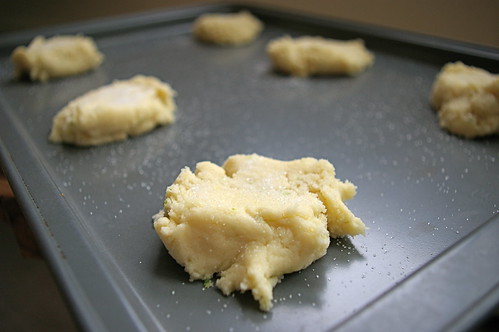
Scoop tablespoon-sized balls of dough onto cookie sheets, allowing room for them to spread a bit.

Bake until just golden at the edges, between 14 and 18 minutes, depending on the size of the dough balls.

Makes 18 to 20 cookies.
 

Optional Glaze

  • ¼ cup (60 mL) icing sugar
  • 1 tbsp (15 mL) lemon juice

In a small bowl, mix together the sugar and lemon juice until completely incorporated. Drizzle over cookies.
This should be enough to glaze about half the cookies.
 

Continue Reading

Dark Chocolate Chunk Cookies

What’s the sign of a good recipe?

When you make it twice in one week. (And kind of wish you had the ingredients to make it again as you’re blogging about it.)

My friends, this is that kind of recipe.

And it’s for chocolate chunk cookies.

Milk and dark chocolate chunk cookies

I didn’t think there was anything revolutionary about chocolate chip cookie recipes. (Barring, of course, the New York Times one that pretty much everyone has tried, except me. One day, I will try this. It’s the same day I have a fridge large enough to store a bowl of cookie dough for a minimum of 24 hours. One day.) I was mistaken.

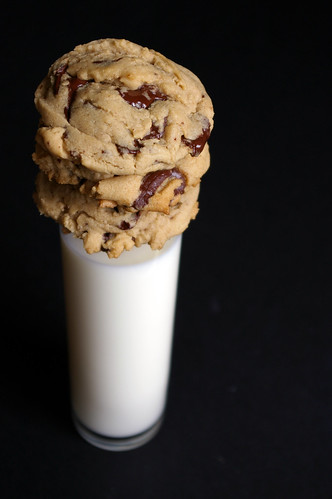
These are chewy delights of soft cookie with melty bits of dark chocolate. They are cookie perfection.

Dark chocolate chunk cookies I

I just really wanted to make some cookies one night last week, but had not put any thought into what kind. I innocently tweeted out I had a hankering to bake and my friend Robyn suggested I make these cookies from Anna Olson. I was intrigued by the addition corn starch, which Olson says gives the cookies a chewy centre.

And, perhaps more importantly, I knew I had all the required ingredients, including an assortment of dark chocolate bars that I wasn’t quite sure what to do with. One of the ones I ended up using was a more traditional thin, flattish bar, while the other was about a 1/2-inch thick.

I used my awesome cookie scoop to portion out the dough, which made these nice rounded, perfectly portioned balls of dough. What surprised me when they baked, though, is that there really wasn’t very much spread. They remain nicely thick and I’m sure that contributes to the chew.

I ate a couple that night, then took some in for work where people devoured them.

So, when it came to attending my first tailgate on Saturday (I know, I know, but I’m from Vancouver; we’re not really tailgate people), I knew exactly what I wanted to bring. And not just because I really wanted to eat some myself. But, yeah, that was part of it.

This time, I used two flat, thin bars of 70 per cent dark chocolate. I broke them into smaller pieces with my meat tenderizer. Let me tell you, that was oddly satisfying. And the end result was really nice. The pieces melted into strata of cookie and oozing chocolate. It was heavenly.

And for that, this is my new go-to cookie recipe.

Smashed chocolate

Dark chocolate chunk cookie dough

Scooped dough

Dark chocolate chunk cookies I

Milk and dark chocolate chunk cookies

Dark chocolate chunk cookies

Milk and dark chocolate chunk cookies

Dark Chocolate Chunk Cookies

This is, essentially, exactly as Anna Olson dictates, but I’ve made a few changes to the instructions and called for dark chocolate instead of bittersweet.

  • 3/4 cup unsalted butter, softened
  • 1 cup brown sugar
  • 1/4 cup granulated sugar
  • 1 egg
  • 2 teaspoons vanilla extract
  • 2 cups all-purpose flour
  • 2 teaspoons cornstarch
  • 1 teaspoon baking soda
  • 1/2 teaspoon salt
  • 8 ounces dark chocolate, cut or broken into chunks

Preheat oven to 350F.

Cream butter and both sugars until smooth. Add egg and vanilla and blend in.

In a separate bowl, whisk together flour, cornstarch, baking soda and salt. Add to butter mixture and mix until just blended. Fold in chunks of chocolate.

Line baking sheet with parchment paper. Drop cookie dough by spoonful onto the lined sheet and bake until just golden brown around the edges, between 8 and 10 minutes.

Continue Reading

Eggnog Sugar Cookies

Can I just admit something pretty embarrassing (for bloggers anyway) here?

I made these a year ago. And then I procrastinated (It’s a curse!). And then, well, the window closed for holiday baking.

And that was that.

Until now.

However, in the intervening year (!), I have completely forgotten why I wanted to make these and what I was going to say about them. I mean, cookies = good. Eggnog = good. Eggnog cookies = good x 2.

And, really, do they need any other explanation?

I think not.

Eggnog Sugar Cookies

Icing Sugar Dusting

Iced and Sugared

Thanks to Dinner with Julie for the recipe, of course.

Eggnog Sugar Cookies

  • 3/4 cup butter, softened
  • 1 cup sugar
  • 1 egg
  • 1 teaspoon vanilla
  • 1/4 teaspoon rum extract
  • 2 1/2 cups all-purpose flour
  • 1/2 teaspoon baking powder
  • 1/2 teaspoon nutmeg
  • 1/4 teaspoon cinnamon
  • pinch salt

In large bowl, beat butter with sugar until light and fluffy. Beat in egg, vanilla and rum extract. Combine flour, baking powder, nutmeg, cinnamon and salt ; with wooden spoon, stir into butter mixture in 3 additions. Divide in half; flatten each slightly. Wrap in plastic wrap and refrigerate for at least 1 hour or until chilled. (Make ahead: Refrigerate for up to 1 day.)

On lightly floured surface, roll out each half of dough to 1/4-inch (5 mm) thickness. Use a cookie cutter to cut out shapes.

Bake in top and bottom thirds of 375°F (190°C) oven, rotating and switching pans halfway through, for about 10 minutes or until golden on bottom and edges. Let cool for 1 minute on pans. Transfer to racks; let cool completely. Decorate with icing or sprinkle with icing sugar.

Continue Reading

Chewy Lemon Cookies

I’m practically laid out on the couch, cosying up to an ice pack right now (Thank god for laptops.) having done something again to my back. Stretch, ice, advil, repeat. Needless to say, the weekend has not been very active. One errand yesterday and brunch with a friend today before I had to make nice with my back and hang out on the living room floor staring at the ceiling. You know what lying on the floor shows me? That I really need to vacuum more.

So, no baking or cooking today, but luckily I have saved up this little chewy lemon cookie recipe for a rainy day (of sorts). If you’ve been on this blog long enough, you know how much I love lemon. In fact, some may say it’s an addiction.

And that means when I see a good-looking lemon-centric recipe, like this one for Chewy Lemon Cookies, it isn’t long before I’m making it. I was also intrigued by the idea because I absolutely adore the Lime Sugar Cookies I often make. There are very few things these two recipes have in common, other than a citrus focus. But they’re both fantastic in their own way.

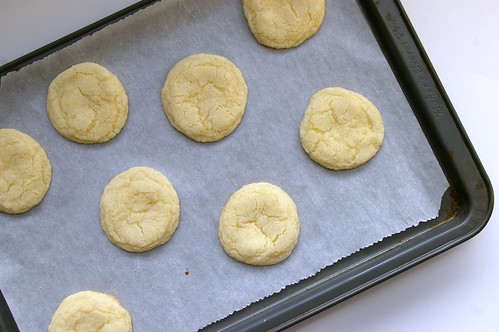
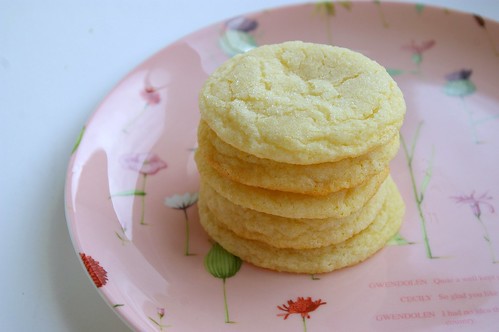
I loved these cookies for the chew and crackled top. Plus, of course, the lemon-y flavour.

I baked them off on a Saturday and shipped about a dozen off to the Sunday crew at the Herald because even though I’m not there on the weekends anymore, it doesn’t mean I can’t take care of my girls. Their grateful tweets made it totally worthwhile.

As some of you know, I’m a terrible procrastinator and have been sitting on this recipe for two weeks. A friend has been gently reminding me to get it up because she wants to make them herself — that’s how good they are.

Lemon Sugar Cookies - process

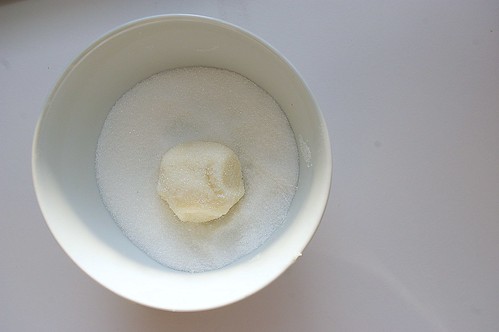
Rolling in sugar

Lemon Sugar Cookies I

Lemon Sugar Cookies II

Chewy Lemon Cookies

from MyBakingAddiction.com

  • 2 3/4 cups all-purpose flour
  • 1 teaspoon baking soda
  • 1/2 teaspoon baking powder
  • 1/2 teaspoon salt
  • 1 cup butter, softened
  • 1 1/2 cups white sugar
  • 1 egg
  • 1/2 teaspoon vanilla extract
  • zest of one large lemon
  • 4 tablespoons fresh lemon juice
  • 1/2 cup sugar for rolling cookies

Preheat oven to 350F. Line cookie sheets with parchment paper.

In a small bowl, whisk together flour, baking soda, baking powder and salt.

In a larger bowl, beat together butter and sugar until light and fluffy. Beat in egg, vanilla, lemon zest and juice.

Add in dry ingredients, beating until just combined. Roll rounded spoonfuls of dough into balls and then roll in sugar. Place on lined cookie sheets, about 1 or 2 inches apart.

Bake for 8 to 10 minutes. (Mine needed barely 8 minutes; they were not yet golden but I wanted them still pale and tender.) Remove from oven and let stand on cookie sheet for 2 minutes before removing to cook on wire racks.

Makes 24 – 36 cookies.

Continue Reading

Stephen Duckett’s Oatmeal Raisin Cookies

If you live in Alberta, chances are good you’ve heard about “cookiegate.”

Stephen Duckett's Oatmeal Raisin Cookies II

If you don’t, there’s still a chance you may have heard about it. (Even DListed caught wind.)

Here it is in a nutshell: after a week that saw harsh criticism levelled at Alberta Health Services, the board’s chief executive Stephen Duckett spent the day Friday in a meeting examining Alberta’s emergency care crisis. At the end, he came out to find three reporters looking for comment.

And what did he say? “I’m eating my cookie.”

Repeatedly.

You can see the entire exchange on YouTube here, though I also quite enjoyed this Cookie Monster/Duckett mash-up that someone later posted.

I’m not saying he had to stop and give a quote. My point is merely that this is a highly-paid official and a professional. It would have been much easier to simply stop, say he would not be giving a comment but that there was a media availability in 30 minutes if the reporters wanted a quote. To wave the cookie in a reporter’s face was rude. To continue for two minutes going on about eating the cookie was just comical. And not in an endearing way.

Anyway, I’m not here to wax on about politics. This is a food blog and I’m a baker at heart, so for me the curiousity became increasingly about the cookie at the heart of the controversy.

On Monday, I tweeted that I wondered what type of cookie Duckett had been eating. Turns out I’m not the only one that thought that way. The Edmonton Journal’s political columnist, Paula Simons, tracked down the chef behind the now-infamous cookie and he supplied the recipe. And all I could think after that was, I have to bake these things.

Turns out, he is Emmanuel David of La Persaud catering, a man who believes the secret to a chewy and soft oatmeal cookie lies in using lots of butter and sugar. And this recipe has it in spades. In fact, I was a bit surprised when I saw the ingredient list because it seemed to consist solely of those two ingredients. (Turns out there was some misinformation initially, which the chef later corrected. Below is the corrected version of the recipe.)

Still, only 1 teaspoon of baking powder didn’t seem to be enough leavening to give these cookies some height when competing against all that butter. And a complete absence of salt seemed strange.

But this chef must know what he’s doing, I figured and I confidently moved ahead, creaming together the copious amounts of butter and granulated sugar, beating in the four eggs one at a time and then gently folding in the dry mixture of flour, oatmeal, chopped raisins and the tiny amount of baking powder. (I love the idea of chopping the raisins first so you get little bits of them rather than just complete ones every once in a while.)

OK, I threw in two pinches of salt. It seemed crazy not to have some. Yes, even though I used salted butter.

I threw a tray of six rounded balls of dough in the oven and then set the timer for 10 minutes. (The recipe doesn’t specify how long they go in for, just to bake until “golden.”) When the timer went off, the edges were verging past golden and into “crisp” territory, but the tops of the cookies, while cooked, were almost as pale as snow. I would let them bake for another minute, but just don’t like burnt cookies, so I pulled them out and tried again. For the second batch, I moved the rack in the oven up a rung so it was in the top third and not in the middle. These cookies fared a little better.

I tried making them smaller; I tried making them bigger.

But nothing I did made them look the same colour as the cookie Duckett brandishes in the video.

Perhaps the best thing I did was sprinkle a scant pinch (just a few grains really) of sea salt on top of the last few batches to try to even out the sweetness.

It was only halfway through as I was trying to puzzle out why they weren’t working (the perfectionist in me was absolutely beyond annoyed) when I began to wonder if David meant brown sugar when he just wrote “sugar” in the recipe. That certainly would have changed the colour and given them a bit more heft. It’s too late now, but I may revisit this later and make that swap. Or do half granulated and half brown to see what happens.

Because, ultimately, these are very light, soft cookies and worth a second attempt.

As the last tray came out of the oven, news began to trickle out over twitter that Duckett had been given the boot.

I guess that’s the way the cookie crumbles.

Chopped Raisins

Dough

Oatmeal Raisin Dough balls

Stephen Duckett's Oatmeal Raisin Cookies

Stephen Duckett’s Oatmeal Raisin Cookies

from Emmanuel David, converted into imperial measurements by me. The instructions are exactly how he gave them on Simons’ blog.

  • 500g butter (about 2 1/8 cups. One block of butter is 454g, so it’s more than that)
  • 450g sugar (2 cups)
  • 4 large eggs
  • 200g organic oatmeal (2 cups)
  • 100g California Golden Raisins, chopped (scant 3/4 cup and I used purple ones because that’s what I could find.)
  • 400g flour (2 3/4 cups)
  • 5 mL baking powder (1 teaspoon)
  • Dash cinnamon, optional

Method:

1. Cream Butter & Sugar Until Fluffy. Add Egg Gradually

2. Fold Flour, Oatmeal & Raisins Mix Well

3. Shape cookies into small round balls. Do not flatten – place on cookie sheets as balls.

4. Bake 180 degrees C until golden brown.

(Gwendolyn’s note here: Most of mine baked for about 12 minutes to get a golden edge and bottom. They were fully cooked, though still pale.)

Yield: Makes approx. 30- 90g Cookies

(Mine made more than 30, for sure. Somewhere closer to 45.)

Continue Reading

Flourless Chocolate-Walnut Cookies

There is often debate among brownie fans on whether it is better to be fudge-y or cake-y. I have mostly stayed away from this because I’m not enough of a brownie enthusiast to really care one way more than the other.

Besides, the only thing that really matters when it comes to the brownie is the slightly crisped edges and the crackled top. For me, that is where the beauty of the brownie lies.
But, let’s face it, unless you have one of those special “all edge” pans with their labyrinthine shape, someone is getting stuck with the middle bits.

And that’s how I thought things would always be, until I tried these flourless chocolate-walnut cookies.
Flourless Chocolate Cookies

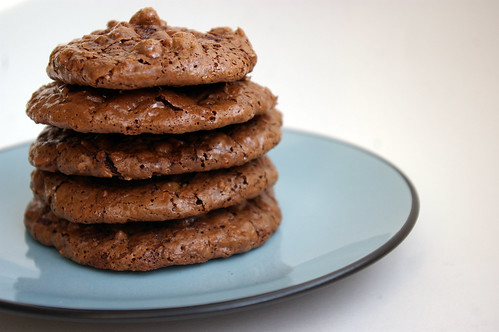
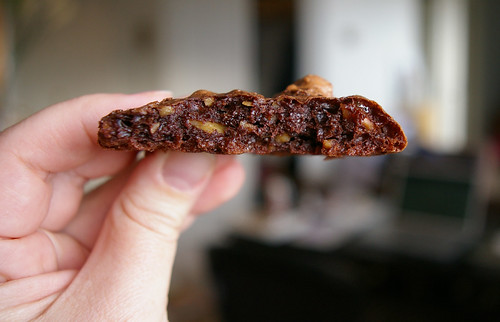
OK, they are not brownies. For someone like me, they are even better. They are cookies that taste like the crinkled surface layer of a brownie with its slight chew and crackle goodness, studded with chunks of walnuts.
To be honest, flourless chocolate cookies were not high on my list of things to bake when I stumbled across the recipe. But I came upon it after I had put some egg whites in the freezer, unsure what to do with them after using up the yolks.

I could have saved them for a pavlova, but figured it was worth trying out something new.

The list of ingredients was straightforward, if not a bit puzzling. I’ve never measured out three cups of icing sugar for a cookie recipe before.

Nor was I actually convinced that the airy ingredients would transform in the oven to some sort of cookie delight.

However, it did have a few things going for it: I already had egg whites ready to go and the recipe reminded me of a package of cookies I bought from a chain store grocery store once.

I served them to friends with a dollop of vanilla ice cream sandwiched between: a gourmet version of the childhood treat. It seemed worthwhile to see if these could compare. Or, as the case ended up being, improve on the store bakery version. The chocolate chew and nuts in a tender cookie package were so right. And they were light and not overly sweet. (Though, that was dangerous too, as it was easy to eat more than one or two and feel I still had room for another.) Mine did not get as shiny as I have seen in other people’s photos of the same type of cookies.

Normally I’d get a bit worried. Or envious.

Why do mine look different?

But after sampling one — OK, several — of the cookies, I realized I didn’t care what they looked like. They were fantastic.

I have since found myself trying to find recipes that use up only yolks so that I can take advantage of this cookie recipe again.

Toasted walnuts

Cocoa and Icing Sugar

Cocoa Sugar mix

Flourless chocolate cookie batter

Cookie dough puddles

Chewy goodness

Francois Payard’s Flourless Chocolate-Walnut Cookies

from New York magazine

  • 2¾ cups (675 mL) walnut halves
  • 3 cups (750 mL) confectioners/ icing sugar
  • 1/2 cup plus 3 tbsp (170 mL) unsweetened Dutch process cocoa powder
  • 1/4 tsp (1 mL) salt
  • 4 large egg whites, at room temperature
  • 1 tbsp (15 mL) pure vanilla extract

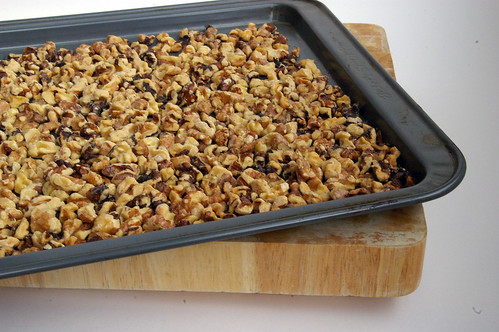
Preheat oven to 350°F (180°C). Spread the walnut halves on a large-rimmed baking sheet and toast in the oven for about 9 minutes, until they are golden and fragrant. Let cool slightly, then move the walnut halves to a work surface and coarsely chop them.

Position two racks in the upper and lower thirds of the oven and lower temperature to 320°F (160°C). Line two large-rimmed baking sheets with parchment paper.

In a large bowl, whisk (or use an electric mixer on low speed) the confectioners’ sugar with the cocoa powder and salt followed by the chopped walnuts. While whisking (or once you change the speed to medium), add the egg whites and vanilla extract and beat just until the batter is moistened. Do not overbeat or it will stiffen.

Spoon the batter onto the baking sheets in 12 evenly spaced mounds, and bake for 14 to 16 minutes, until the tops are glossy and lightly cracked; shift the pans from front to back and top to bottom halfway through to ensure even baking.

Slide the parchment paper (with the cookies) onto 2 wire racks. Let cookies cool completely, and store in an airtight container for up to 3 days.

This story first appeared in the Real Life section in the Calgary Herald. For more delicious recipes, visit CalgaryHerald.com/life.

Continue Reading

One-Cup Cookies

I’m not sure if these are a Prairie phenomenon or if it’s coincidence that I had never heard of them before moving to Calgary.

But they showed up in the newsroom one day, courtesy of a fellow reporter, and I was intrigued. Not quite oatmeal, not quite chocolate chip, not quite peanut butter, these One-Cup Cookies are like the best combination of cookies. The baker offered up a pair of recipes to try, but they essentially boil down to the simplest of formulas: one cup of everything. (OK, obviously not the leaveners.)

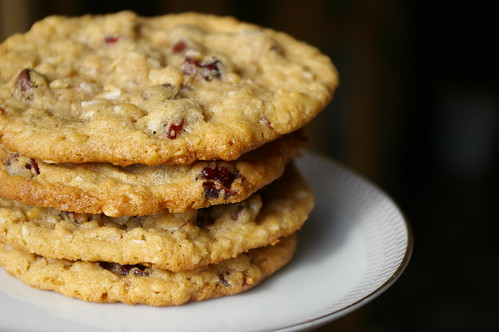
Stack of One-Cup Cookies

The main difference between the two recipes is the amount of peanut butter. One calls for a cup of the stuff, the other only 3/4 of a cup. After trying both (several times), I’ve decided I like the one with less peanut butter. The taste is barely noticeable, but adds just another dimension to these cookies.

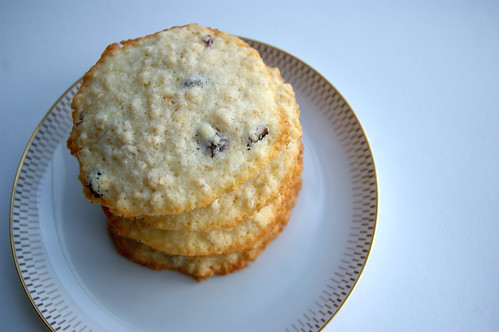
The best thing about this recipe is that it’s infinitely adaptable. Add nuts, seeds, raisins as you see fit. Don’t like cranberries? Don’t add them. Don’t want your kids hopped up on chocolate? Omit the chips. And so on.

I love the addition of cranberries, though. The play of sweet chocolate against the tang of the slightly tart of the dried fruit is really nice.

Like all cookies, the trick to keeping these chewy is to pull them out of the oven, while they’re still slightly puffed and gooey looking in just the centre. They’ll keep cooking from the residual heat even after you pull them out, but won’t get overly crisp.

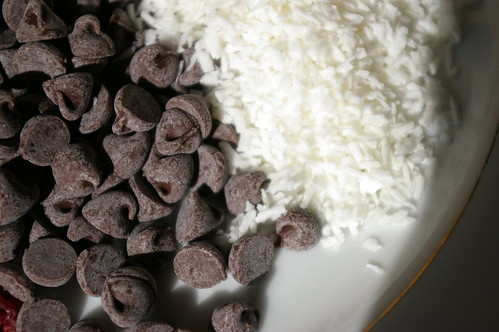
Chips and Coconut

The ingredient trio

One-Cup Cookie Dough

One-Cup Cookies

  • 1 cup brown sugar
  • 1 cup white sugar
  • 1 cup butter, softened
  • 3/4 cup peanut butter
  • 2 eggs
  • 1 cup rolled outs
  • 1 1/2 cups flour
  • 1 teaspoon baking soda
  • 1 teaspoon baking powder
  • 1 cup coconut
  • 1 cup dried cranberries
  • 1 cup chocolate chips

Preheat oven to 350. Cream butter and sugars, then beat in the eggs. Add peanut butter, then dry ingredients. Drop spoonfuls onto cookie sheet. Bake for 10 minutes, until edges are golden but middles are still slightly gooey looking. Let rest on cookie sheet for a few minutes before cooling on a wire rack.

Continue Reading

Nutmeg Shortbread

I am completely addicted to other food blogs and find my need for a quick fix completely appeased by Foodgawker and Tastespotting. No, no, go on, take a look. I’ll wait. (Although, some of you, hopefully have just come from there.)

As a result, an ever-growing list of recipes to try is starting to clog up my bookmarks folder and I’m realizing that I have to actually start making some of things rather than just drooling over images of what other bloggers have made.

Which leads me to Nutmeg Shortbread.

These had been advertised as “tea cookies” at Apple Pie, Patis and Pate, but as I made them I realized they were shortbread. (Is “tea cookies” a common alternative name for shortbread?) This was kind of funny because I don’t love shortbread. But I really liked this recipe. I suspect using granulated sugar instead of powdered sugar gave them a slight chew I don’t find in other recipes.

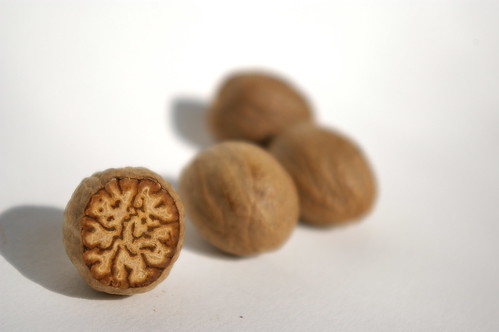
Since there are so few ingredients, I have to say that this recipe really requires freshly grated nutmeg. Like other spices, pre-ground nutmeg loses something. I don’t think you will regret buying fresh nutmeg. These little nuggets are so innocuous at first appearance, but are beautiful marbled loveliness on the inside and the smell and taste is intoxicating.

Nutmeg

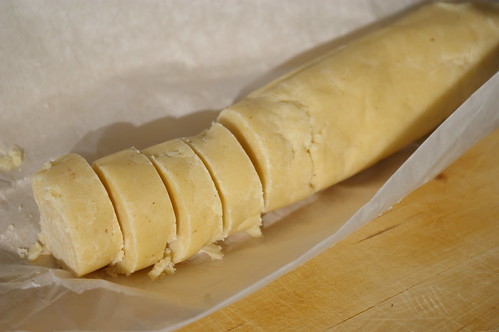
When I wrote out the recipe, I only copied the ingredients, the oven temperature and the time the cookies should be in the even, believing the method would be the same as other cookies. So, I used my hand-held mixer to add in the flour and the dough seemed to shatter into granules. And that’s when I really began to freak out. Apparently, I was supposed to mix the flour in by hand. Whoops. But I thought I’d see it through anyway. It’s not really a disaster, I figured, until they come out of the oven as a disaster. So I packed the dough into logs, wound them up in parchment and threw them in the fridge overnight.

When I unwound the packages the next afternoon, the dough had formed into nice logs and, for the most part, were easily cut into slices. There were the odd pieces that crumbled a bit when I tried to cut off a slice — mostly, I suspect, because this is where I had joined the lumps of dough and I guess it was not quite as seamless as it looked..

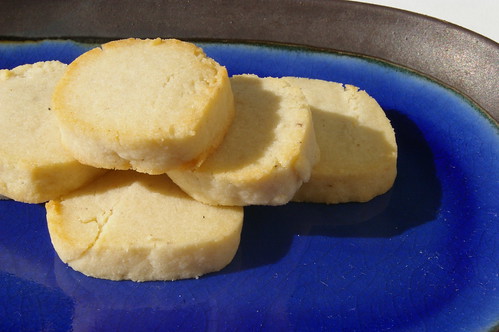
Still, they baked beautifully and were super tasty. My love of intense flavours, however, was still left wanting. Next time, more nutmeg.

Nutmeg shortbread dough

Nutmeg Shortbread

Nutmeg Shortbread

  • 1 cup butter, softened
  • 3/4 cup granulated sugar
  • 1 teaspoon vanilla
  • 1 large egg
  • 2 1/2 cups flour
  • pinch of salt
  • 1/4 teaspoon freshly grated nutmeg (But you may want to consider adding more if you really like the taste of this spice.)

Cream the butter and sugar until light and fluffy. Beat in vanilla and the egg. In a separate bowl, stir together flour, salt and nutmeg. Add the dry ingredients to the butter mixture by hand until just combined.

Divide the dough in four and roll into logs about 8″ long and 1″ in diameter. Wrap in wax paper, plastic wrap or parchment and chill until firm, from two hours to overnight.

To bake, preheat the oven to 350. Cut each log into pieces 1/2″ thick and space evenly on baking sheet. Bake for 10 minutes or until just golden.

Continue Reading

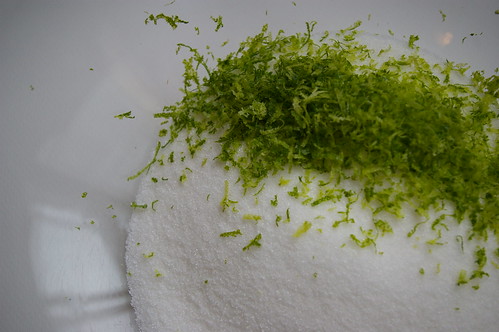
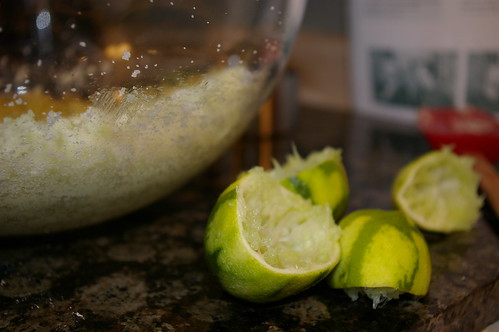
Lime Sugar Cookies

Is it ridiculous that I bought a recipe book solely for a basil salad dressing?

Does it make it better if I explain that the salad dressing goes on one of my all-time favourite salads from a vegetarian/vegan restaurant in Victoria that I must visit each time I’m back in that city? (Especially interesting considering my carnivore ways.)

Nevermind, it was because of the cookbook that I was led to this fabulous cookie. The sweetness of sugar and tang of lime in neat cookie form. I love all things citrus and these certainly satisfy the craving.

IMGP2190

Oddly, I never went to Rebar while I lived in Victoria, which I now realize is a huge shame. Still, I get back to the capital city twice a year, so I can keep my cravings for their salad relatively in check. (Hmmm. Perhaps I should blog about the salad dressing….)

Anyway, when I found their recipe book in a store one day, I bought it immediately. When I got home (as I tried to justify the unnecessary purchase of *yet another* cookbook), I started to flip through and inevitably found a bunch of recipes I wanted to try, including the one for the Lime Sugar Cookies.

Sure, it calls for pepitas (pumpkin seeds) and, sure, there was no way I was going to have those on hand and there was no way I was going to buy them. (Surely, the whole point of cookies is that, in general, there is nothing healthy in the mix?) So, I forewent that step and moved ahead.

Then, on the second time making them, I made a very happy mistake. I doubled the recipe, but then didn’t fully double the amount of flour. As a result, the cookies came out a bit denser and with a nice chew, as opposed to the somewhat cake-y versions previously. I now purposely make that mistake. (And, yes, I still don’t bother with the pepitas.)

The one thing to really be aware of with these cookies is that they probably won’t look fully baked, even if they’re ready to be pulled out of the oven. They’ll look puffed, but still very pale with only a hint of golden at the edges. Once you pull them out and they start to cool, they’ll fall slightly and get the nice sort of cracked top to them.

It was raining today when I made these before going in to work. The grey skies made me a bit homesick for Vancouver. But this light and tangy cookies were cheerful, a little taste of summer.

IMGP2120

IMGP2134

IMGP2150

IMGP2155

IMGP2165

IMGP2183

Here is the recipe as printed in the Rebar Modern Food Cookbook. My notes and changes are in italics.

Lime Sugar Cookies

  • 1 cup granulated sugar
  • 1/4 cup unsalted butter
  • 1 tbsp. vegetable oil
  • zest of 1 lime
  • 1 large egg
  • 2 tbsp. lime juice
  • 1 3/4 cups unbleached flour (I use all purpose)
  • 1/4 cup pepitas (pumpkin seeds), toasted and roughly chopped
  • 1/2 tsp. baking soda
  • 1/2 tsp salt

Preheat the oven to 350F. Cream the sugar, oil, butter and lime zest until light and fluffy. Add egg and lime juice, and beat together to incorporate.

In a separate bowl, mix the flour, pepitas, baking soda and salt. Add the dry mix to the wet mix and stir together well.

Using a 2 oz. ice cream scoop or forming 3 tbsp balls (or, in my case, a big rounded soup spoon), drop the batter onto a cookie sheet, leaving space in between to allow the cookies to spread during baking. Flatten each slightly and sprinkle with granulated sugar. Bake for eight minutes. Cool on a wire rack.

As I said above, I always double this recipe (11 cookies is not enough), but instead of using 3 1/2 cups of flour, I only use 3. Feel free to try it both ways.

Continue Reading

Long Lost Cookies

Say what you will about Facebook, it reunited me with a long-lost recipe for some of the best cookies I’ve baked in a long time.

Long Lost Cookies

Of course, it’s a little more convoluted than that.

Let me try to put this in as small a nutshell as possible. Back in high school, I traveled to England for six weeks to spend time with a friend of mine. The summer was pretty awesome: we snuck into pubs with our pitiful fake IDs that should not have helped us gain entry anywhere (Seriously, mine literally said: Canadian I.D.), visited London and Stonehenge, spent a week in a cottage in a seaside town in Wales and basically spent a lot of time hanging out without much parental supervision. But back in Vancouver, a girl whom I had called a best friend (and whose friend we were visiting in England) essentially severed our friendship. Since she had been friends with the girl in England much longer than I, I pulled back.

And then, 15 years later, she found me on Facebook. Did I still make those famous cookies? she queried. Um, what cookies?

Over the course of several e-mail conversations, she then relayed this message: I see you travel a lot. Any chance you’re coming over here any time soon? And I was.

Was I hesitant to reconnect with a person I had not seen, let alone communicated with, in more than a decade? A woman now with a husband and children who probably no longer craves Buck’s Fizz (an awful concoction of fizzy wine and orange juice that I guzzled that summer) and with whom I may no longer have anything in common? Um, yes. But then I arrived in Bristol to a Welcome Home sign coloured by her two children. I was welcomed at the dinner table like family and everything fell into place as if no time had passed other than we have grown wiser (for the most part) and can now legally buy our alcohol.

During the three days in Bristol, she pulled out of her recipe book and showed me the short list of ingredients written in my own bubbled printing that I had given her when we were still teens. I had, apparently, made these all the time. I have no recollection of them. I copied out the recipe — an odd sensation copying something written in my own hand — in my travel journal. Since then, there have been little nudges from overseas, reminding me of the recipe.

So, when a cup of butter sat softened on the counter and my plans to make a type of roll-out cookie had fallen through, it seemed only right to see just why that recipe had stood the test of time.

I am so grateful to have it, and my friend, back in my life.

Getting started

The batter

Mmmmm chocolate chips

Preparing to bake

It’s so basic that I don’t quite understand how all these dull-normal ingredients can come together to make such a thick, chewy cookie. But I’m definitely not going to lose this recipe again.

Long Lost Cookies

  • 1 cup butter
  • 2/3 cup white sugar
  • 2/3 cup brown sugar
  • 2 eggs
  • 1 tsp. vanilla
  • 1 1/2 cups flour
  • 1 tsp. salt
  • 1 tsp. baking soda
  • 2 cups oatmeal
  • 1 1/2 cups chocolate chips

(I would consider the addition of nuts or dried cranberries might be a nice touch. But this recipe is pure deliciousness as is, so don’t feel you have to experiment.)

(EDIT: Some people have wondered why there are two types of chocolate chips in my photo. The answer is, quite simply, that I had half of a bag of milk chocolate chips left over from some other baking frenzy and wanted to use them up. Though the combination was good, just use whatever you have on hand.)

Preheat oven to 350. Cream together softened butter and sugars until light. Beat in eggs and vanilla. Add flour, salt and baking soda, then oatmeal. Stir in chocolate chips (and nuts or cranberries, if desired). Bake for 10 – 12 minutes. (I like my cookies a good solid size. These ones I measured out using a mounded soup spoon and they took 12 minutes.) Let cool.

Long Lost cookies

Continue Reading