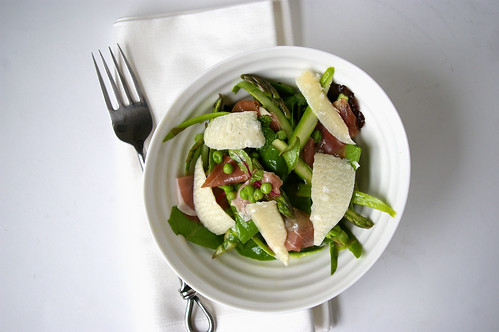
Asparagus and Pea Salad with Mint

You ever notice how one recipe can beget another?

Last summer when I was making my shaved asparagus pizza, I found myself snacking on the strands of asparagus that had been tossed with olive oil, salt and pepper. (I’m completely unable to resist “testing” ingredients as I go along.)

It made me wonder why so few recipes I have stumbled across call for raw asparagus, which, when lightly dressed, is lovely.

Now that the stalks are appearing again on grocery shelves, it got me thinking. And then I stumbled across a salad recipe, which combined asparagus shavings with some other great loves of mine: Parmesan, prosciutto, mint and lemon.

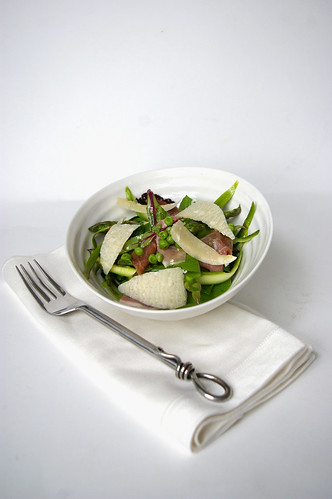
Asparagus and Pea Salad with Mint

This salad is kind of like six degrees of separation.

Mint goes well with peas, which are lovely with asparagus, a natural match to prosciutto.

Well, really, what doesn’t prosciutto go well with?

And a lemon-based dressing adds some refreshing tartness, while a little bit of honey brings out the natural sweetness of the peas.

Now, I am the first one to up the amounts of salad goodies — more Parmesan, more prosciutto, please and thank you.

But in this case, I’m going to, unexpectedly, advise restraint. Messing with the fine balance between salt and sweet, meat and cheese, mint and vegetables can upset the equilibrium.

Too much cheese and the salt overpowers the delicate flavours of asparagus and mint.

Too much prosciutto overwhelms the texture of the salad.

When the proportions are right, this salad is perfection.

Right after finishing the photo shoot, I inhaled a bowlful.

I loved the spring green flavour of the thinly shaved asparagus, the sweet peas and bright mint with the slight tang of the mustard and lemon dressing.

The prosciutto didn’t hurt either.

All the greens contrasted with the pink of cured ham and cream of Parmesan is quite pretty and makes this a great dish for entertaining.

Serve it out on the deck with some crusty bread and a nice bottle of wine.

Asparagus and Pea Salad with Mint II

Asparagus and Pea Salad with Mint

This salad is from Epicurious by way of Serious Eats.

If fresh peas are in season, feel free to use them instead of frozen peas. Frozen peas are perfectly tasty, though. Just defrost in a sieve with some hot water. To get nice Parmesan shavings, let the cheese sit out on the counter for 10 or 15 minutes and then use a vegetable peeler.

  • 1½ cups (375 mL) peas
  • 1 lb (500 g) asparagus
  • 6 cups (1.5 L) salad greens
  • 2 tbsp (25 mL) chopped mint
  • 1/4 cup (50 mL) shaved Parmesan
  • 8 slices prosciutto, cut in strips
  • 2 tbsp (25 mL) lemon juice
  • 2 tsp (10 mL) Dijon mustard
  • 1 tsp (5 mL) honey
  • salt and pepper to taste
  • 1/2 cup (125 mL) olive oil

Whisk together lemon juice, Dijon mustard, honey and salt and pepper.

Drizzle in the oil slowly while still whisking to emulsify the dressing.

Test the dressing and adjust seasonings as necessary.

Place salad greens in a large bowl, add chopped mint and peas.

Using the woody end as a handle, hold the asparagus against a cutting board and use a vegetable peeler to make long strips. (These will vary in thickness, which is fine.)

After shaving, you will be left holding the rough end, which can be discarded.

Repeat with all the asparagus and then add the shavings to the salad.

Add sliced prosciutto. Toss with dressing (start with only a portion of the dressing and add more as necessary; the salad may not need all of it).

Top with shaved Parmesan.

Serves 4.

This first appeared in the Calgary Herald. For more recipes and instructional videos, check out the Herald’s Food page.

Continue Reading

Juice of a Few Flowers

Last year was one of celebrations: plenty of new babies and a wedding or two.

That, inevitably, meant many a shower.

Some involved sipping tea out of dainty china cups, others a glass of wine or two, perhaps a tipple of Champagne.

This year is gearing up to be slightly slower showerwise. No weddings on the calendar and only a few friends expecting to add to their families.

Which is too bad, because I’ve just discovered a lovely multi-purpose cocktail.

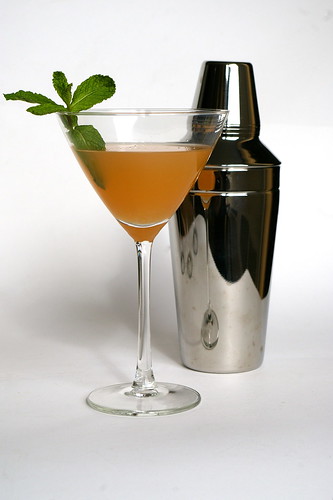
Juice of a Few Flowers

It’s a drink with a tart citrus punch and a nice kick of vodka. An ice-cold glass, a sugared rim, a sprig of mint.

It’s downright civilized.

So, it’s no surprise then that Juice of a Few Flowers was apparently created in the 1920s by a couple said to give glamorous parties in the East Hamptons.

The original version used gin, but Barefoot Contessa Ina Garten, in her book Back to Basics (Clarkson Potter, $40), has updated the recipe to use vodka.

She notes, though, Gerald Murphy often mixed up the drink without alcohol, pouring it into martini glasses and serving them to the children.

And that makes it a great mocktail for mothers-to-be.

Shower guests and the guest of honour can all sip (relatively) the same thing.

With puckery grapefruit and tart lemon and lime juices, this drink could head toward sour territory, but it’s mellowed by the addition of sweet orange juice, then tempered further with the sugared rim.

Shaken until ice cold (freeze the martini glasses in advance to keep it even further chilled), the drink is smooth and oh-so sippable.

So much so that I don’t think I’ll be waiting for a shower or other celebration to be pulling out this recipe again.

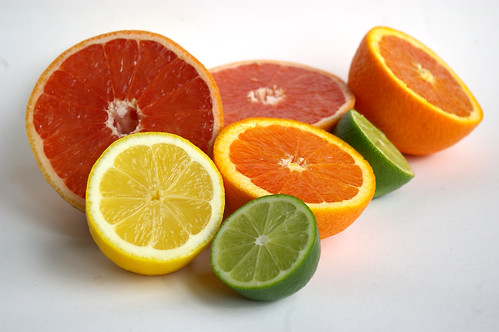
Citrus

Juice of a Few Flowers II

Juice of a Few Flowers

Ina Garten notes if your juicer doesn’t strain the juice, use a sieve to remove the pulp, otherwise it will clog the holes of the cocktail shaker.

  • 1/2 cup (125 mL) freshly squeezed orange juice (2 oranges)
  • 1/2 cup (125 mL) freshly squeezed pink grapefruit juice (1 grapefruit)
  • 1/4 cup (50 mL) freshly squeezed lemon juice (1 lemon)
  • 1/4 cup (50 mL) freshly squeezed lime juice (2 limes)
  • 1 cup (250 mL) vodka
  • extra lemon juice
  • granulated sugar
  • fresh mint sprigs

Combine the orange juice, grapefruit juice, lemon juice, lime juice and vodka in a pitcher.

Dip the rims of 4 martini glasses first in a dish of lemon juice and then in a dish with sugar. Set aside to dry.

Pour the cocktail mix into the glasses, garnish with mint and serve.

This story first appeared in the Real Life section in the Calgary Herald. For more delicious recipes, visit CalgaryHerald.com/life.

Continue Reading

Chewy Lemon Cookies

I’m practically laid out on the couch, cosying up to an ice pack right now (Thank god for laptops.) having done something again to my back. Stretch, ice, advil, repeat. Needless to say, the weekend has not been very active. One errand yesterday and brunch with a friend today before I had to make nice with my back and hang out on the living room floor staring at the ceiling. You know what lying on the floor shows me? That I really need to vacuum more.

So, no baking or cooking today, but luckily I have saved up this little chewy lemon cookie recipe for a rainy day (of sorts). If you’ve been on this blog long enough, you know how much I love lemon. In fact, some may say it’s an addiction.

And that means when I see a good-looking lemon-centric recipe, like this one for Chewy Lemon Cookies, it isn’t long before I’m making it. I was also intrigued by the idea because I absolutely adore the Lime Sugar Cookies I often make. There are very few things these two recipes have in common, other than a citrus focus. But they’re both fantastic in their own way.

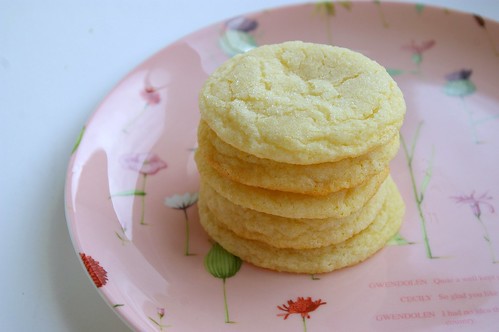
I loved these cookies for the chew and crackled top. Plus, of course, the lemon-y flavour.

I baked them off on a Saturday and shipped about a dozen off to the Sunday crew at the Herald because even though I’m not there on the weekends anymore, it doesn’t mean I can’t take care of my girls. Their grateful tweets made it totally worthwhile.

As some of you know, I’m a terrible procrastinator and have been sitting on this recipe for two weeks. A friend has been gently reminding me to get it up because she wants to make them herself — that’s how good they are.

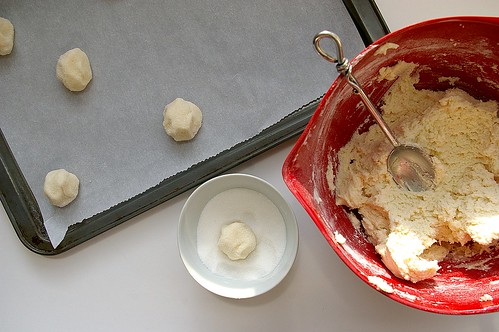
Lemon Sugar Cookies - process

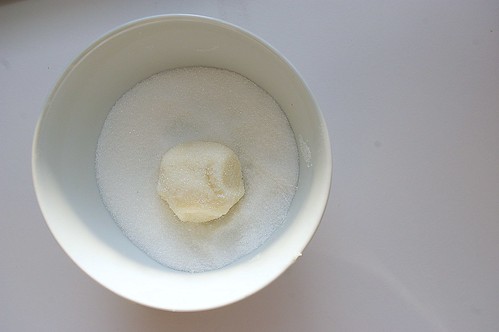
Rolling in sugar

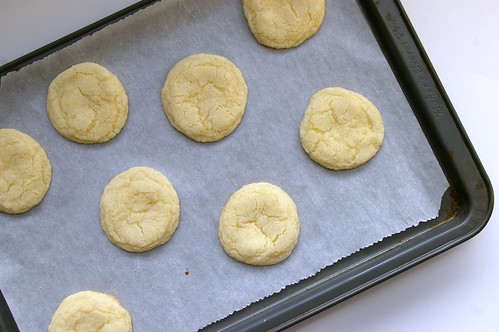
Lemon Sugar Cookies I

Lemon Sugar Cookies II

Chewy Lemon Cookies

from MyBakingAddiction.com

  • 2 3/4 cups all-purpose flour
  • 1 teaspoon baking soda
  • 1/2 teaspoon baking powder
  • 1/2 teaspoon salt
  • 1 cup butter, softened
  • 1 1/2 cups white sugar
  • 1 egg
  • 1/2 teaspoon vanilla extract
  • zest of one large lemon
  • 4 tablespoons fresh lemon juice
  • 1/2 cup sugar for rolling cookies

Preheat oven to 350F. Line cookie sheets with parchment paper.

In a small bowl, whisk together flour, baking soda, baking powder and salt.

In a larger bowl, beat together butter and sugar until light and fluffy. Beat in egg, vanilla, lemon zest and juice.

Add in dry ingredients, beating until just combined. Roll rounded spoonfuls of dough into balls and then roll in sugar. Place on lined cookie sheets, about 1 or 2 inches apart.

Bake for 8 to 10 minutes. (Mine needed barely 8 minutes; they were not yet golden but I wanted them still pale and tender.) Remove from oven and let stand on cookie sheet for 2 minutes before removing to cook on wire racks.

Makes 24 – 36 cookies.

Continue Reading

Lemon Curd Tart

Oh look! It’s something lemon!

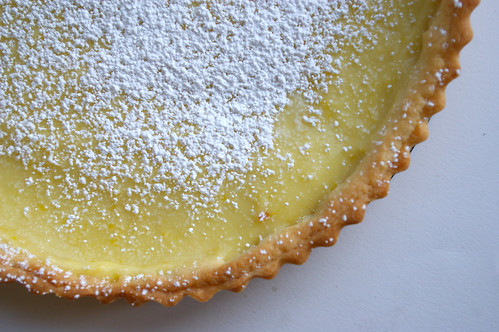
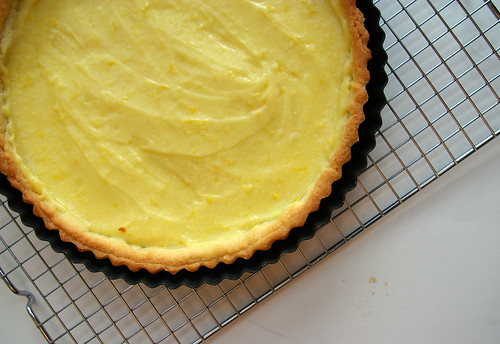
Lemon Curd Tart - top

I know, I know. I have lemon issues. But, please forget about my lemon obsession for a few moments and let’s concentrate on the fact that I attempted pastry! Yes, that thing that everyone else makes and leaves me paralyzed for fear of disaster.

The fact that it’s advertised as “unshrinkable” and mine so very, very shrank like it was Alice in Wonderland after drinking that potion? Yeah, I’m going to ignore that part of it. Because, if I focus on what didn’t quite work, then I’ll never try to make pastry again and with so many pies and tarts to make, I can’t let that get in my way.

"Unshrinkable" tart shell

So, the occasion was perogy night at a friend’s house. Colette’s mom makes killer homemade perogies and Colette paired them up with fried onions and sour cream, the largest kielbasa I’ve ever seen in my life and a huge casserole dish of her mom’s equally delicious cabbage rolls. And salad. But I think Colette and I were the only ones that ate any. And then, of course, lemon tart.

I picked lemon because I figured it would be something light after all that delicious Ukrainian food. And I picked a tart because I really want to get better at making pastry. This Lemon Curd Tart would take care of both those things.

But it wasn’t without it’s challenges.

1) The “unshrinkable” tart shell that shrank. (Watching cooking shows on TV since this, I have learned that you just can’t stretch dough. It will shrink back. Uh-huh. Lesson learned.)

2) I burnt the living daylights out of my hand when whisking the lemon curd just after it came off the heat. But, I was proud of myself for continuing to whisk (the show must go on!) while stretching my way over to the sink and running cold water on the burn. Boiling hot lemon curd – 1. Me – 0.

My tart pan is also a bit bigger than suggested, which is probably why I had more trouble with the dough and felt the curd layer was a bit thin. Next time I’ll double the dough and make some jam tarts with leftovers. And I’ll double the curd, make a nice thick layer and then eat the rest with a spoon. :D

The lemon curd is pretty basic. The tart shell comes from Dorie Greenspan, as adapted by Smitten Kitchen. (I am leaving her instructions completely intact because she explains it very well.)

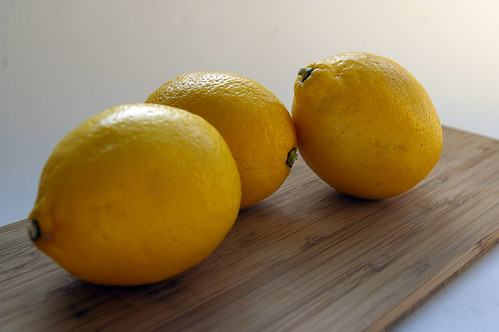
Lemons

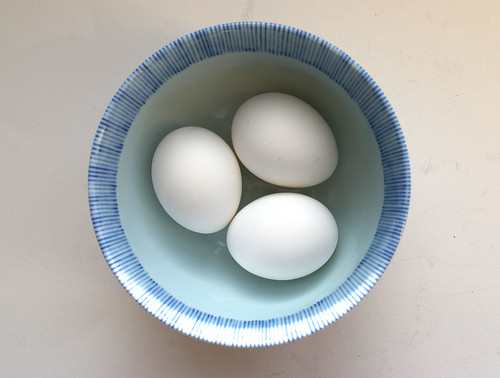
Eggs

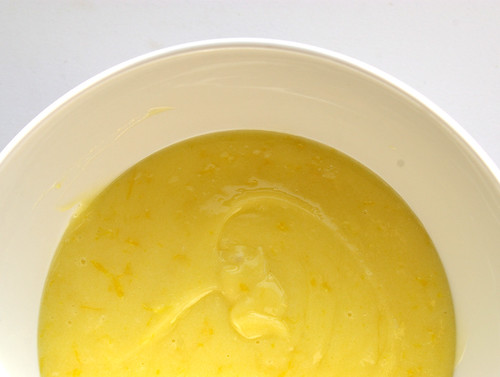
Lemon Curd

Curd in Tart

Lemon Curd Tart - side

Lemon Curd Tart

  • 3 large eggs
  • 1/3 cup fresh lemon juice (2 -3 lemons)
  • 3/4 cup sugar
  • 4 tablespoons unsalted butter, at room temperature and cut into small pieces
  • 1 tablespoon lemon zest (yeah, I did a lot more than that. Probably double.)

In a stainless steel bowl placed over a pot of simmering water, whisk eggs, lemon juice and sugar. Cook, constantly stirring, until mixture becomes thick. (This took about 10 minutes for me.) Remove bowl from heat and strain to remove lumps. Add small pieces of butter and whisk into lemon mixture until butter has melted. Stir in zest. Let cool. Cover with plastic wrap (I press mine right onto the curd to prevent a skin form forming) and refrigerate.

The Great Unshrinkable Sweet Tart Shell
Makes one 9-inch tart crust

  • 1 1/2 cups all-purpose flour
  • 1/2 cup confectioner’s sugar
  • 1/4 teaspoon salt
  • 1 stick plus 1 tablespoon (9 tablespoons; 4 1/2 ounces) very cold (or frozen) unsalted butter, cut into small pieces
  • 1 large egg

1. Pulse the flour, sugar and salt together in the bowl of a food processor. Scatter the pieces of butter over the dry ingredients and pulse until the butter is coarsely cut in. (You’re looking for some pieces the size of oatmeal flakes and some the size of peas.) Stir the egg, just to break it up, and add it a little at a time, pulsing after each addition. When the egg is in, process in long pulses–about 10 seconds each–until the dough, which will look granular soon after the egg is added, forms clumps and curds. Just before you reach this stage, the sound of the machine working the dough will change–heads up. Turn the dough out onto a work surface and, very lightly and sparingly, knead the dough just to incorporate any dry ingredients that might have escaped mixing. Chill the dough, wrapped in plastic, for about 2 hours before rolling.

2. To roll the dough: Butter a 9-inch fluted tart pan with a removable bottom. Roll out chilled dough on floured sheet of parchment paper to 12-inch round, lifting and turning dough occasionally to free from paper. (Alternately, you can roll this out between two pieces of plastic, though flour the dough a bit anyway.) Using paper as aid, turn dough into 9-inch-diameter tart pan with removable bottom; peel off paper. Seal any cracks in dough. Trim overhang to 1/2 inch. Fold overhang in, making double-thick sides. Pierce crust all over with fork.

Alternately, you can press the dough in as soon as it is processed: Press it evenly across the bottom and up the sides of the tart shell. You want to press hard enough that the pieces cling to one another, but not so hard that it loses its crumbly texture.

3. Freeze the crust for at least 30 minutes, preferably longer, before baking.

4. To fully or partially bake the crust: Center a rack in the oven and preheat the oven to 375 degrees F. Butter the shiny side of a piece of aluminum foil (or use nonstick foil) and fit the foil, buttered side down, tightly against the crust. And here is the very best part: Since you froze the crust, you can bake it without weights. Put the tart pan on a baking sheet and bake the crust for 20 to 25 minutes.

5. Carefully remove the foil. If the crust has puffed, press it down gently with the back of a spoon. Bake the crust about 10 minutes longer to fully bake it, or until it is firm and golden brown, brown being the important word: a pale crust doesn’t have a lot of flavor. (To partially bake it, only an additional 5 minutes is needed.) Transfer the pan to a rack and cool the crust to room temperature, and proceed with the rest of your recipe.

Do ahead: The dough can be wrapped and kept in the refrigerator for up to 5 days or frozen for up to 2 months. While the fully baked crust can be packed airtight and frozen for up to 2 months, the flavor will be fresher bake it directly from the freezer,

Continue Reading

Lemon Ricotta Pancakes

I’m not a big breakfast eater. Don’t get me wrong, I do eat breakfast. But these days it’s usually a bagel at my desk or a scone picked up on my way to work because, frankly, I’d rather have those extra 10 minutes of sleep than a sit-down morning meal. Unsurprisingly, I’m not much of a morning person.

Brunch, I like. Breakfast-type meals, but after a good sleep-in.

Lemon Ricotta Pancakes I

Growing up, when I was a bit better about waking up in time to eat before leaving the house — partly because it was trickier to eat and walk to school at the same time — I had the strange habit of preferring to eat leftovers for breakfast. Pasta and tomato sauce? Yes, please. Mashed potatoes with gravy? Warm and filling. Cold pizza? Breakfast of champions — after all, it does have several major food groups.

My parents thought it was amusing. Except for the day I wanted to make fish sticks for breakfast; my mom drew the line at that. But sometimes I do want a real breakfast. At home. In my pyjamas.

What I don’t want, though, is a basic pancake.

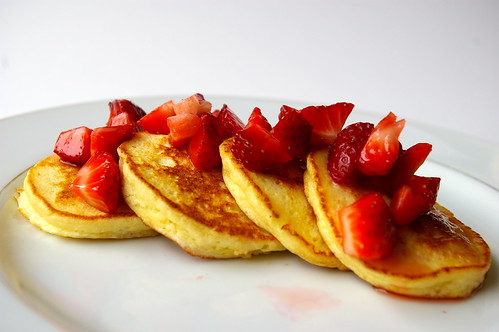
My Internet travels provided a solution, as I came across a recipe for lemon ricotta pancakes — an intriguing idea. And what a pleasant surprise this recipe turned out to be. Not only did they combine my love of all things lemon, but they were light, like flat baby souffles, with golden edges and a hint of salt from the melted butter they were fried in.

I shamelessly scarfed a bunch down as, ahem, quality control before handing a plate to a friend I had staying with me. In my defence, I had made them quite tiny.

So fluffy and weightless, so bright with their lemon flavour. I couldn’t get enough.

Lemon Ricotta Pancakes II

But this recipe wasn’t without its foibles. Confusingly, the tubs of ricotta are measured in grams and not millilitres or cups. I did some math and the 250-gram tub was a little more than one cup.

I wasn’t going to hang on to a tablespoon or two of ricotta cheese, so I just dumped the whole thing in. Surely, I figured, it wasn’t going to do much harm. And it didn’t. Plus, it’s one of my huge pet peeves to have a recipe that calls for almost an entire can/jar/tub or something, leaving us cooks with random leftover ingredients.

Also, I couldn’t be bothered to zest the lemon onto something just to put it in a measuring spoon and then add it the mixture, so I just zested one lemon straight into the egg yolks. I might be tempted to try the zest of two lemons next time, but only because I love that flavour and feel there’s no such thing as too much lemon.

Lastly, the original recipe I found for this suggested mixing raspberry jam with maple syrup as a topping.

But I wanted something that was going to complement the light lemon flavour of the pancakes, rather than weighing it down. Just before I got started, I diced up about two cups of strawberries, sprinkled on some sugar and let them sit to macerate while I got down to business.

It was the perfect pairing. The slightly sweetened berries added the right touch of fruit, but still let the pancakes shine.

Lemon Ricotta Pancakes III

Lemon Ricotta Pancakes

This recipe is adapted from the Alberta Egg Producers.

  • 4 eggs, separated
  • 1 tub (250 grams) or 1 cup (250 ml) ricotta cheese
  • 3 tbsp (50 ml) sugar
  • ½cup (125 ml) all-purpose flour
  • zest of one lemon
  • 2 tbsp (25 ml) butter
  • 2 cups (500 ml) strawberries, diced
  • sugar to taste

In a large mixing bowl, whisk egg yolks, ricotta cheese, sugar, flour and lemon zest.

In another bowl, whip egg whites with a mixer until glossy peaks form. Stir about one-quarter of the whites into the ricotta mixture, then fold in the remaining whites gently.

Melt butter in pan over medium heat, drop batter on using small ladle or large spoon. I used a ¼-cup (50-ml) measure.) Flatten slightly, then let cook for about two minutes per side until lightly browned. Top with macerated strawberries.

This story first appeared in the Real Life section in the Calgary Herald. For more delicious recipes, visit CalgaryHerald.com/life.

Continue Reading

Glazed Lemon Cakes

While winter seems to beg for rich, warm or comforting desserts — sticky toffee pudding, brownies and apple pie — I crave lemon.

Of course, I’ve always been a go-against-the-grain kind of girl.

I like all those desserts, too; they have their place. But lemon tang on a dark, wintry day takes me away from the snow and cold. It can brighten a dreary afternoon, send me a shot of virtual sunshine.

Glazed Lemon Cakes II

Sure, we’ve been enjoying a lengthy bout of relatively warm weather, but I’m not easily fooled. Real spring is still weeks away and if I can trick myself into feeling like winter has already snapped and the fresh green and blossoms are quickly nearing, then I have to take advantage of that.

But which lemon dessert?

Conservatively, I have about 40 lemon-based tarts, bars, cupcakes and other concoctions saved on the online bookmarking site, Delicious. (All right, I checked. There are 41. But probably not for much longer.) All of these things have caught my eye at one time or another and I’ve saved them for just such wintry occasions when I need a taste of bright and tart.

The lemon bars had their appeal. The pull-apart lemon loaf looked tempting, but a bit time-consuming for me in this fit of citrus craving. But glazed lemon cakes? Oh yes, those I could handle.

The hardest part of this recipe was remembering to pull the butter out of the fridge so it could come to room temperature. Almost all of the ingredients are standard in most fridges, except, perhaps, the plain low-fat yogurt or buttermilk. In this case I went with the yogurt because it seemed like something I could more easily use up. Buttermilk is great for baking, but it’s not something I tend to go through quickly.

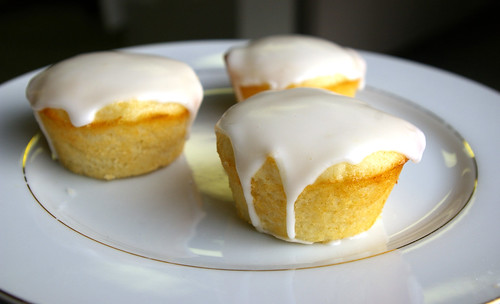
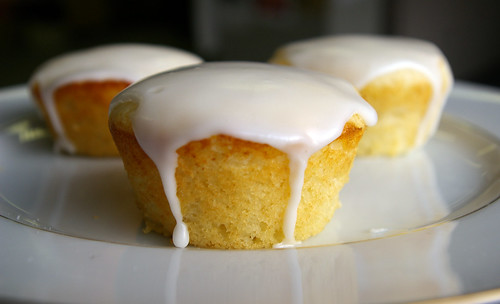
These little cakes were light, tender and full of tang. With the addition of the thick glaze that dripped down the edges, they reached lemon perfection. Not puckeringly tart, but deliciously citrus: a little injection of sunshine on an overcast day.

I can’t lie. I ate two before I even mixed the glaze.

And if that isn’t enough motivation to whip up a batch, I’m not sure what is.

One last note, the original recipe calls for a “6-cup jumbo muffin tin.” Since I try to avoid buying new bakeware for just one recipe, I decided to make do with what I had lying around.

My advice? Bake them in a regular muffin tin for 15 minutes (though consider starting to check them at the 10-minute mark, just in case) and eat two!

Lemon Cakes

Glazed Lemon Cakes I

Glazed Lemon Cakes III

This recipe is from Everyday Food.

Glazed Lemon Cakes

  • 1/2 cup (125 mL) unsalted butter, room temperature, plus more for muffin tin
  • 1½ cups (375 mL) all-purpose flour, plus more for muffin tin
  • 2 tsp (10 mL) baking powder
  • 1/2 tsp (2 mL) salt
  • 1/2 cup (125 mL) low-fat buttermilk, or plain low-fat yogurt
  • 1 tsp (5 mL) vanilla extract Zest of 1 lemon, finely grated, plus juice, plus 2 tbsp (25 mL) more lemon juice for the glaze
  • 1 cup (250 mL) granulated sugar
  • 2 large eggs
  • 1½ cups (375 mL) confectioners’ sugar

Preheat oven to 350°F (EDIT, this should be 180°C). Butter and flour a 6-cup jumbo muffin tin or 12-cup regular muffin tin. In a medium bowl, whisk the flour with the baking powder and salt. In a small bowl, whisk together the buttermilk, vanilla and lemon zest and juice of 1 lemon. Set aside.

With an electric mixer, cream butter and granulated sugar until light. Add eggs one at a time, beating well after each addition. With mixer on low speed, add flour mixture in three batches, alternating with two additions of buttermilk mixture.

Divide evenly among muffin cups. Bake until a toothpick inserted in centre of a cake comes out clean, 20 to 25 minutes. (Or about 15 minutes for a 12-cup muffin tin. Start checking at the 10-minute mark.) Cool 10 minutes in tin, then cool completely on a rack.

Set rack over wax or parchment paper. In a small bowl, stir confectioners’ sugar with remaining lemon juice until smooth. Pour over cakes, spreading to edges with a small knife. Let set 30 minutes.

This story first appeared in the Real Life section in the Calgary Herald. For more delicious recipes, visit CalgaryHerald.com/life.

Continue Reading

Meyer Lemon Curd

A few years ago I started reading all these articles and blog posts and forums about the loveliness that are Meyer Lemons. Excited writers posted about them coming into season and all their delicious plans. Others wrote about acquiring the fruit and then, essentially, hoarding it, only using them sparingly to make them last.

Of course, none of them talked about where to get them in Canada.

It was only after a physiotherapy appointment one day that I discovered you could get them right here in Calgary.

As a treat for being subjected to the torture that is fixing my ongoing back problems (painful, but necessary and my physiotherapist is a miracle worker), I often wander over to Mercato for a little Italian pick-me-up in the form of a panini or crusty baguette sandwich full of arugula and prosciutto. Then I peruse the gourmet food store side of this market/restaurant to look at the pretty tomatoes on the vine, the big bunches of herbs and the shelves of balsamic and olive oil. And it was during one of these wanderings that I found they had a giant basket of Meyer Lemons.

They look to have a slight orange tinge to them, but are otherwise indistinguishable.

Meyer Lemons

Apparently, it’s believed to be a cross between a lemon and a mandarin orange, so that would explain the slightly darker hue. And perhaps the slightly sweeter taste often attributed to this fruit.

So, I was intrigued. Scooped up four, came home and realized I had no idea what to do with them.

Then I remembered lemon curd.

Dreamy, smooth, lemony. That seemed like a logical — and delicious — application.

And it was.

Not to mention ridiculously easy. Zest, squeeze, crack eggs, add butter, and beat all over double boiler. Done.

In fact, it’s frighteningly easy and I now have to resist making another batch. At least for another few weeks.

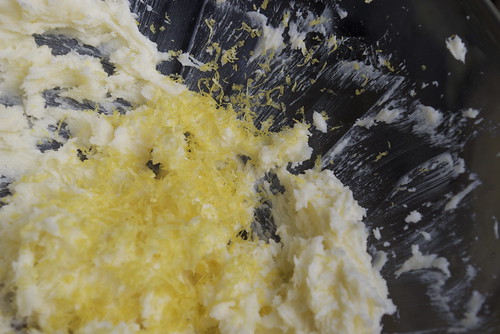
Meyer lemon zest

Meyer Lemon Curd I

Meyer Lemon Curd II

Meyer Lemon Curd Drop

Meyer Lemon Curd

  • 1 pound medium Meyer lemons (I used four)
  • 1/2 cup sugar
  • 2 large eggs
  • 1/2 cup unsalted butter, cut into four pieces

Zest the lemons to gather 2 teaspoons, then squeeze out 1/2 cup of juice. Whisk together zest, juice, eggs and sugar in a metal bowl or double boiler. Add butter, then set over a pot of simmering water. Whisk continually until thickened and smooth. (Some recipes suggest an instant-read thermometer should read 160F. I didn’t bother with that, just eyeballed it when it was thick.) It should take about five or six minutes. Force through a fine sieve to ensure the curd is smooth. Serve warm or store in the fridge.
Continue Reading

Lemon Rosemary Olive Oil Cake

OK.

It’s official.

I need an intervention.

My love of rosemary and lemon have reached new levels of ridiculousness.

Cake slice

And here’s how I know that.

As some of you may know, I write for the Calgary Herald’s Real Life section on occasion. I like to pitch the topic in advance, just in case it’s going to clash with any of the other upcoming articles the editor may have planned.

Me: Here’s what I’m thinking: Lemon Rosemary Olive Oil Cake

(Pause)

Her: Lemon?

Me: (confused) …Yes…?

Her: Wasn’t your last thing on lemon? And, um, the one before that?

Me: Okey-dokey. I’ll figure something out. Maybe I should do a boozy recipe….

Her: Good idea.

It was only when I got back to my desk and looked up the drink recipe I had added to my to-do list that I realized I may have a problem: Vodka Rosemary Lemonade Fizz.

Damn you, lemon, why do I love you so? And, uh, rosemary too.

Lemon and Rosemary

But, just because I couldn’t write it for the Herald didn’t mean this bad boy (and, at some point down the road, the vodka recipe too) wasn’t going to get made. After all, one can only deny their love for lemon desserts for so long. And, let’s face it, it was raining and snowing and sleeting out at the time, so what was a girl to do? Bake.
This is adapted slightly from Julie’s recipe (over at Dinner with Julie). Her original recipe calls for a finely chopped or grated pear. I omitted it this time around, but will be tempted to throw one in next time.

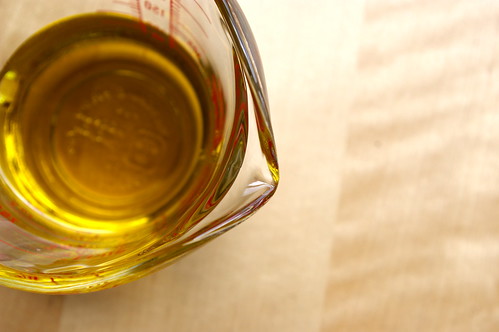
Olive Oil

Studded with rosemary

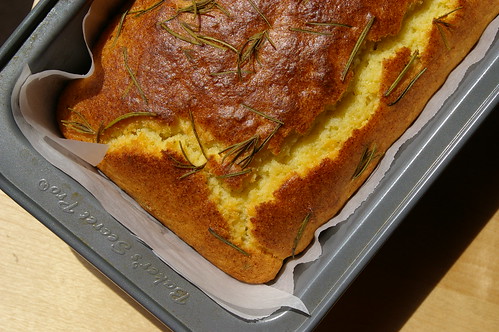
Golden cake

Lemon Rosemary Olive Oil Cake

  • 4 large eggs
  • 3/4 cup sugar
  • grated zest and juice of a lemon
  • 1/2 cup regular or extra virgin olive oil or canola oil
  • 1 1/2 cups all-purpose flour
  • 2 tsp. baking power
  • 1/4 tsp. salt
  • 2 sprigs of rosemary, leaves stripped off and chopped
  • a couple more sprigs of rosemary to decorate the top (optional)

Preheat oven to 350. In large bowl, beat eggs for about a minute until frothy. Add sugar and beat for a few minutes until mixture is thick and pale. Add lemon zest, juice and olive oil and beat again.

Combine flour, baking powder, rosemary and salt in another bowl, then add to egg mixture. Stir by hand until just combined.

Pour into prepared loaf pan (sprayed or lined with parchment). Lay decorative rosemary on top. Bake for 45 minutes, until golden. (Mine was done in a little less, so you may want to check earlier if your oven runs a bit hot.

Continue Reading

Pine Nut Rosemary Shortbread

I only have one cookie cutter. It’s shaped like a dog bone. I bought it for a book club function — we bring foods that can be linked back to the book; this time it was The Curious Incident of the Dog in the Night and I was going to make dog-bone cookies. And then I didn’t.

So, when I was overtaken by the impulse to make Pine Nut Rosemary Shortbread, I realized they were going to be dog-bone shaped.

Or so I thought.

It’s no wonder I was drawn to this recipe. Rosemary? Sugar? It was going to be like the Barefoot Contessa’s Rosemary Cashews, but in cookie form. What could be better? And, there is no doubt, this recipe was a winner.

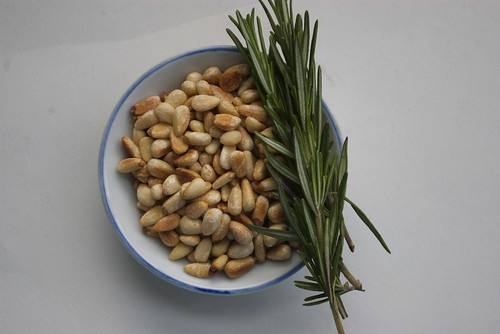
The stars of the show

But it wasn’t without its problems. Shortbread and I don’t get along. Once again, the dough absolutely shattered into pea-sized bits when I added the flour. I squished it into a ball and then two flat disks before putting it in the fridge, but when it came to rolling it out, it was a no go. Instead, I squished it back into logs and sliced it. I definitely liked the thicker slices better and would not hesitate to make them again this way. But, next time, I will take my mum’s advice and let the butter get so warm it’s almost sloppy before attempting this recipe. Apparently, I am too impatient when it comes to letting the butter get to room temperature and it was likely too cold when I started.

So, there were no dog-bone shaped shortbread cookies. Perhaps next time. Or perhaps not. It doesn’t matter, frankly, what shape these are, just as long as they get made.

This recipe comes from Heidi over at 101 Cookbooks. I’ve made a few changes, namely doubling the rosemary and using all-purpose flour. I am considering making this next time with brown sugar, just to see what that would be like.

Chopped ingredients for shortbread

Butter and lemon zest

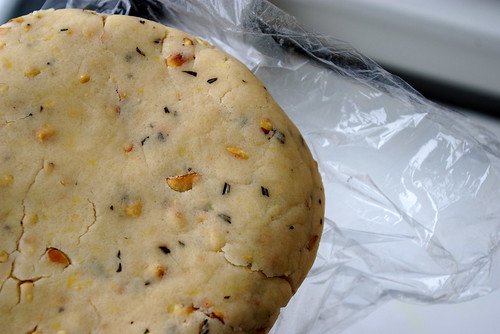
Chilled dough

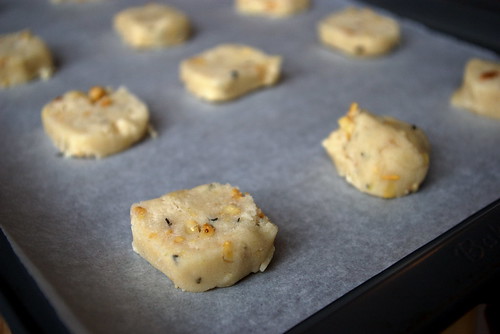
Sliced and ready

Pine Nut Rosemary Shortbread

Pine Nut Rosemary Shortbread

  • 2 cups all-purpose flour
  • 1 teaspoon fine-grain sea salt
  • 1 cup unsalted butter, at room temperature (seriously)
  • 2/3 cup sugar
  • zest of one lemon
  • 2/3 cup pine nuts, toasted and loosely chopped
  • 2 teaspoons fresh rosemary, finely chopped

Mix flour and salt in a small bowl, using whisk to combine.

Cream butter until light and fluffy. Add sugar and lemon zest, then beat again. Add flour mixture, nuts and rosemary and mix until the dough goes just past the crumbly stage and begins to clump together (Heidi’s words, not mine, obviously, because mine never got past this stage). Turn dough out onto lightly floured work surface and knead once or twice to bring it together. Divide into two balls and flatted into disks about one inch thick. Wrap in plastic wrap and refrigerate for 15 minutes. My way: squish into logs about one inch in diameter. Roll in plastic wrap and then refrigerate.

Preheat the oven to 350. Line a baking sheet with parchment. If you went with the log method, slice into 1/4 inch rounds and place on baking sheet. (Some of mine were thicker than this and I liked them better.)  If you have a disk, roll out on lightly floured surface to 1/4 inch thickness. Cut with cookie cutters and place on baking sheet. Either way, bake for about 10 minutes or until slightly golden.

Continue Reading

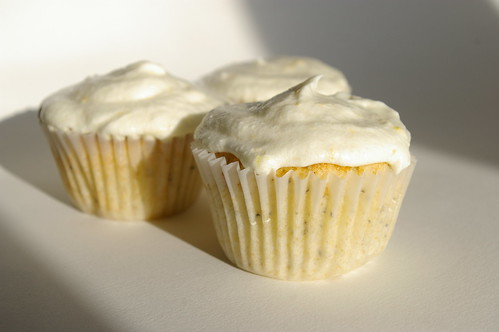
Earl Grey Cupcakes with Lemon Buttercream

I don’t drink coffee.

I know, I know. Take a minute to digest that fact. It is a bit strange.

Solo cupcake

But I grew up in a household where there was always a pot of tea sitting around. And it was always Earl Grey. And it still is.

I’m sure it’s partly that because I grew up with it, but it’s still my favourite flavour of tea. But I also love the taste of perfume-y Bergamot — an essence from the skin of a sour fruit. While my family likes Twinings for it’s faint Bergamot taste, I prefer Tazo, which has a bit more of the essence in its mix. Even better? Stash Tea’s Double Bergamot.

And, full disclosure, I like the smell of Earl Grey tea so much, I even bought the Demeter fragrance of it.

While here at home I drink it with milk, at my parents’ house I always have my Earl Grey tea with lemon and sugar. So when I came across a recipe for Earl Grey Cupcakes with Lemon Buttercream Icing, I immediately bookmarked it. And then, like about a thousand other recipes, I forgot about it for some indeterminate amount of time until I got bored and began going through the aforementioned bookmarks looking for something to surf to.

The stars of the show

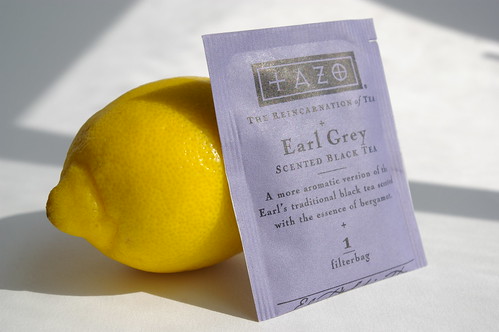
Earl Grey tea

I had some extra lemons lying around after making Whiskey Sours on the weekend, was bored and basically wanted to hang out in my kitchen baking and listening to good music. So, I whipped up these babies, ate two and then realized I was going to have to take the rest to work the next day lest I eat them all.

These will be made again. I might add more tea next time. Also, it was a particularly juicy lemon I used in the buttercream and, in hindsight, I should have measured instead of squeezing through a sieve and right into the bowl. So, it wasn’t all that surprising the icing was quite sloppy. Another cup or so of icing sugar did the trick, but next time I’ll be more careful.

Then again, when I took some into work (I think my colleagues were more excited about me launching a food blog for the inevitable leftovers), almost every comment revolved around the icing. It seems I’m not the only one that loves a lemon dessert.

This recipe originally comes from Desert Candy. Here is her post on it.

She made 24 cupcakes, but I halved it to make 12. This is the version I used. Double if you wish. Also, the original recipe called for self-rising flour. I didn’t have any, wasn’t going to go out and get some (is it even available in Canada?), so some googling led me to several versions of how to make “self-rising” flour (which basically just has leaveners and salt added already). The recipe below uses all-purpose flour.

I also “lemoned up” the icing by using the zest of an entire lemon and more than the required amount of lemon juice. Feel free to tone it down, if you wish.

Earl Grey Cupcake Batter

Just before the oven

Earl Grey Cupcakes with Lemon Buttercream

Earl Grey Cupcakes with Lemon Buttercream

  • 1/2 cup unsalted butter, softened
  • 1 cup sugar
  • 2 egg
  • 1 1/2 cups all-purpose flour
  • 2 1/4 tsp. baking powder
  • 3/4 tsp. salt
  • 1/2 cup milk
  • 1 tbsp. Earl Grey tea (I used 1 bag and didn’t measure. I might add more next time.)

Preheat the oven to 350. Beat the butter and sugar together until it is light and fluffy. Add eggs one at a time, making sure they are thoroughly combined before adding the next one. Mix together the dry ingredients, including the tea. Beat in half of the dry mixture with the wet, then add the milk and the rest of the dry mixture, stirring until just combined. Line the cupcake pan with 12 cups and fill them about two-thirds full. Bake 20 to 25 minutes. Cool thoroughly before frosting.
Lemon Buttercream

  • 1/2 cup unsalted butter, softened
  • 2 cups icing sugar
  • zest of one lemon
  • 2 tbsp. lemon juice

Cream butter, then add the icing sugar and beat until fluffy. Add the lemon zest, juice and beat until smooth. Spread over cooled cupcakes.

Continue Reading

Lemon Custard Cakes

I once “smiled” at a guy on an Internet dating website simply because in his write-up he noted he liked lemon-flavoured desserts and despite the fact he was far out of my romantic league (not to mention geographic).

That citrus kiss of lemon almost makes me swoon sometimes. The pucker, the tang, the play of sweet and sour.

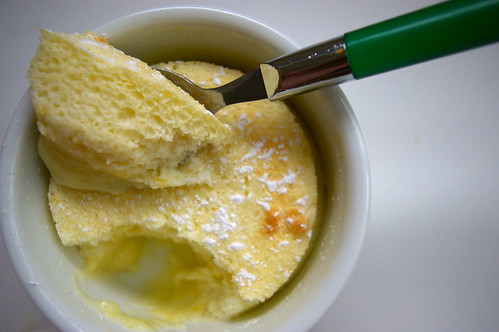
Lemon Custard Cake

I first made these Lemon Custard Cakes on Valentine’s Day for three girlfriends in a sort of lonely hearts’ dinner. Though, truth be told, only two of us were single at the time. Really it was a way of ensuring I wasn’t alone that night and, yes, the friends — not to mention the two (or was it three?) bottles of wine — and these little lemony babies made it a night to remember.

And I have thought about them many a time since then.

Last week I thought it was time to pull that recipe back out and enjoy these cakes again. But as I prematurely began salivating over thoughts of the light lemon cake that forms over the creamy lemon pudding at the base, I realized two things. 1) My milk was not really milk anymore. (Yikes!) and 2) I was out of all-purpose flour. (How did that happen?) Dreams dashed, I put the book away again.

But, a quick stop at the grocery store on the way home from work tonight and I was good to go.

And it was all going very well until it came time to squeeze the lemon and I realized that this might be tricky considering the ginormous paper cut I subjected myself to yesterday (while on the phone no less, which left me trying to deal with the wound, while typing, while pretending to the person on the phone that nothing was happening. No small feat.) And yes, lemon juice got in it. And, yes, it hurt. But it also reminded me of this exchange from The Princess Bride:

Inigo Montoya: Are you the Miracle Max who worked for the king all those years?

Miracle Max: The king’s stinking son fired me, and thank you so much for bringing up such a painful subject. While you’re at it, why don’t you give me a nice paper cut and pour lemon juice on it?

These Lemon Custard Cakes are a strange piece of alchemy. A thin, watery batter goes into the oven and a cake-topped custard comes out. I was so pleasantly surprised the first time I made them. The unctuous custard, the hint of lemon, a powdering of icing sugar, what wasn’t to like?

The first time I followed the recipe exactly, right down to the fact that you cook them in a water bath sitting on a kitchen towel. It was only this time that I saw the explanation why:

Baking the desserts in a hot-water bath keeps them creamy and custardy beneath their golden cakey tops. Linking the roasting pan with a dish towel helps water circulate under the cups for even cooking.

Who am I to question that?

Of course, my version looks nothing like the picture in the cookbook, but I think that’s because I’m using larger ramekins and filling them up a bit more than is probably recommended.

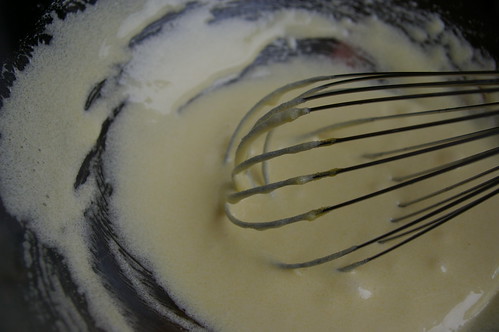
Egg yolks, sugar and lemon zest

Empty lemon

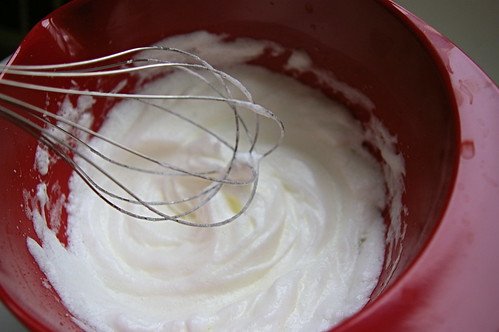
Whipped egg whites

Mix it up

Into the oven

Lemon Custard Cake II

This recipe comes from Everyday Food — an offshoot of Martha Stewart Living. (Yet another cookbook impulse buy but with some very impressive and consistently delicious and easy recipes.) My notes are in italics.

Lemon Custard Cakes

  • Unsalted butter, at room temperature, for custard cups
  • 3 large eggs, separated
  • 1/2 cup granulated sugar
  • 2 tbsp. all-purpose flour
  • 2 to 3 tbsp. grated lemon zest (from one lemon)
  • 1/4 cup fresh lemon juice
  • 1 cup milk
  • 1/4 tsp. salt
  • Icing sugar for dusting

Preheat the oven to 350. Set a kettle of water to boil. Butter six 6-ounce custard cups, and place them in a roasting pan or baking dish lined with a kitchen towel.

In a large bowl, whisk together the egg yolks and granulated sugar until the mixture is light; whisk in the flour. Gradually whisk in the lemon zest and juice, then whisk in the milk.

With an electric mixer, beat the egg whites and salt until soft peaks form. Add to the lemon mixture; gently fold in with a whisk (the batter will be thin).

Divide the batter among the prepared cups. Place the pan in the oven, and fill with boiling water to reach halfway up the sides of the cups. Bake until the puddings are puffed and lightly browned, 20 to 25 minutes. (Note: Because I used larger ramekins, mine took a bit longer but only one or two minutes, so I suggest checking at the 20-minute mark.) Serve warm or at room temperature, dusting with icing sugar.

Note: If you do not have individual custard cups, bake the batter in an 8-inch square baking dish (or other shallow 2-quart baking dish) for 30 to 35 minutes. (I bet this would be great too and will consider trying that next time.)

Continue Reading

Guacamole

When the cravings for Guacamole come, they must be answered.

I love avocados. The pale green flesh, the rich buttery taste, the thwack sound the pit makes when I hit it with my knife. I like it sliced in salads or spread between two pieces of buttered toast with a little salt and pepper. But I really love it in guacamole with a handful of salty chips on the side.

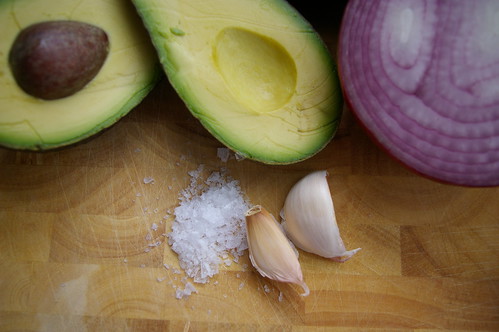
The Ingredients

Sure, it’s high in fat, but I’m slightly mollified by the fact it’s a good fat and there are lots of vitamins and potassium in avocados. I also need that information to justify my decision to eat guacamole for dinner. (It’s flimsy justification, but justification nonetheless.)

The Ingredients

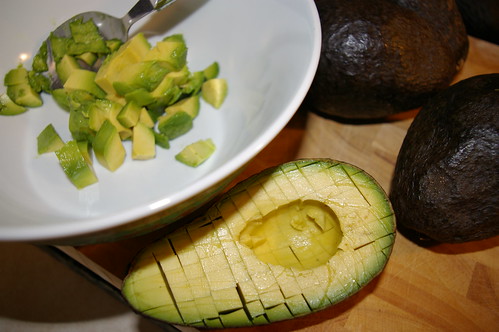
I like to make mine by cubing the avocados while still in their skins and then scooping the chunks out with a spoon before gently stirring with the other ingredients, so the meaty fruit retains some of its bite instead of becoming a paste. (You’ll see below that the instructions are slightly different. Obviously, do as you feel is best.)

Dicing the avocado

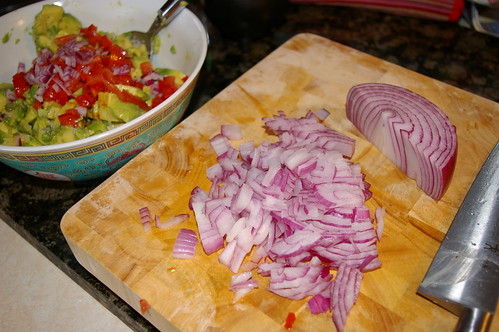
Red Onion

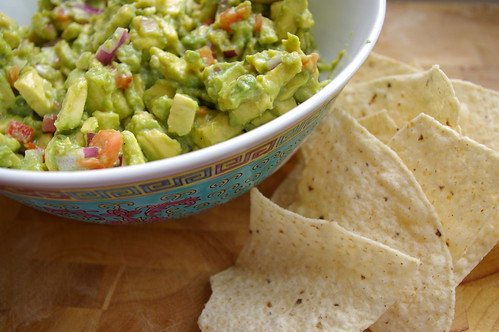
Ready to serve

It should come as no surprise that this recipe comes from my mentor, the Barefoot Contessa.

Guacamole

  • Four ripe Haas avocados (I just buy whatever is in the store)
  • 3 tbsp. freshly squeezed lemon juice — one lemon
  • 8 dashes Tabasco sauce
  • 1/2 cup small-diced red onion
  • 1 large clove garlic, minced (I use a rasp — best kitchen gadget ever — so there are no large chunks of garlic)
  • 1 tsp. kosher salt
  • 1 tsp. freshly ground black pepper
  • 1 medium tomato, seeded and small-diced

Cut the avocados in half, remove the pits, and scoop the flesh out of their shells into a large bowl. (I use my hands.) Immediately add the lemon juice, Tabasco, onion, garlic, salt and pepper and toss well. Using a sharp knife, slice through the avocados in the bowl until they are finely diced. Add the tomatoes. Mix well and taste for salt and pepper.

Continue Reading

Whiskey Sours

I drank my first Whiskey Sour at the behest of my friend Julie who had spent two years in Ireland where she developed a taste for the amber liquor. That tall drink sipped in the plush lounge of the Four Seasons in Vancouver (two nights of luxury while on assignment in my hometown. L’Occitaine products in the bathroom, three soft pillows on the bed and turn-down service; this is exactly why I never stay at hostels) sparked what would become a several-year quest to find the perfect replica.

There is something deliciously retro about a Whiskey Sour. Makes me want to sing Danke Schoen while prancing around in heels and a frilly, white apron. (And a dress, people, what kind of blog do you think this is?)

I’ve had pitiful recreations at some bars where the bartender believes mixing whiskey and lime-ade will fulfill the need. May I just say, No. No. No. No.

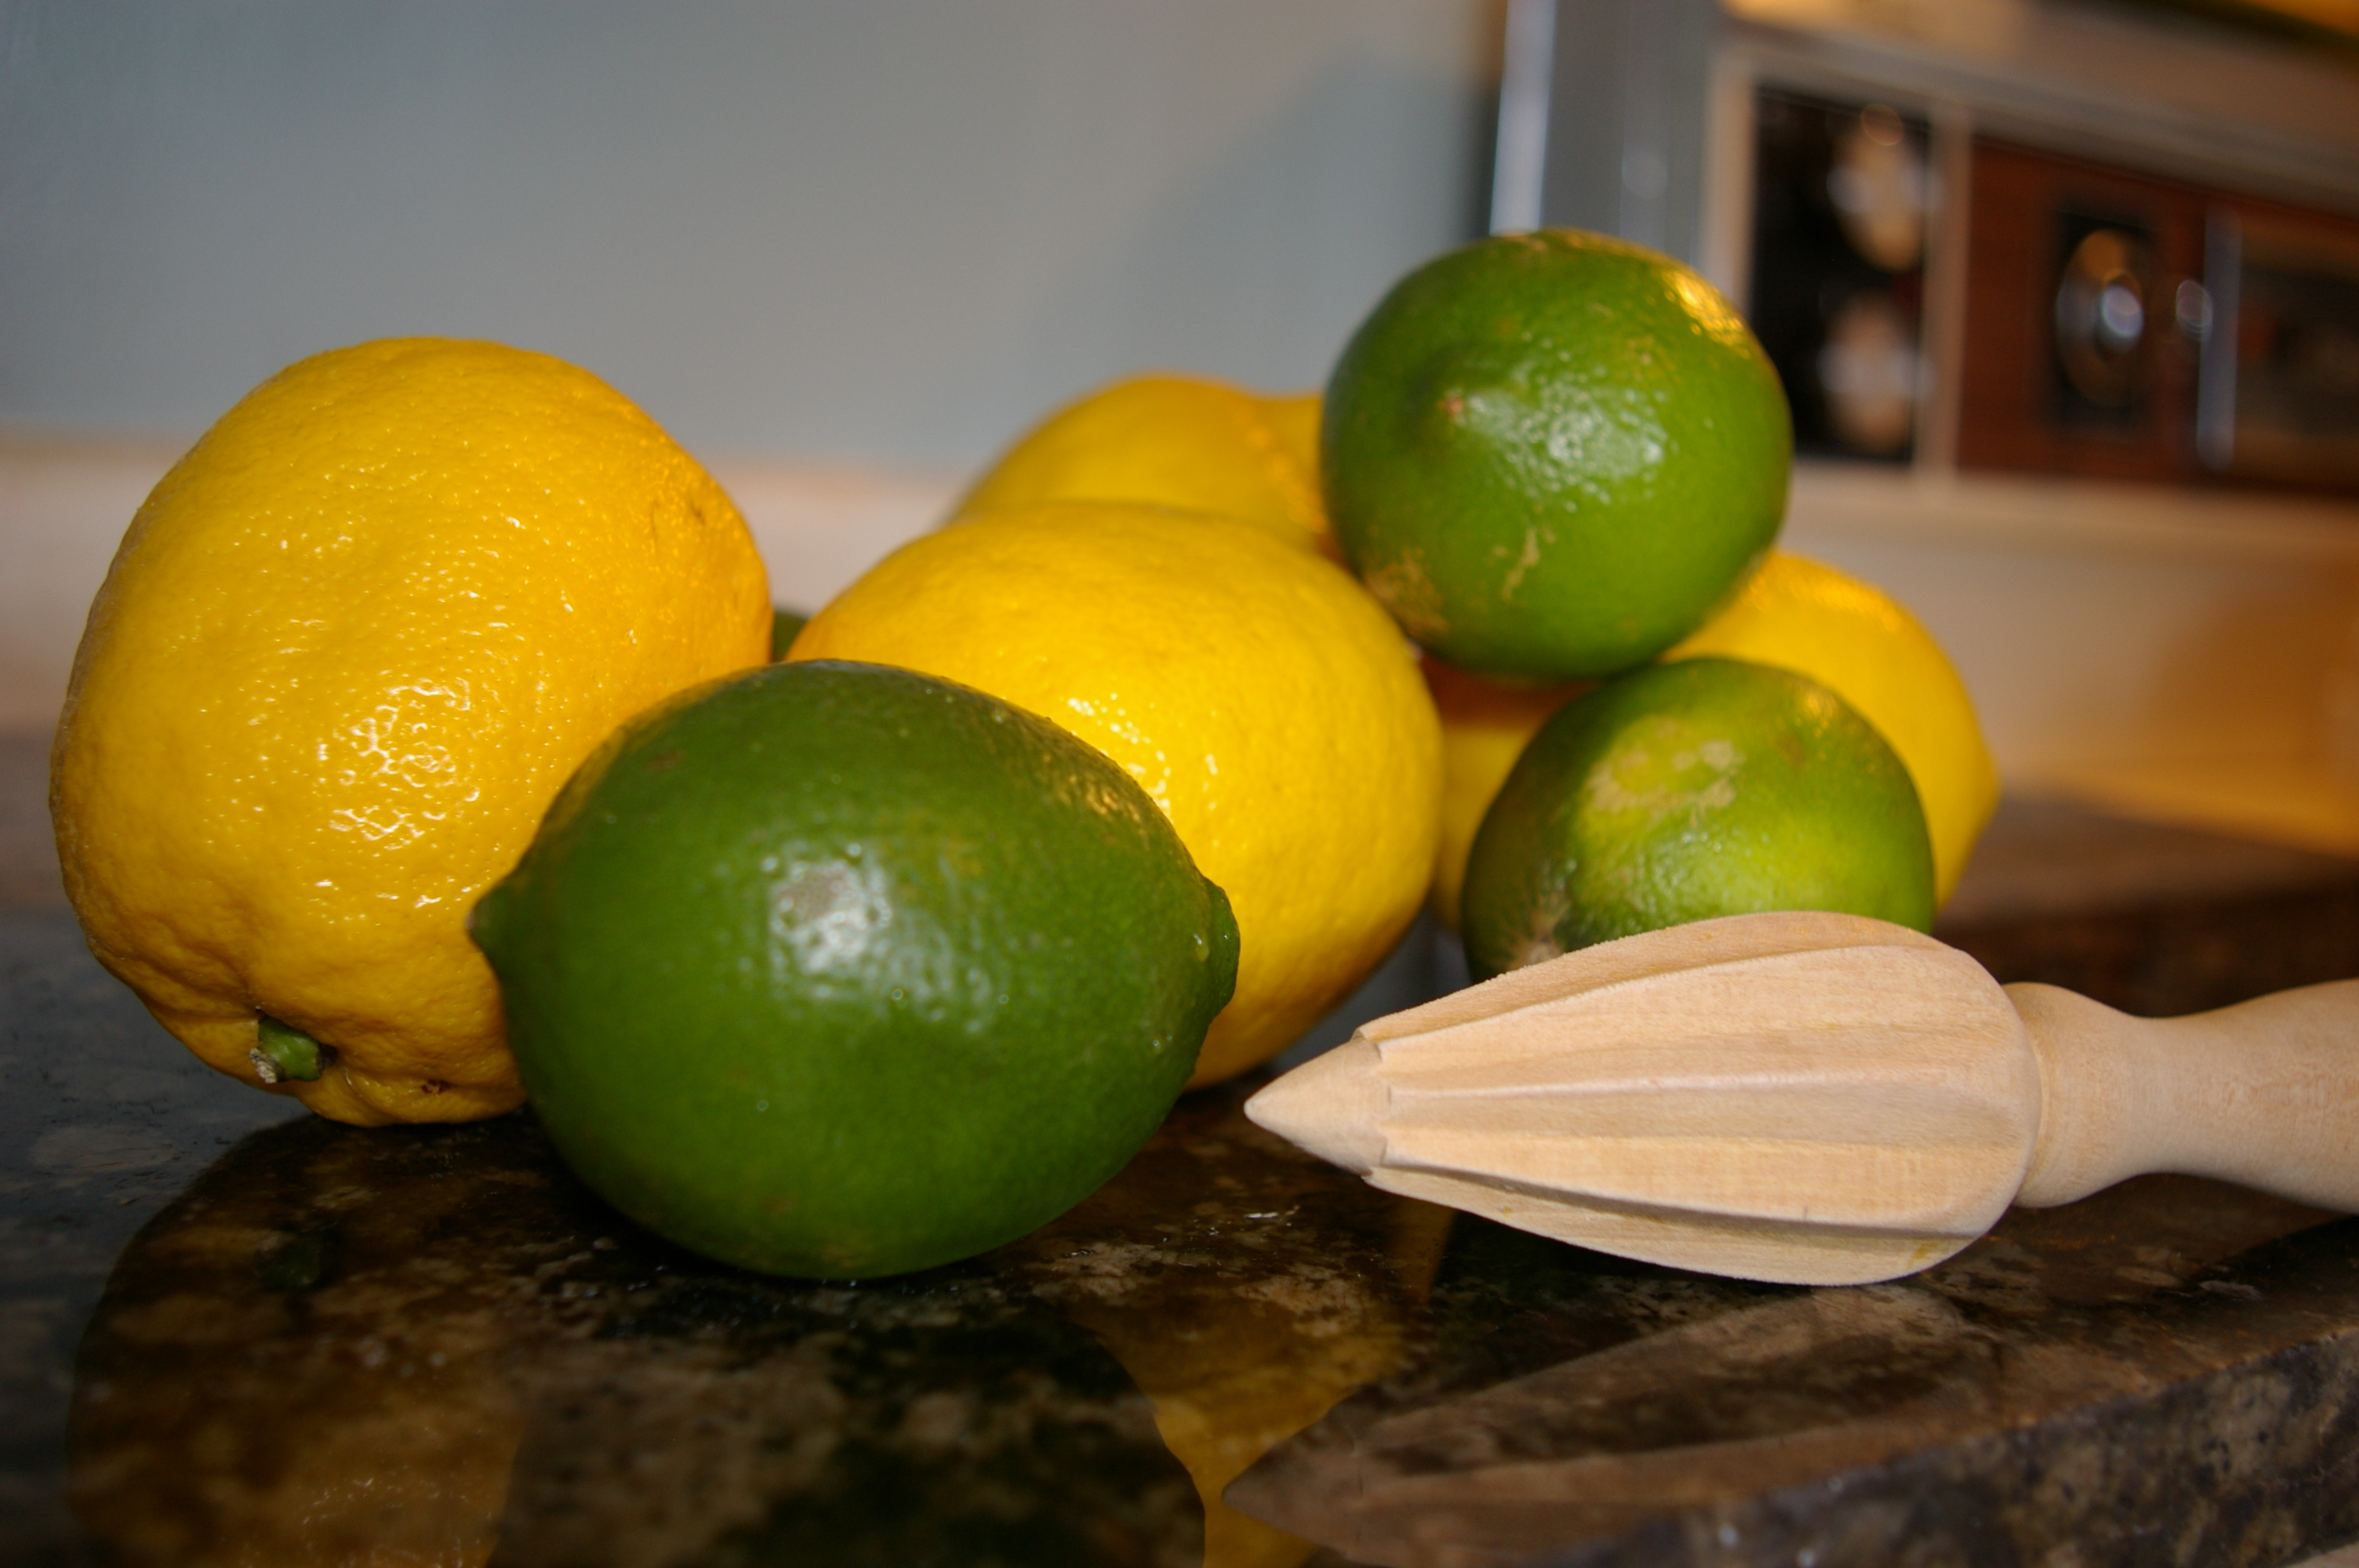
The ingredients

It seems the secret is to have one at a hotel bar and every time I’ve done this, it has been successful. Still, I wanted to give them a try at home, so I was ecstatic when the Barefoot Contessa included a recipe in her latest book, Barefoot Contessa at Home. Her recipe calls specifically for Jack Daniel’s and who am I to doubt Ina? But when I made a batch, I didn’t love them and I wondered if perhaps I wasn’t as enchanted with Whiskey Sours as I once had been.

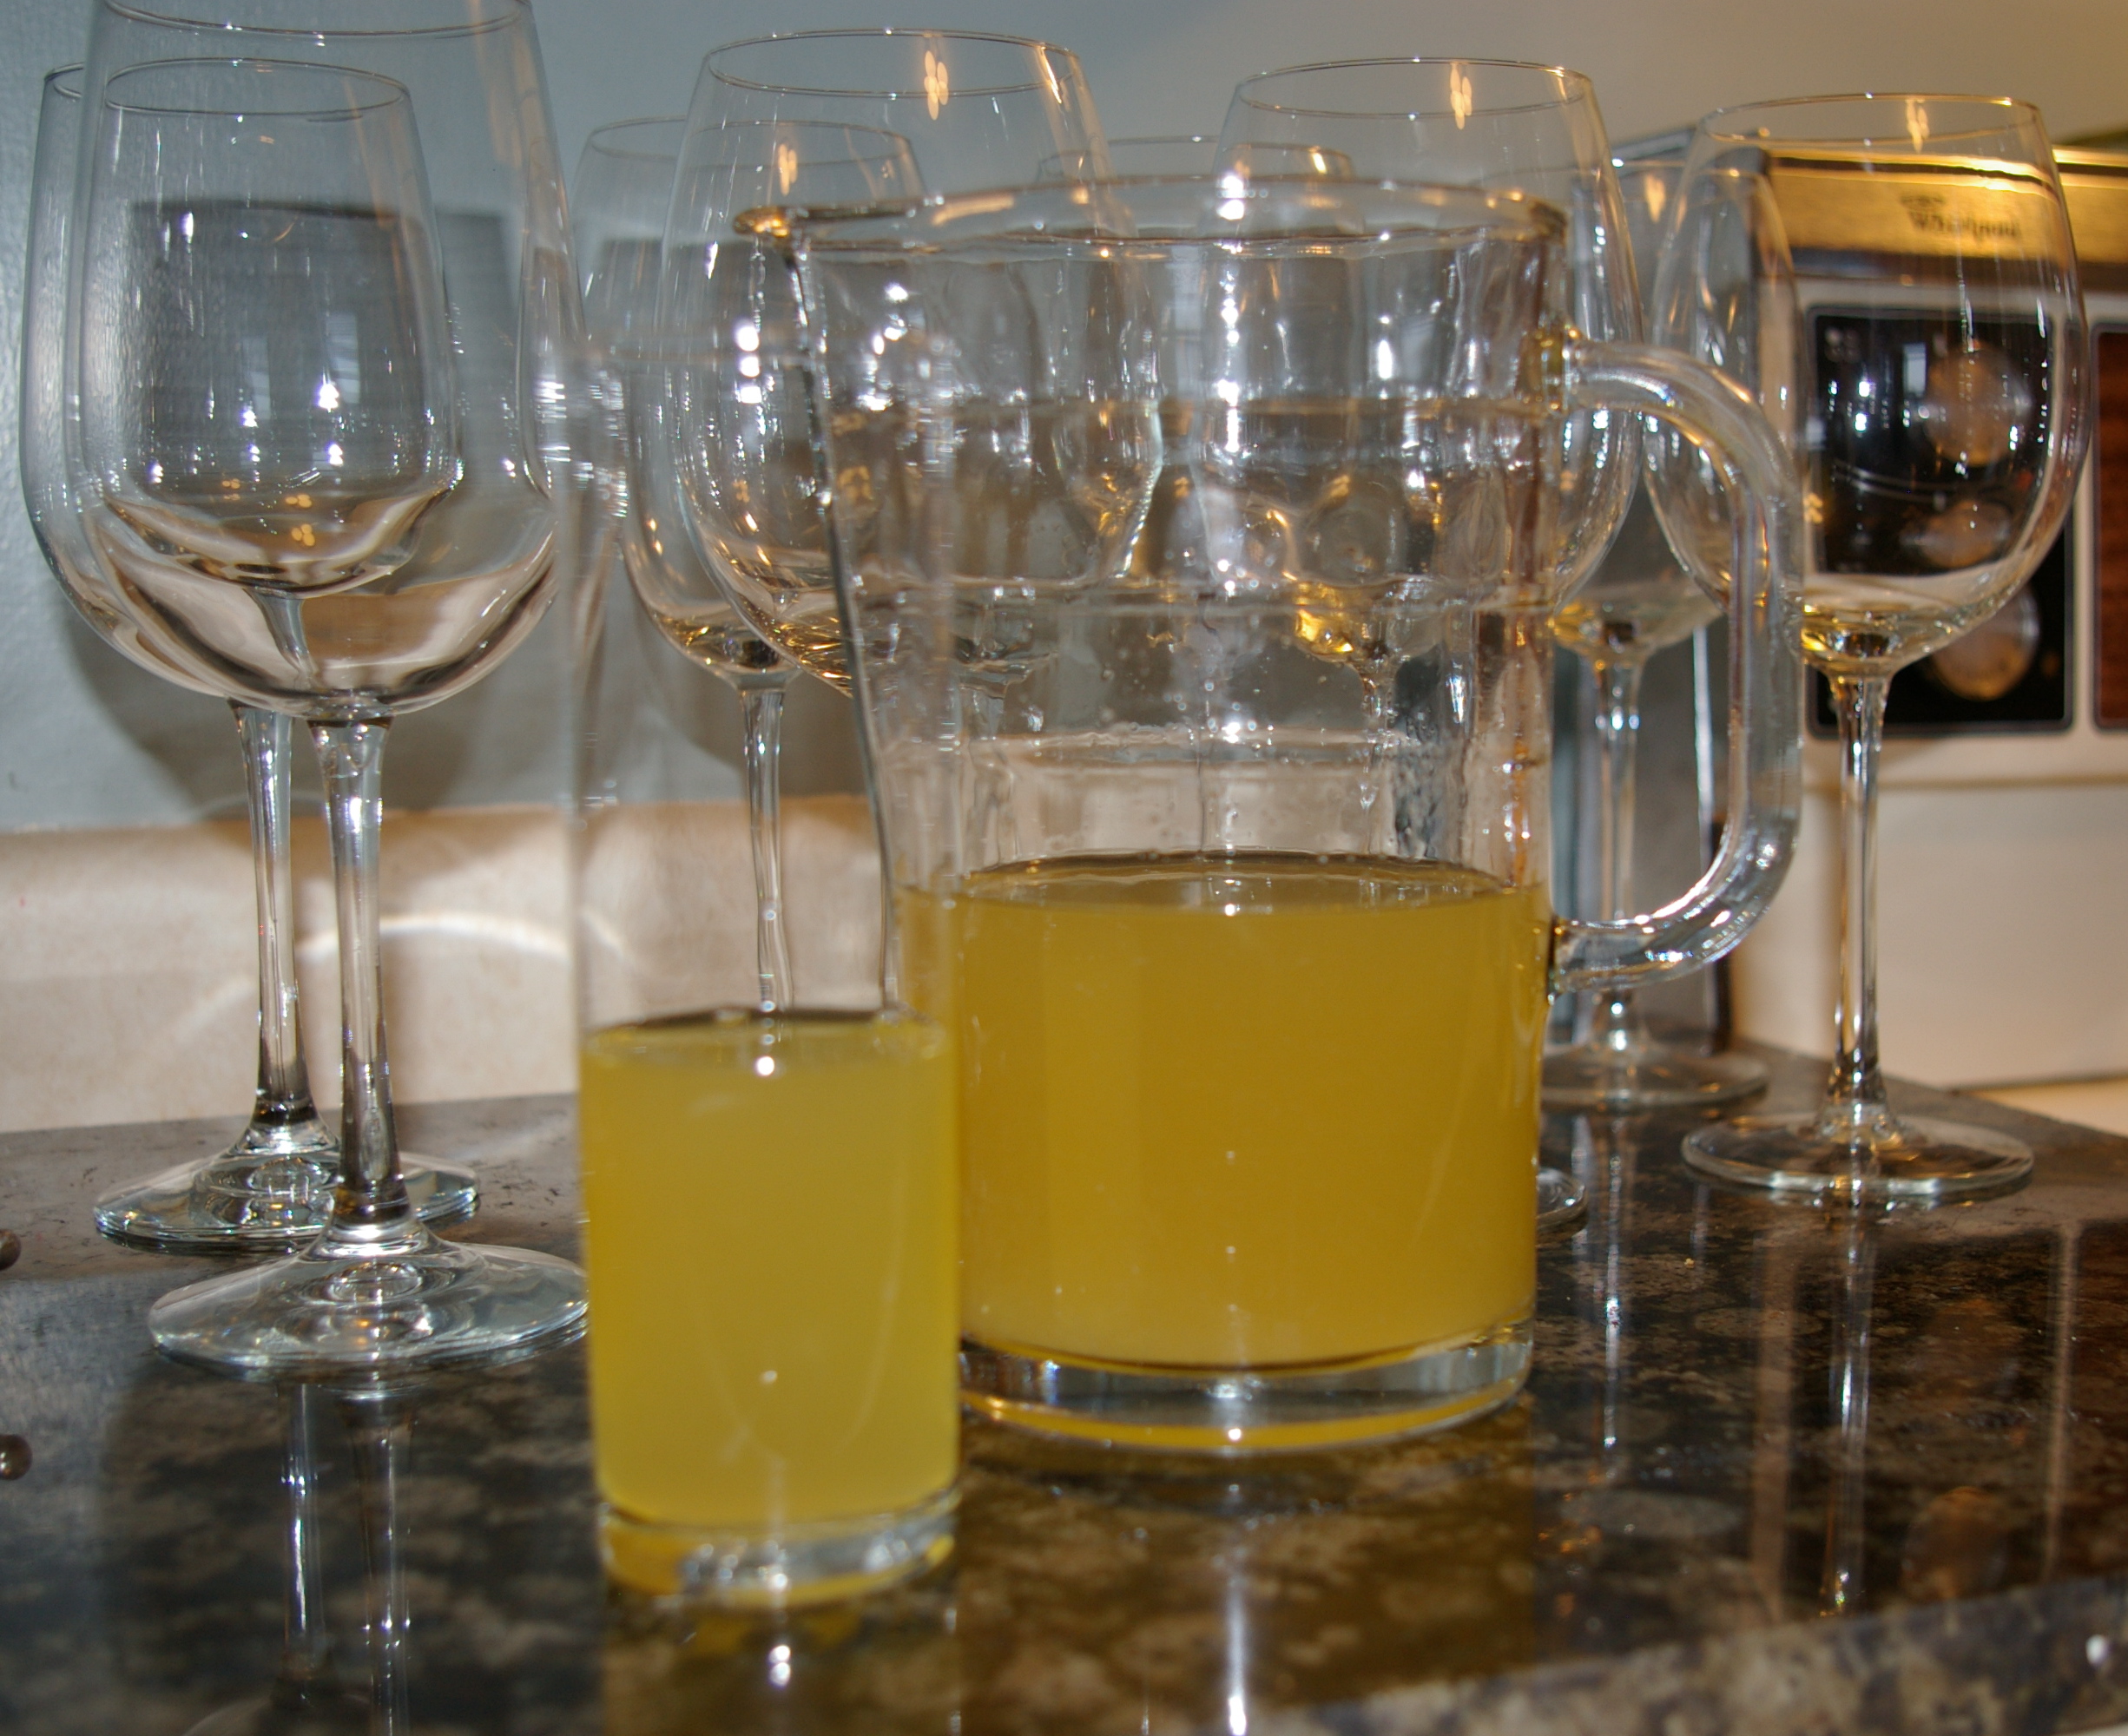
But I was determined to make them for my pre-blog launch on Saturday night. (And then I got impatient, launched the blog and made it a post-launch.) Another friend kindly offered to donate a half bottle of Gibson’s Whiskey that she had lying around and didn’t think she’d drink on her own, so I decided to make it what that.

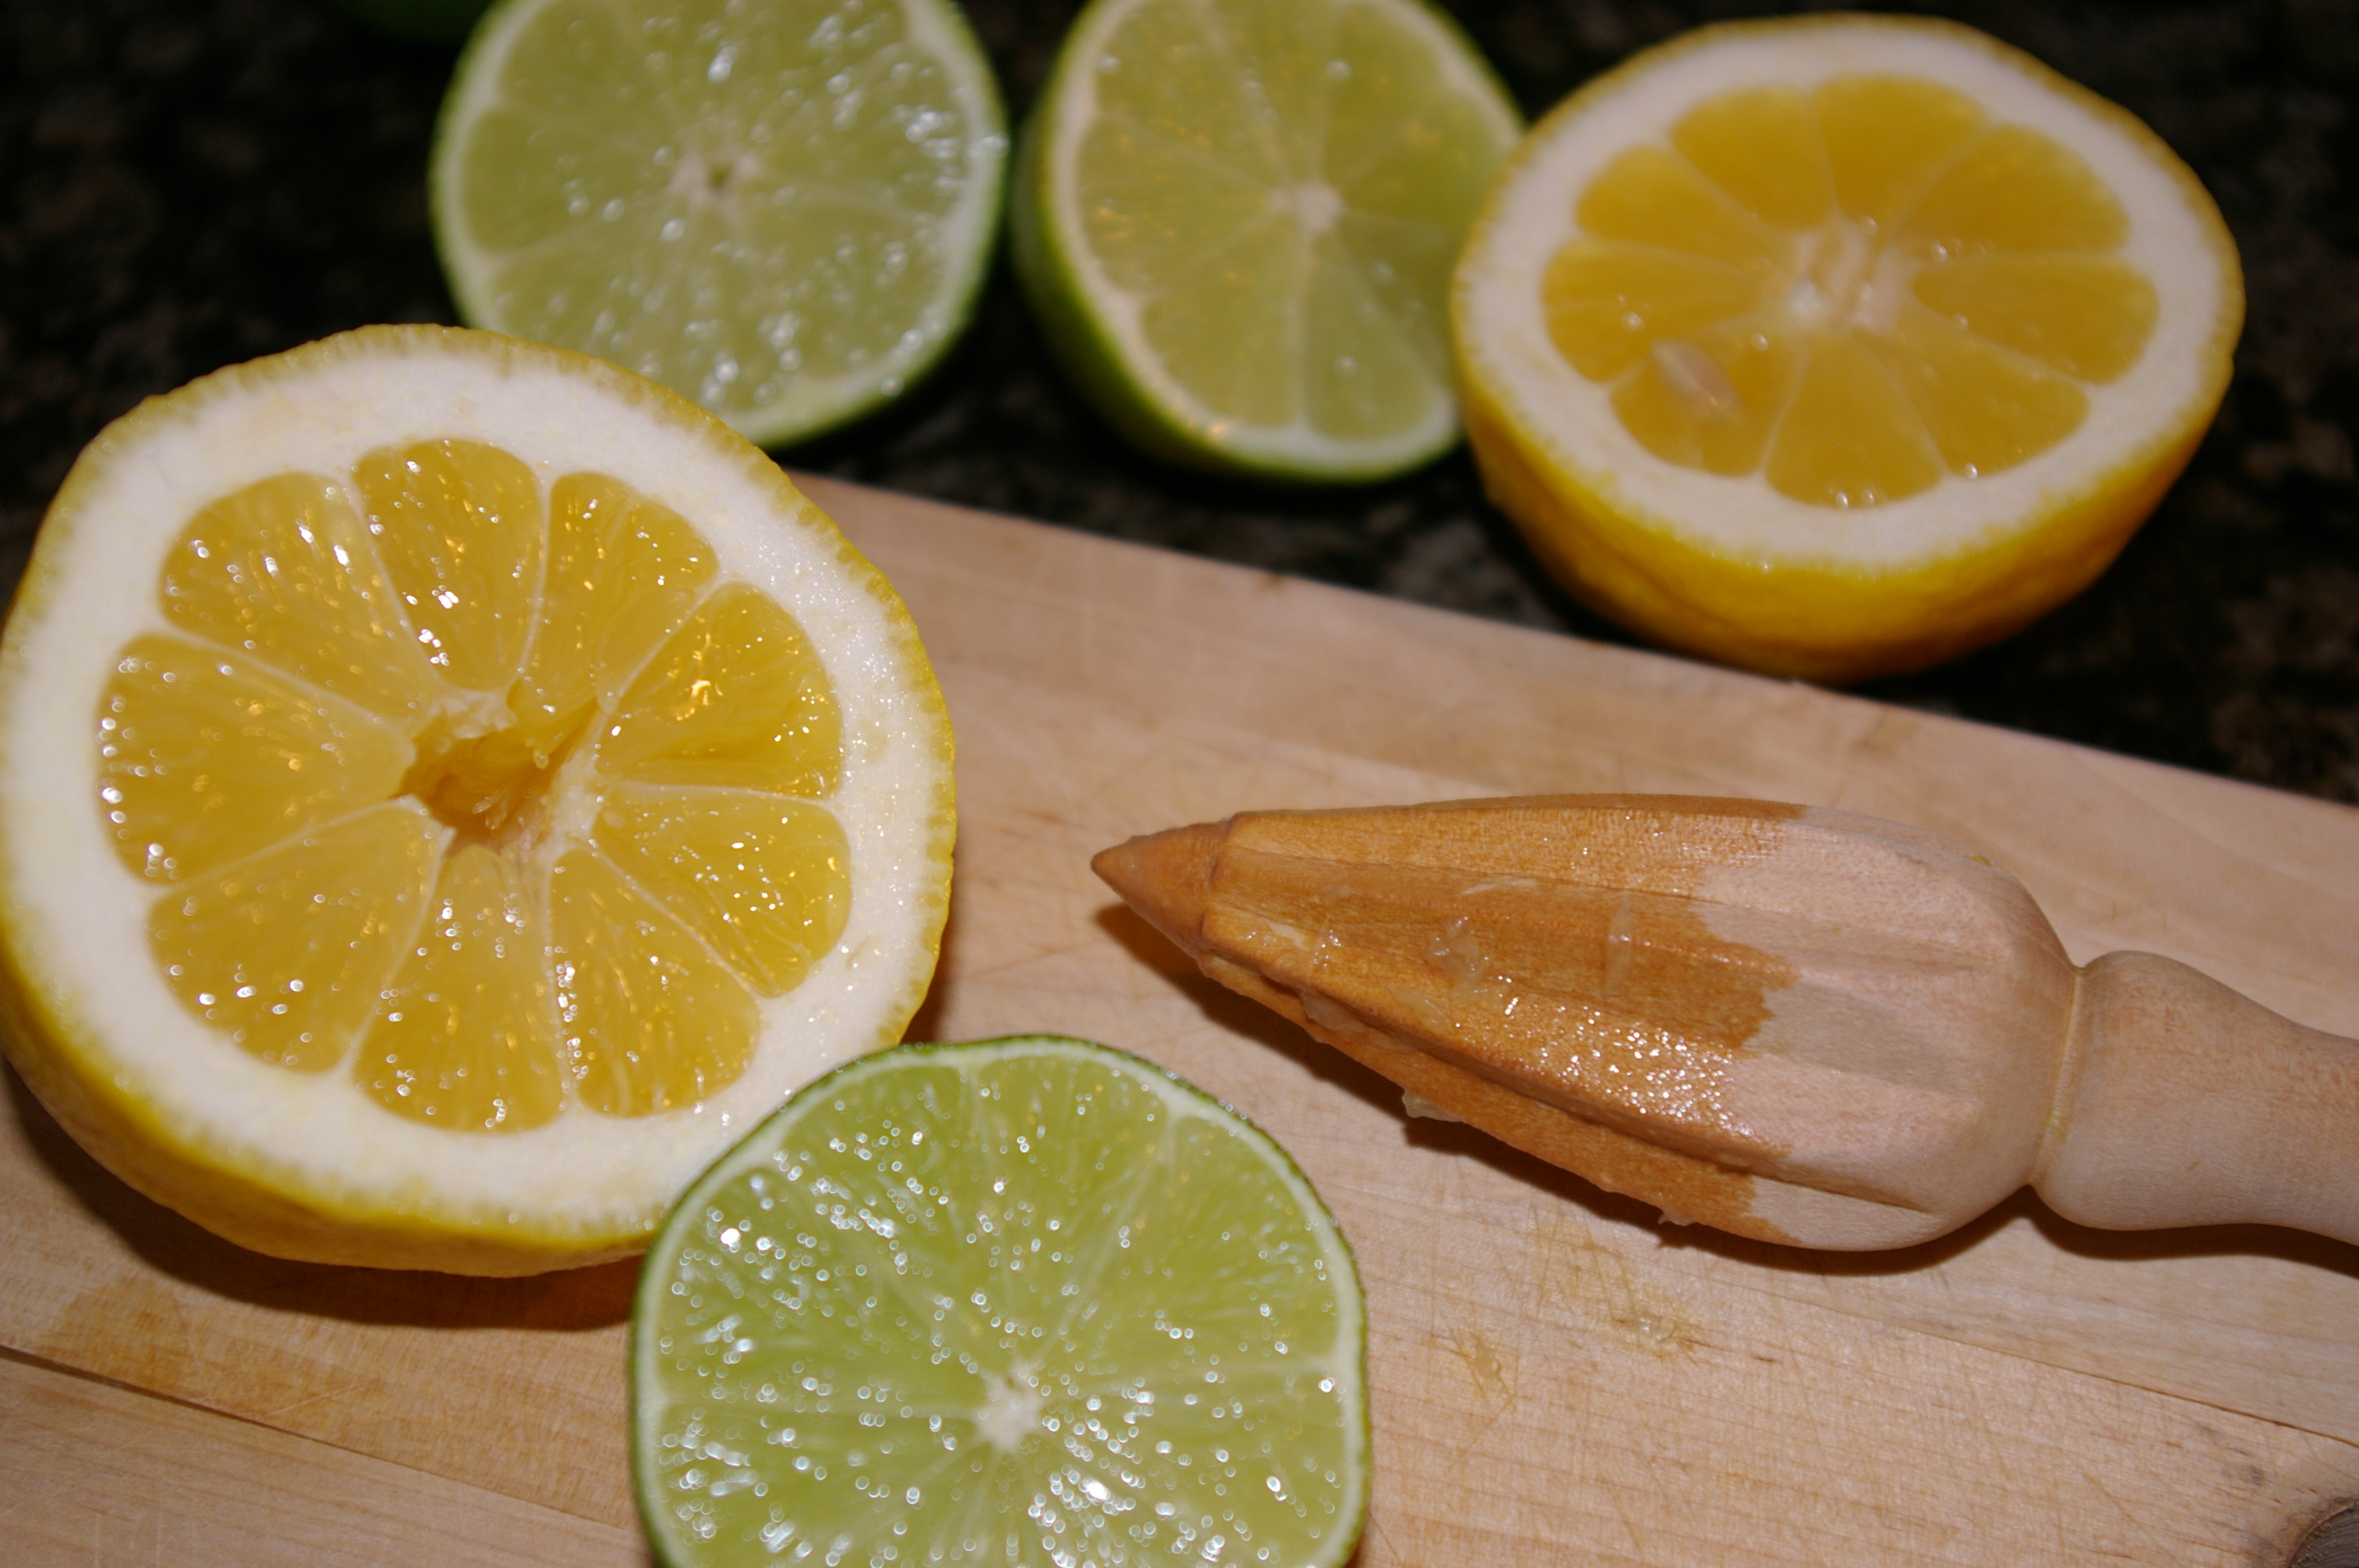
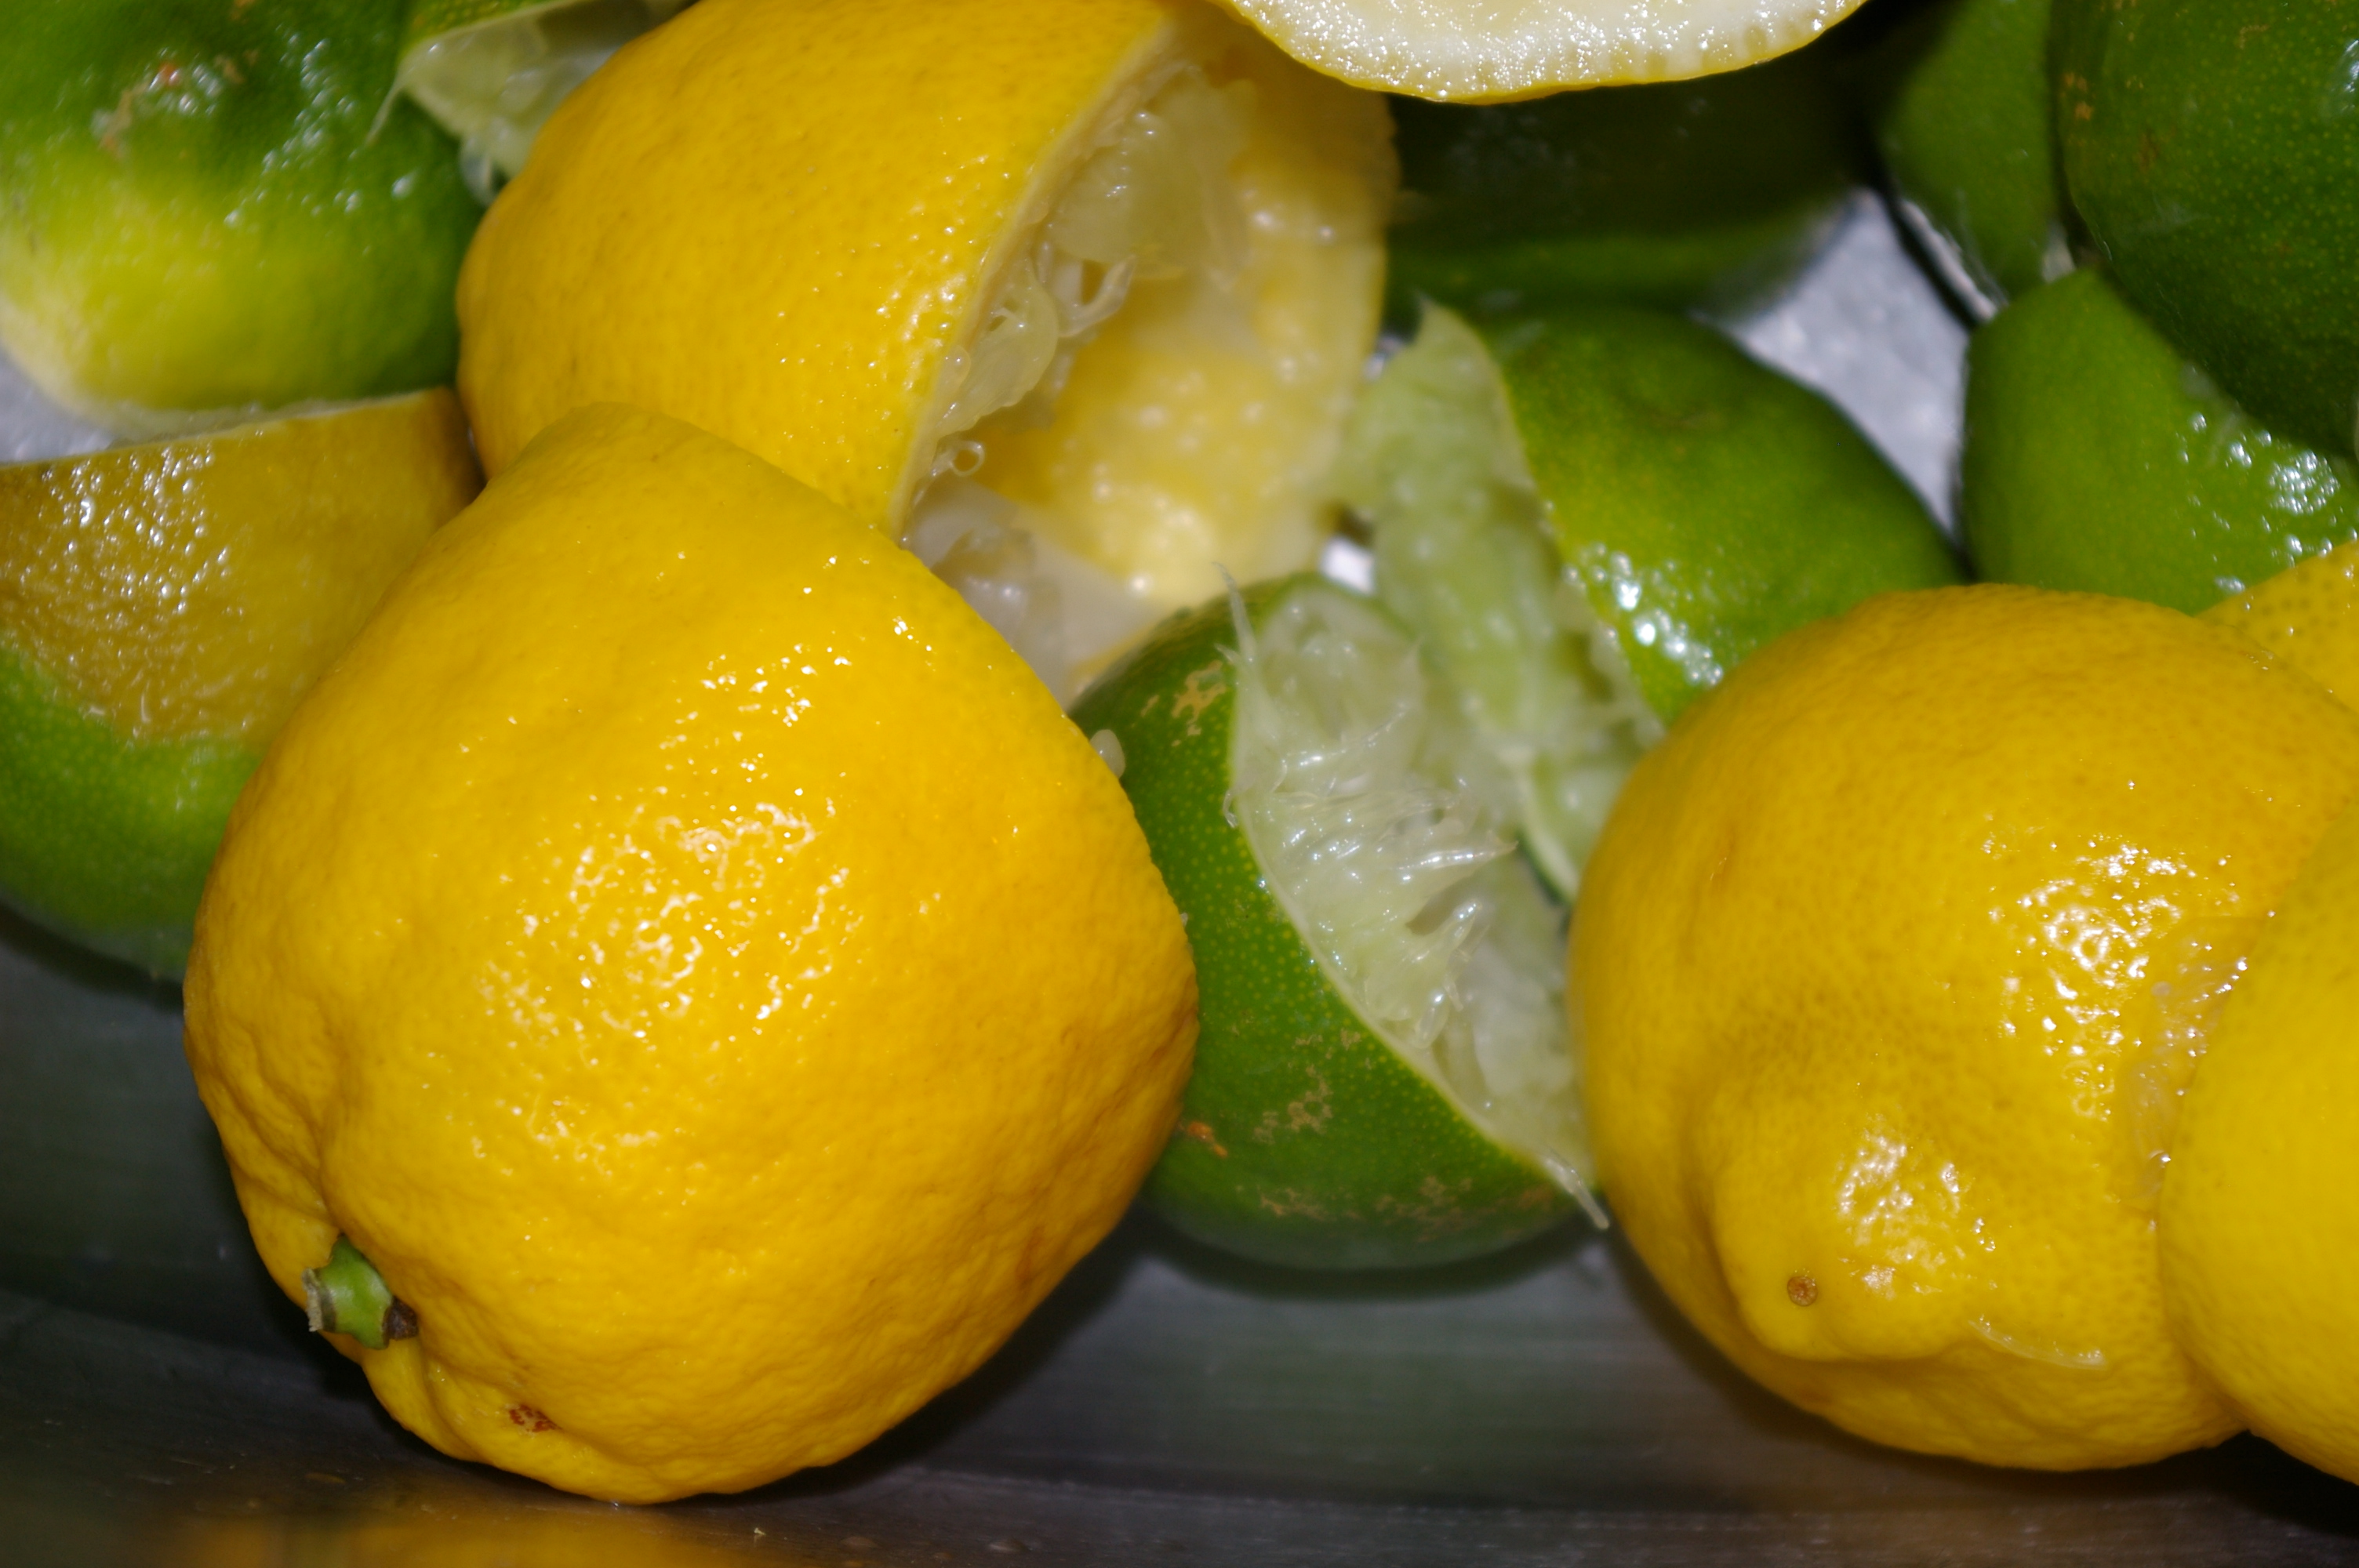
I nearly got a hand cramp from reaming the eight limes and six lemons required to make two cups of fresh-squeezed citrus and I was very grateful I had no paper cuts. But it was beyond worth it. Once combined with the sugar syrup and the smooth whiskey, these drinks were fantastic. I think my guests and I made it through the entire batch in the first 30 minutes of the party.

The Aftermath

For the record, I didn’t bother with the cocktail shaker step because I made a pitcher of them and had kept everything in the fridge until just before serving. No one seemed to mind, but I bet ice cold would be even better. In fact, writing about this is tempting me to go squeeze out the rest of the lemons and limes in the fridge for another round.

The recipe comes from Barefoot Contessa at Home.

Fresh Whiskey Sours

  • 3/4 cup Whiskey (use what you like, though my friend Julie — to whom I turn for all things Whiskey — recommends Jameson or Bushmills.)
  • 1/2 cup freshly squeezed lemon juice (3 lemons)
  • 1/2 cup freshly squeezed lime juice (4 limes)
  • 2/3 cup sugar syrup

Combine the whiskey, lemon juice, lime juice and syrup. Fill a cocktail shaker halfway with ice and fill two-thirds full with the cocktail mixture. Shake for 30 seconds and pour into glasses. Add a maraschino cherry and serve ice cold.

Note: To make sugar syrup, put 1 cup of sugar and 1 cup of water in a small saucepan and cook over medium heat until the sugar dissolves. Chill thoroughly before using.

Serves four (apparently).

Whiskey Sours

Continue Reading