This post is dedicated to the lovely woman I met (and whose name I, naturally, embarrassingly forgot) at the Half Your Plate fundraiser dinner at Winsport. I don’t know if you’re even going to check my blog again after such a long absence, but please know I have not forgotten your kind words and encouragement.)
My thoughts are bubbling over as I try to figure out how to start talking about this pie.
I mean, part of me isn’t really sure any words are needed.
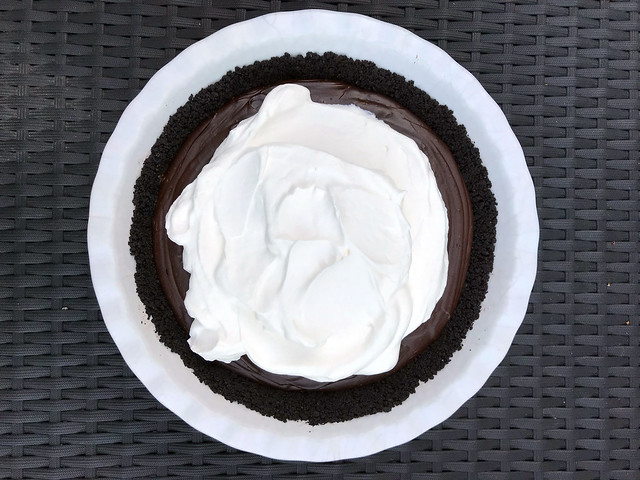
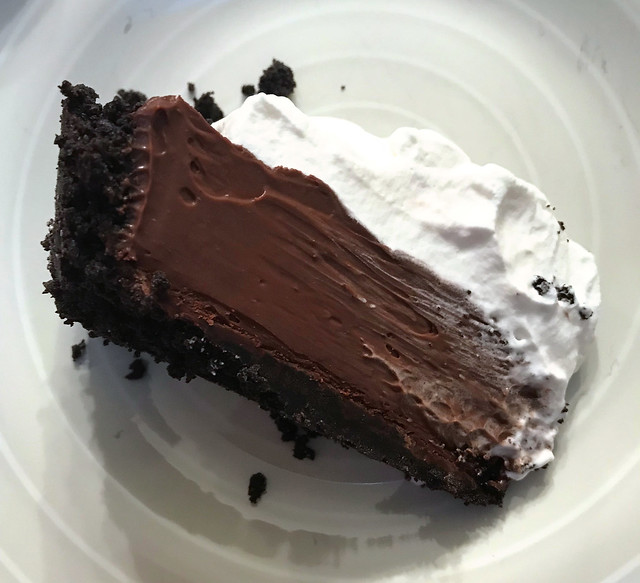
Right? (TL:DR version, if you’re skipping to the bottom: this tastes like the chocolate cream pie of your dreams.)
I guess I could start with how the tweet from Bon Appetit stopped me in my tracks when I was scrolling through Twitter the other day and I immediately favourited it, so I could return to it later.
Cloud pie!! https://t.co/iIi5ckRTz1
— Bon Appétit (@bonappetit) July 11, 2018
Now, truthfully, I probably have a few hundred recipes bookmarked this way and have never actually got around to making any of them. But this pie? I don’t know. It felt… doable. More importantly, it requires no oven to be turned on. And, frankly, I’m already no good in a heat wave. Heat my apartment by turning on the oven and I’d be passed out in front of a fan while whatever I was baking burned.
Or I could start with the fact that it was perfect timing to have found this recipe just as friends invited me over for a barbecue feast dinner party, complete with ribs, brisket, cornbread and deep-fried balls of macaroni and cheese. Would I consider bringing dessert? Yes, I absolutely would. After all, it’s more motivating to make a massive chocolate cream pie when you get to enjoy it with good friends. (And also because you’ve had these ribs before, they are ridiculously good and I feel that making an awesome pie is only a drop in the bucket when it comes to returning the favour.)
Or maybe I’ll just point out that while in high school I never once ate in the cafeteria (opting to play cards in the hallway in front of my locker), but on the rare occasion I would head there for a snack — either this doughy, saucy pizza bread or a slice of McCain’s chocolate cream pie. You know the one. With the star-tipped “cream” frosting over a pudding-like piece of pie.
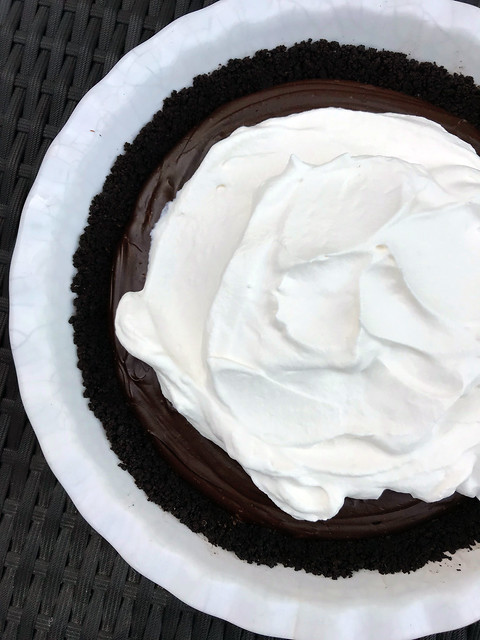
It might actually be blasphemous to compare that to this Bon Appetit version, but I couldn’t help drawing comparisons as I put it together and, eventually, finally got to slice into it and try a piece. The original recipe, yes, calls for a torched meringue on top. But I really liked the idea of a gently sweetened whipped cream slathered on top instead. Bonus points: no need for a kitchen torch.
Double bonus: I can make a pavlova with the leftover egg whites and top it with more whipped cream and big handfuls of juicy summer berries.
Lastly, I could have started this post by talking about how I generally loathe comments posted below recipes online. That’s because they’re often things like, “I made this but I swapped this ingredient for that one and didn’t add butter because I’m on a diet and blah blah blah. It didn’t taste very good, so I’ll never make this again.”
In this case, though, I’m super glad to have read the comments because one person spent a lot of time and energy posting extensive recipe instructions far more detailed than the original and I have absolutely no doubt the only reason I had great success with this pie is because of that. Bless you, anonymous person!
(I do love that the only other comment on this recipe, posted before the helpful instructions, was: Biggest waste of my time. Tried this twice. Evidently you have to be a bloody witch to make this. Each time it cooked the egg yolks. Dumbest recipe EVER.)
The total trick to this pie is tempering THE HELL out of the yolks and corn starch. That’s going to make or break the pie filling.
Yes, it’s a bit complicated to make. Patience is going to be the main ingredient. But…. Let me put it this way: whenever I make a dessert and take it to someone’s house for dinner, I generally want to come home with an empty serving dish because I kind of lose interest right after eating a piece of whatever I’ve brought. This time, I offered the last, healthy-sized wedge of pie to a friend to take back to her house and eat later.
Five minutes later, I wondered why I’d been so nice.
I guess I’ll just have to make this again.
No-Bake Chocolate Cream Pie
Adapted slightly from Bon Appetit
- 9 tablespoons butter
- 6 ounces chocolate wafer cookies
- Salt
- 8 ounces bittersweet chocolate, melted, divided
- 2 1/2 cups whipping cream, divided
- 2 tablespoons unsweetened cocoa powder
- 1 1/2 cups whole milk (aka 3.25 per cent)
- 3/4 cup sweetened condensed milk
- 4 large egg yolks
- 3 tablespoons cornstarch
- 1 – 2 tablespoons sugar
Melt butter in a small pot over medium heat. Set aside.
Blitz cookies in a food processor until finely ground and transfer to a medium bowl.
Add 5 tablespoons of the butter and a nice pinch of salt to the bowl with the cookie crumbs and mix until thoroughly combined. Transfer to a 9-inch pie dish and press evenly into the bottom and up the side using the bottom and side of a measuring cup to really pack it down. Put in the fridge to chill for 20 minutes.
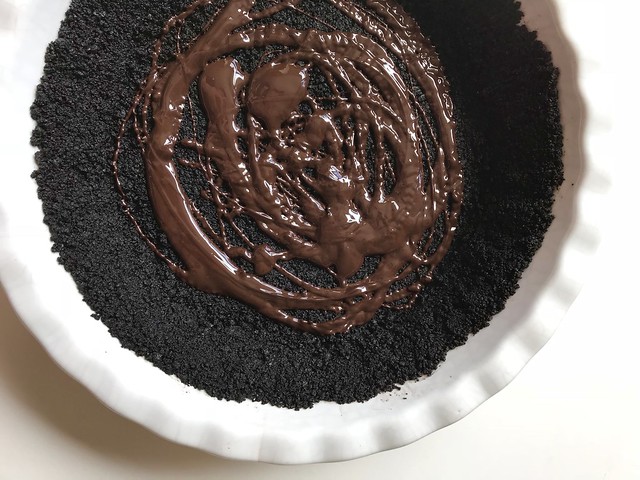
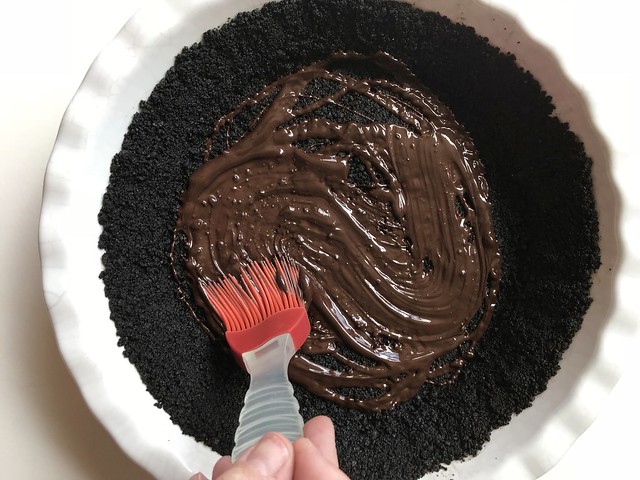
Brush the bottom of the crust with 2 ounces of the melted chocolate and put the pie dish back in the fridge.
Whisk cream and cocoa powder in a medium saucepan until there are no lumps, then mix in the milk and sweetened condensed milk. Over medium-low heat, warm until the cream mixture just reaches 180F. While it’s heating, whisk the egg yolks and corn starch in a medium bowl.
Scoop up about 1/4 cup of the heated cream mixture and dribble a little bit at a time into the egg yolks while constantly whisking. This is where you need to go slowly because this keeps the eggs from scrambling! Once that’s all mixed in, repeat with another 1/4 cup of the cream. Repeat until you’ve added about half of the cream mixture to the yolks.
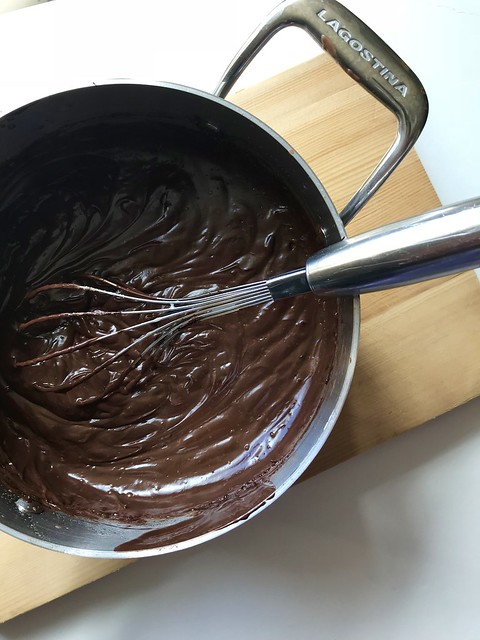
Pour the yolk mixture into the pot on the stove. Whisk, whisk, whisk as the entire mixture heats up. This will initially take what feels like a while, but then it will fairly suddenly thicken up to a pudding-like texture. Once it has a pudding consistency, remove the pot from the heat, add the remaining melted chocolate and the rest of the melted butter and whisk until completely combined.
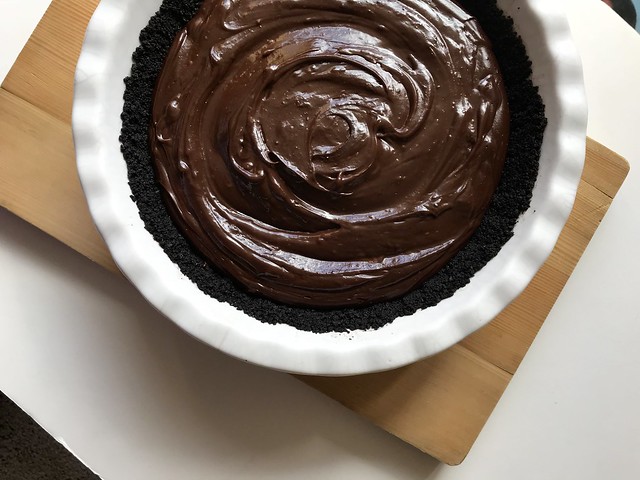
Scrape into the pie crust and chill until the chocolate custard is cold and set — at least two hours.
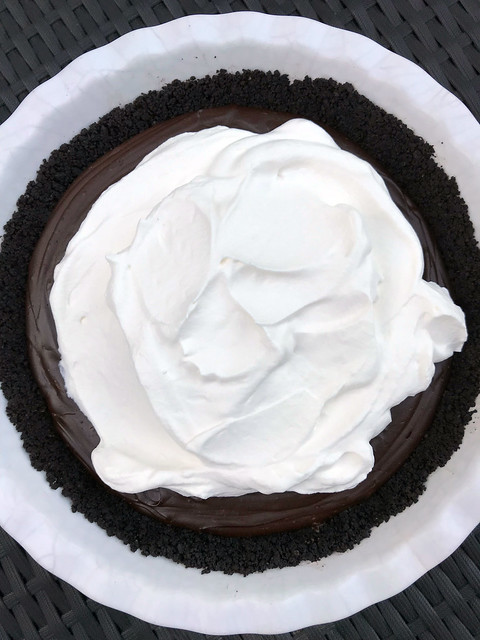
Just before serving, make the whipped cream. In a bowl (chilled, if possible, as this makes it faster to whip the cream), beat the remaining 1 cup of cream with 1 tablespoon of sugar until fluffy. (I like mine to slump a little bit, so it’s a bit softer than a really stiff whipped cream.) Taste partway through the beating process to see if it’s sweet enough for your liking. Add the rest of the sugar as you see fit.
Scoop over the pie and serve.

