Chewy Lemon Cookies

I’m practically laid out on the couch, cosying up to an ice pack right now (Thank god for laptops.) having done something again to my back. Stretch, ice, advil, repeat. Needless to say, the weekend has not been very active. One errand yesterday and brunch with a friend today before I had to make nice with my back and hang out on the living room floor staring at the ceiling. You know what lying on the floor shows me? That I really need to vacuum more.

So, no baking or cooking today, but luckily I have saved up this little chewy lemon cookie recipe for a rainy day (of sorts). If you’ve been on this blog long enough, you know how much I love lemon. In fact, some may say it’s an addiction.

And that means when I see a good-looking lemon-centric recipe, like this one for Chewy Lemon Cookies, it isn’t long before I’m making it. I was also intrigued by the idea because I absolutely adore the Lime Sugar Cookies I often make. There are very few things these two recipes have in common, other than a citrus focus. But they’re both fantastic in their own way.

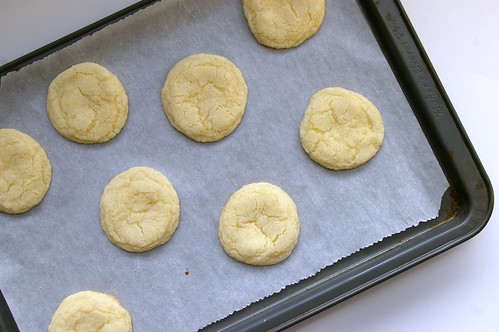
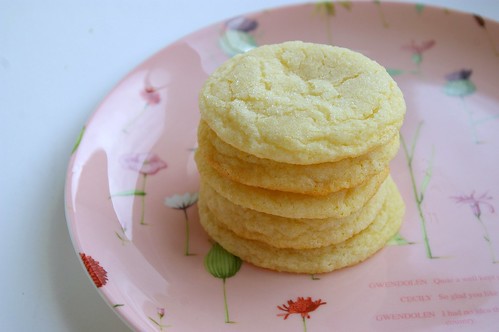
I loved these cookies for the chew and crackled top. Plus, of course, the lemon-y flavour.

I baked them off on a Saturday and shipped about a dozen off to the Sunday crew at the Herald because even though I’m not there on the weekends anymore, it doesn’t mean I can’t take care of my girls. Their grateful tweets made it totally worthwhile.

As some of you know, I’m a terrible procrastinator and have been sitting on this recipe for two weeks. A friend has been gently reminding me to get it up because she wants to make them herself — that’s how good they are.

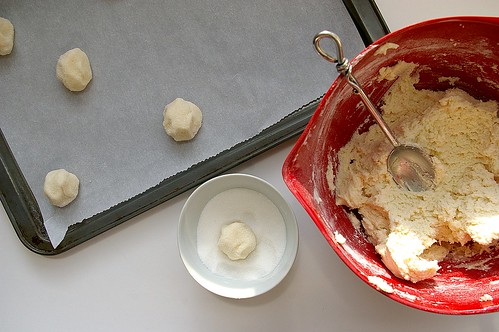
Lemon Sugar Cookies - process

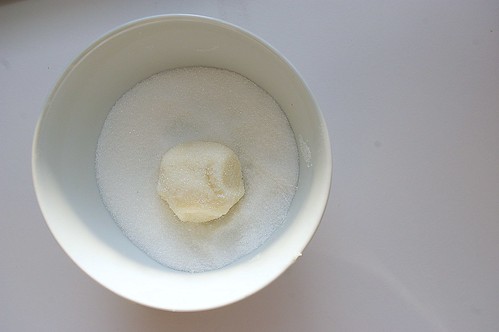
Rolling in sugar

Lemon Sugar Cookies I

Lemon Sugar Cookies II

Chewy Lemon Cookies

from MyBakingAddiction.com

  • 2 3/4 cups all-purpose flour
  • 1 teaspoon baking soda
  • 1/2 teaspoon baking powder
  • 1/2 teaspoon salt
  • 1 cup butter, softened
  • 1 1/2 cups white sugar
  • 1 egg
  • 1/2 teaspoon vanilla extract
  • zest of one large lemon
  • 4 tablespoons fresh lemon juice
  • 1/2 cup sugar for rolling cookies

Preheat oven to 350F. Line cookie sheets with parchment paper.

In a small bowl, whisk together flour, baking soda, baking powder and salt.

In a larger bowl, beat together butter and sugar until light and fluffy. Beat in egg, vanilla, lemon zest and juice.

Add in dry ingredients, beating until just combined. Roll rounded spoonfuls of dough into balls and then roll in sugar. Place on lined cookie sheets, about 1 or 2 inches apart.

Bake for 8 to 10 minutes. (Mine needed barely 8 minutes; they were not yet golden but I wanted them still pale and tender.) Remove from oven and let stand on cookie sheet for 2 minutes before removing to cook on wire racks.

Makes 24 – 36 cookies.

Continue Reading

English Toffee

Candy making kind of scares me.

Thread stage, soft ball, hard crack. It just all sounds like it could go horribly wrong with little or no notice. And the thought of burnt sugar (or, perhaps, more importantly, trying to clean up burnt sugar) is enough to put me completely off the idea entirely.

But when I went home at Christmas (and yes, that’s how long I’ve procrastinated on this post. I have no idea why.), my mum and I thought this would be a good afternoon project. Considering about three feet of snow was surrounding the house and even the four-wheel-drive SUV was having a hard time making it up the narrow gravel road, staying in to do some baking and candymaking seemed like a grand plan. Not to mention the newly renovated kitchen was ideal for photos. Hello natural light!

We’re both big fans of English Toffee, even though I’m generally not a huge fan of almonds. My mum is more of a connoisseur than me, though; she can judge good toffee from bad. So, it was entertaining to think we could have a go at making our own.

English Toffee

It was great to cook with someone else. Since I have no tripod, my photos tend to be very static. Just too tricky to try to pour or stir and shoot at the same time. Not to mention that my cave-like kitchen is terrible when it comes to lighting. I actually take things out of my kitchen and shoot them by the window to get the best light. So, I took full advantage of having another pair of hands.

Also, frankly, I wasn’t going to attempt this recipe without having someone there who has some expertise.

But this has made me feel that I could attempt candy again in the future.

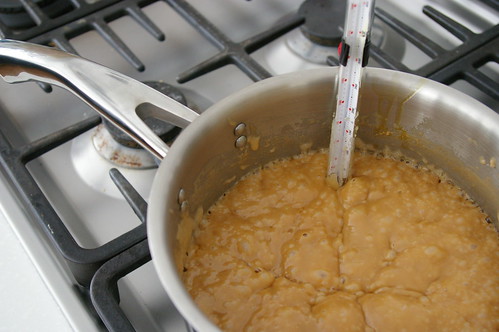
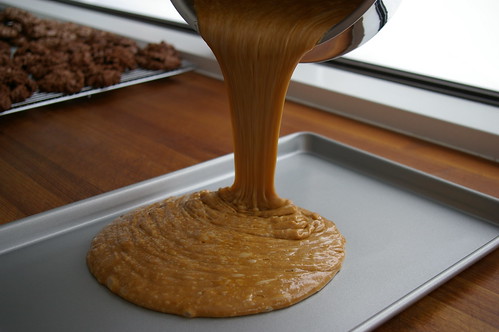
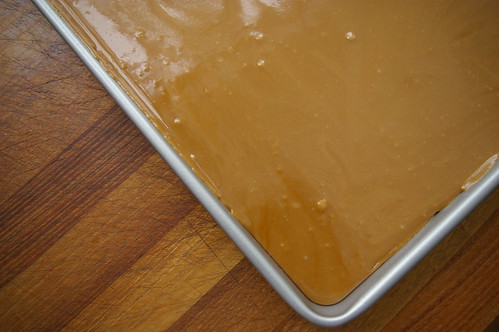
It’s essentially a waiting (and stirring) game. Keeping an eye on the temperature and watching as two basic ingredients transform themselves into something completely different. I liked the molten lava look of the toffee as it grew closer to being ready and then how it changed again when it was poured into the sheet pan, taking on an almost stained glass type look: coloured and glossy and flat.

Mostly, though, what I enjoyed was a chance to hang out, catch up and just spend time together. I only get back to Vancouver once or twice a year and I’m usually rushing around to see old friends and poke around some of my favourite stores.

The giant piles of snow that continued to fall almost the entire time I was there over the Christmas holidays were a blessing, in the end. There was no reason to rush off on errands or to visit. Instead, we had the perfect excuse to stay in and just spend time in the kitchen, bonding over a bubbling pot of sugar and butter.

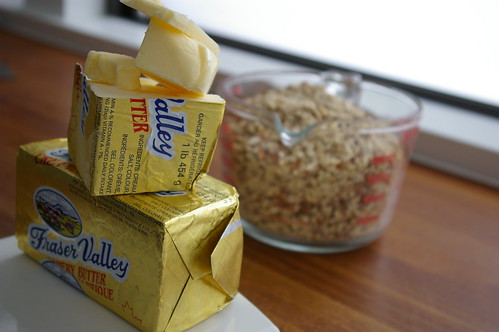
Butter and almonds

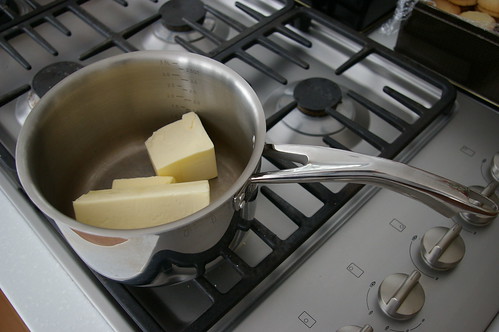
Butter

Bubbling hot toffee

Pouring the toffee

Smooth Toffee

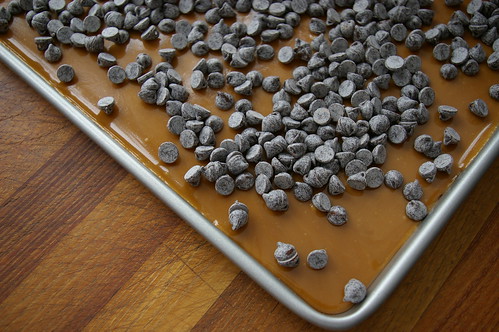
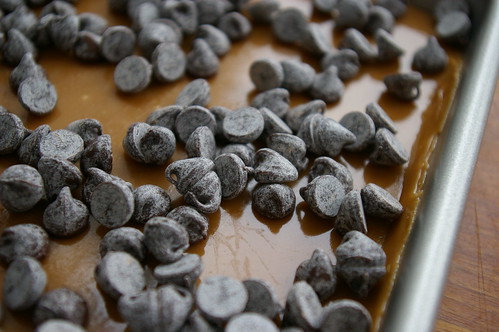
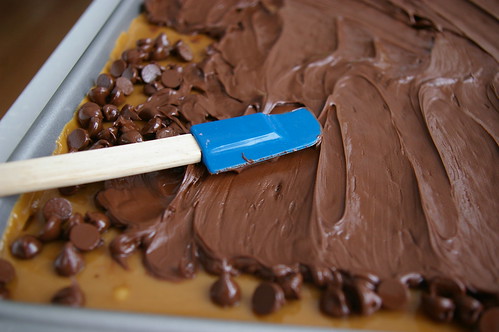
Adding the chocolate chips

Making the chocolate layer

Spreading the chocolate

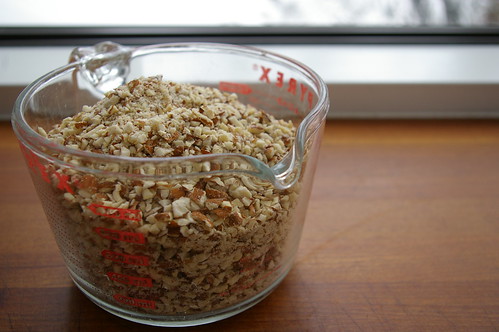
Almonds

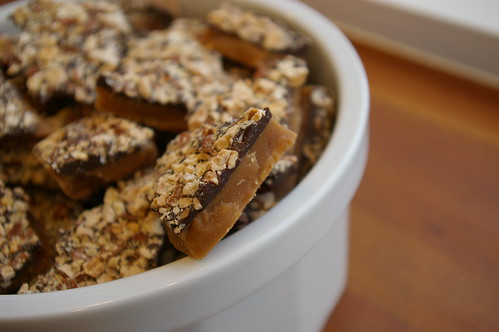
Finished Toffee

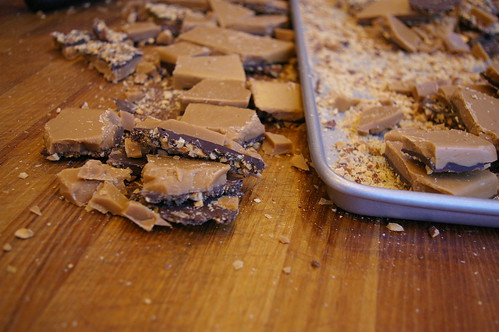
Breaking it up

Smashed up

English Toffee

  • 3 cups salted butter (1.5 pounds)
  • 3 cups sugar
  • 2 cups semi-sweet chocolate chips
  • 3 cups roasted, unsalted almonds crushed

In a heavy bottom stock pot, start to melt the butter, adding the sugar after it has started to melt. Stir to emulsify the mixture, then add the candy thermometer, making sure there is enough of a gap between it and the bottom of the pot. (A wooden spoon should just be able to sweep underneath it.) Keep stirring the mixture. As it gets hotter, the mixture will thicken and start to darken. Keep cooking until the mixture reaches 294 degrees F. Caution, the temperature will climb quickly through the final 20 degrees.

Let the mixture cool slightly and then pour into a 13×18″ pan. Let cool for about 10 minutes, then sprinkle on the chocolate chips. The heat of the toffee should be enough to melt the chocolate. It didn’t for us, so we threw it in the oven (warm from roasting the almonds) for a minute or two until it was spreadable and then used a spatula to get the chocolate covering the toffee.

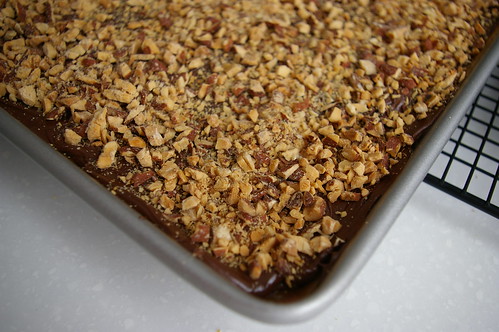
Sprinkle on chopped nuts and press into chocolate.

After it has cooled to room temperature, put another pan of the same size over the toffee and invert. It should pop right out.

We used a meat mallet to break it into manageable pieces.

Continue Reading